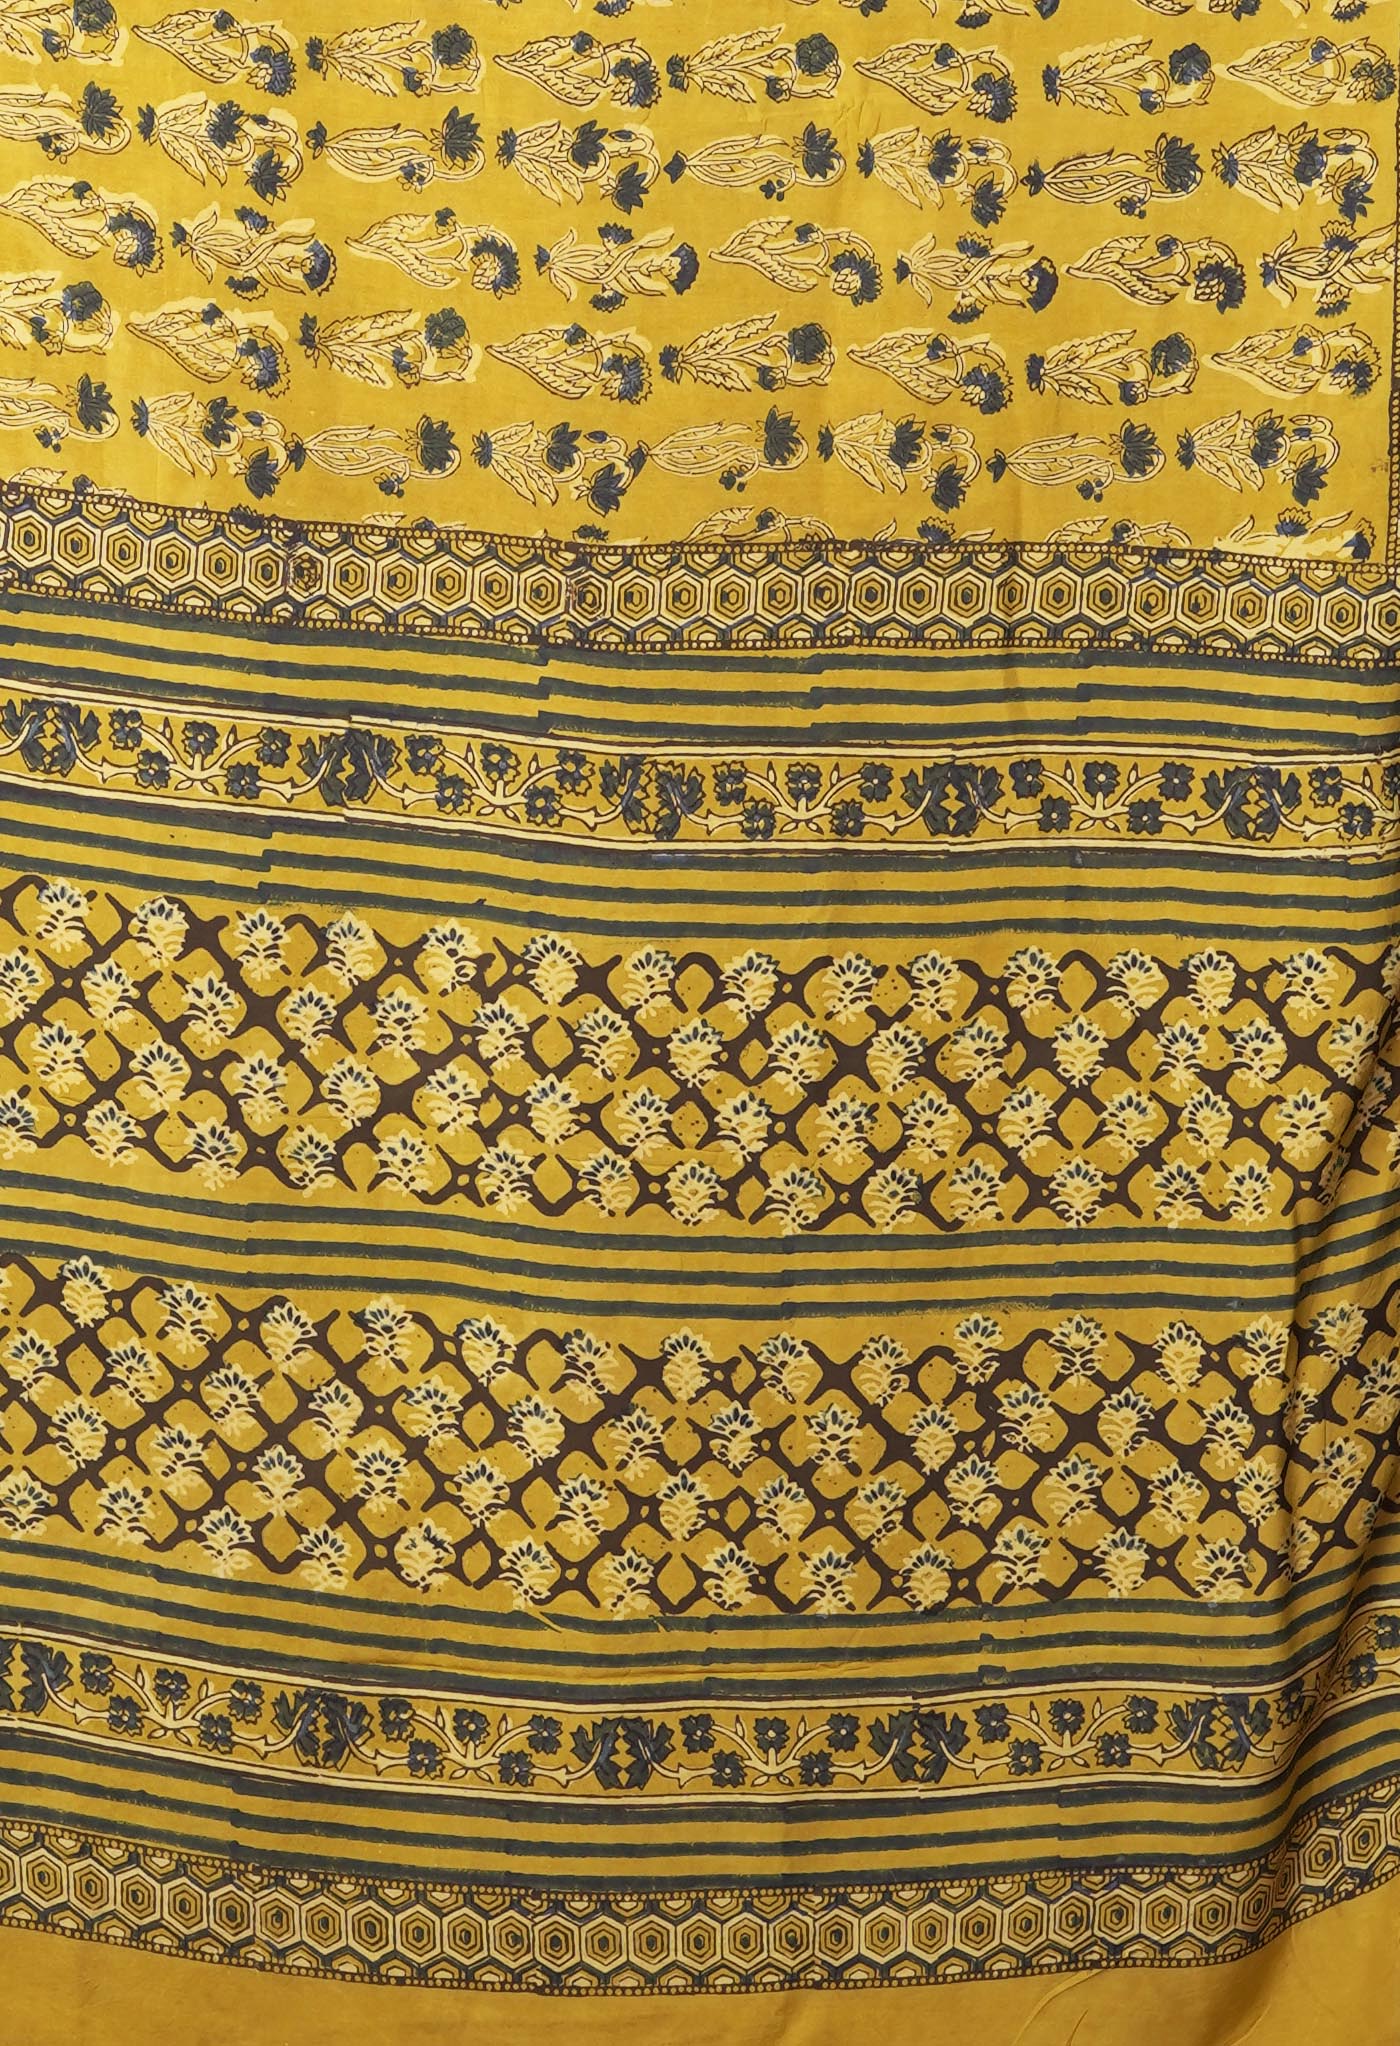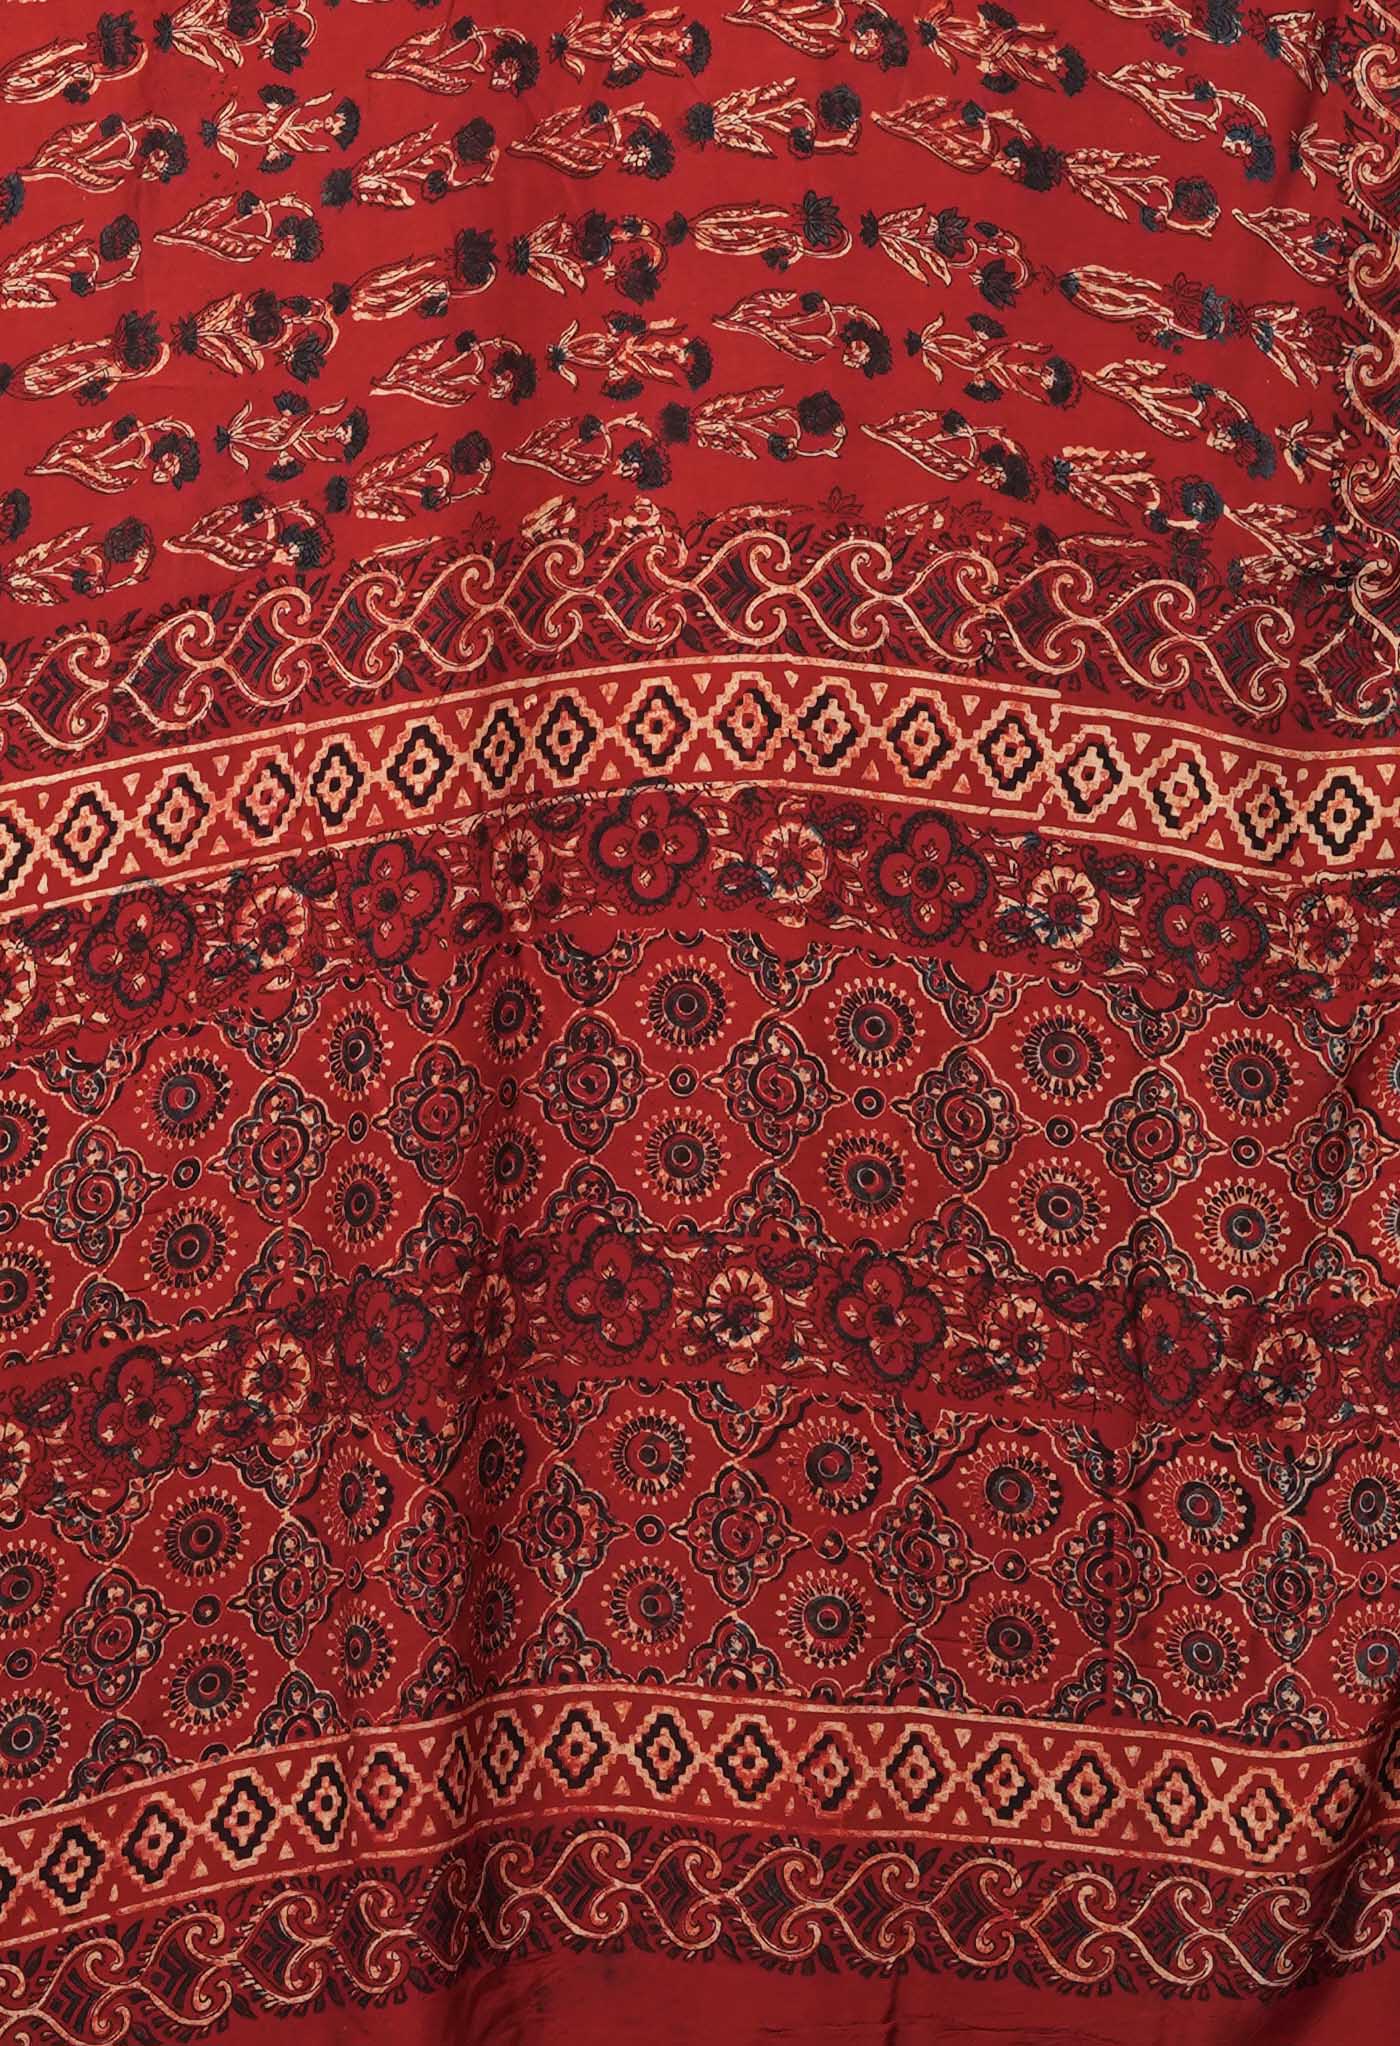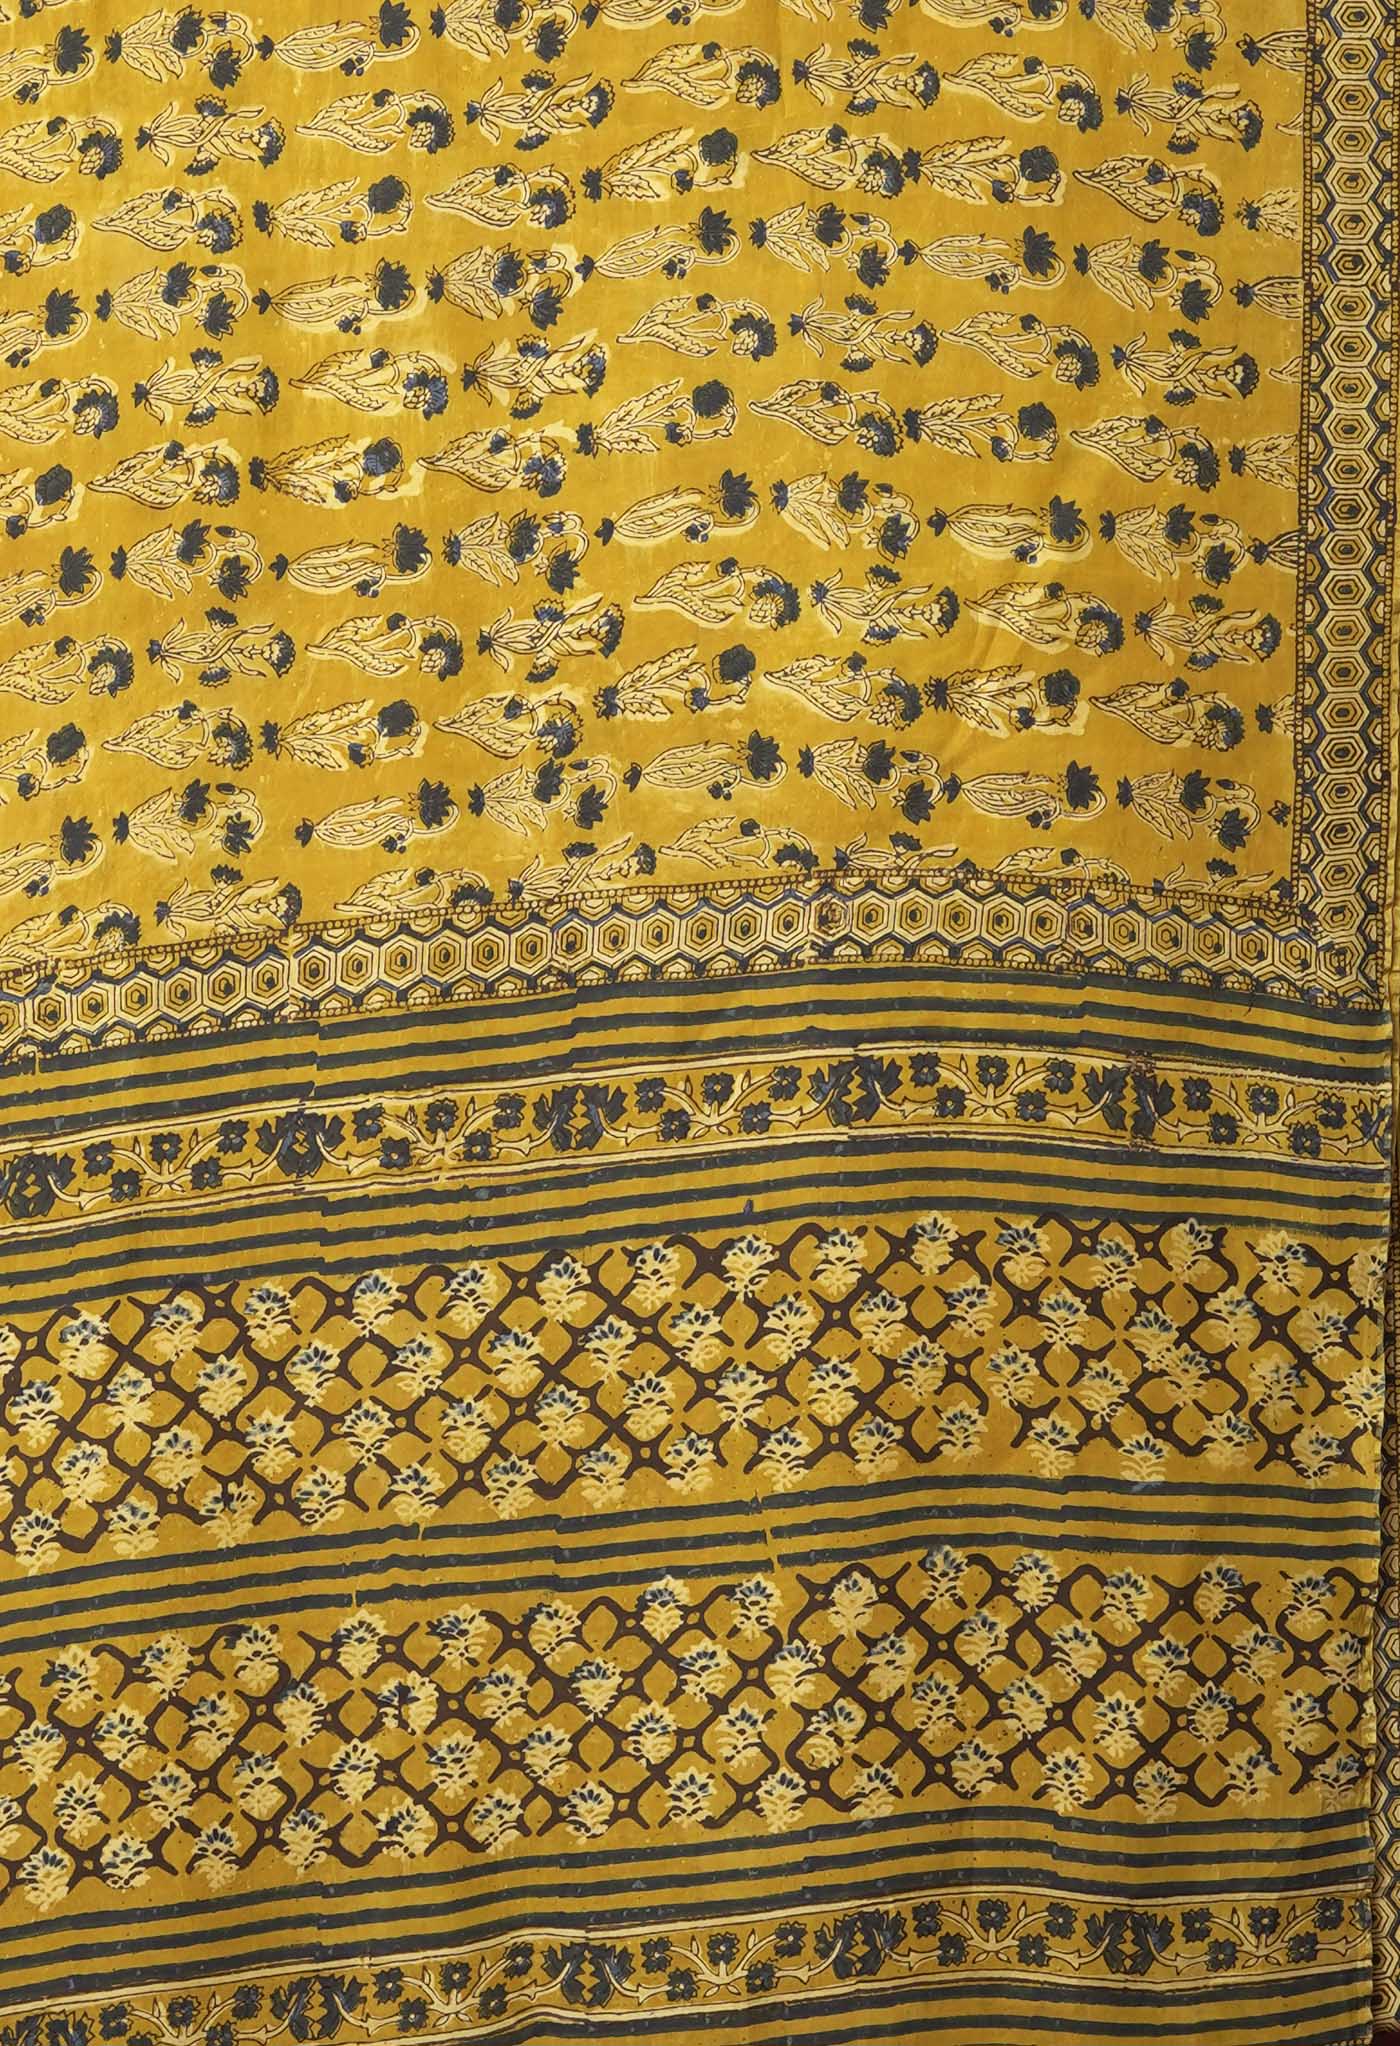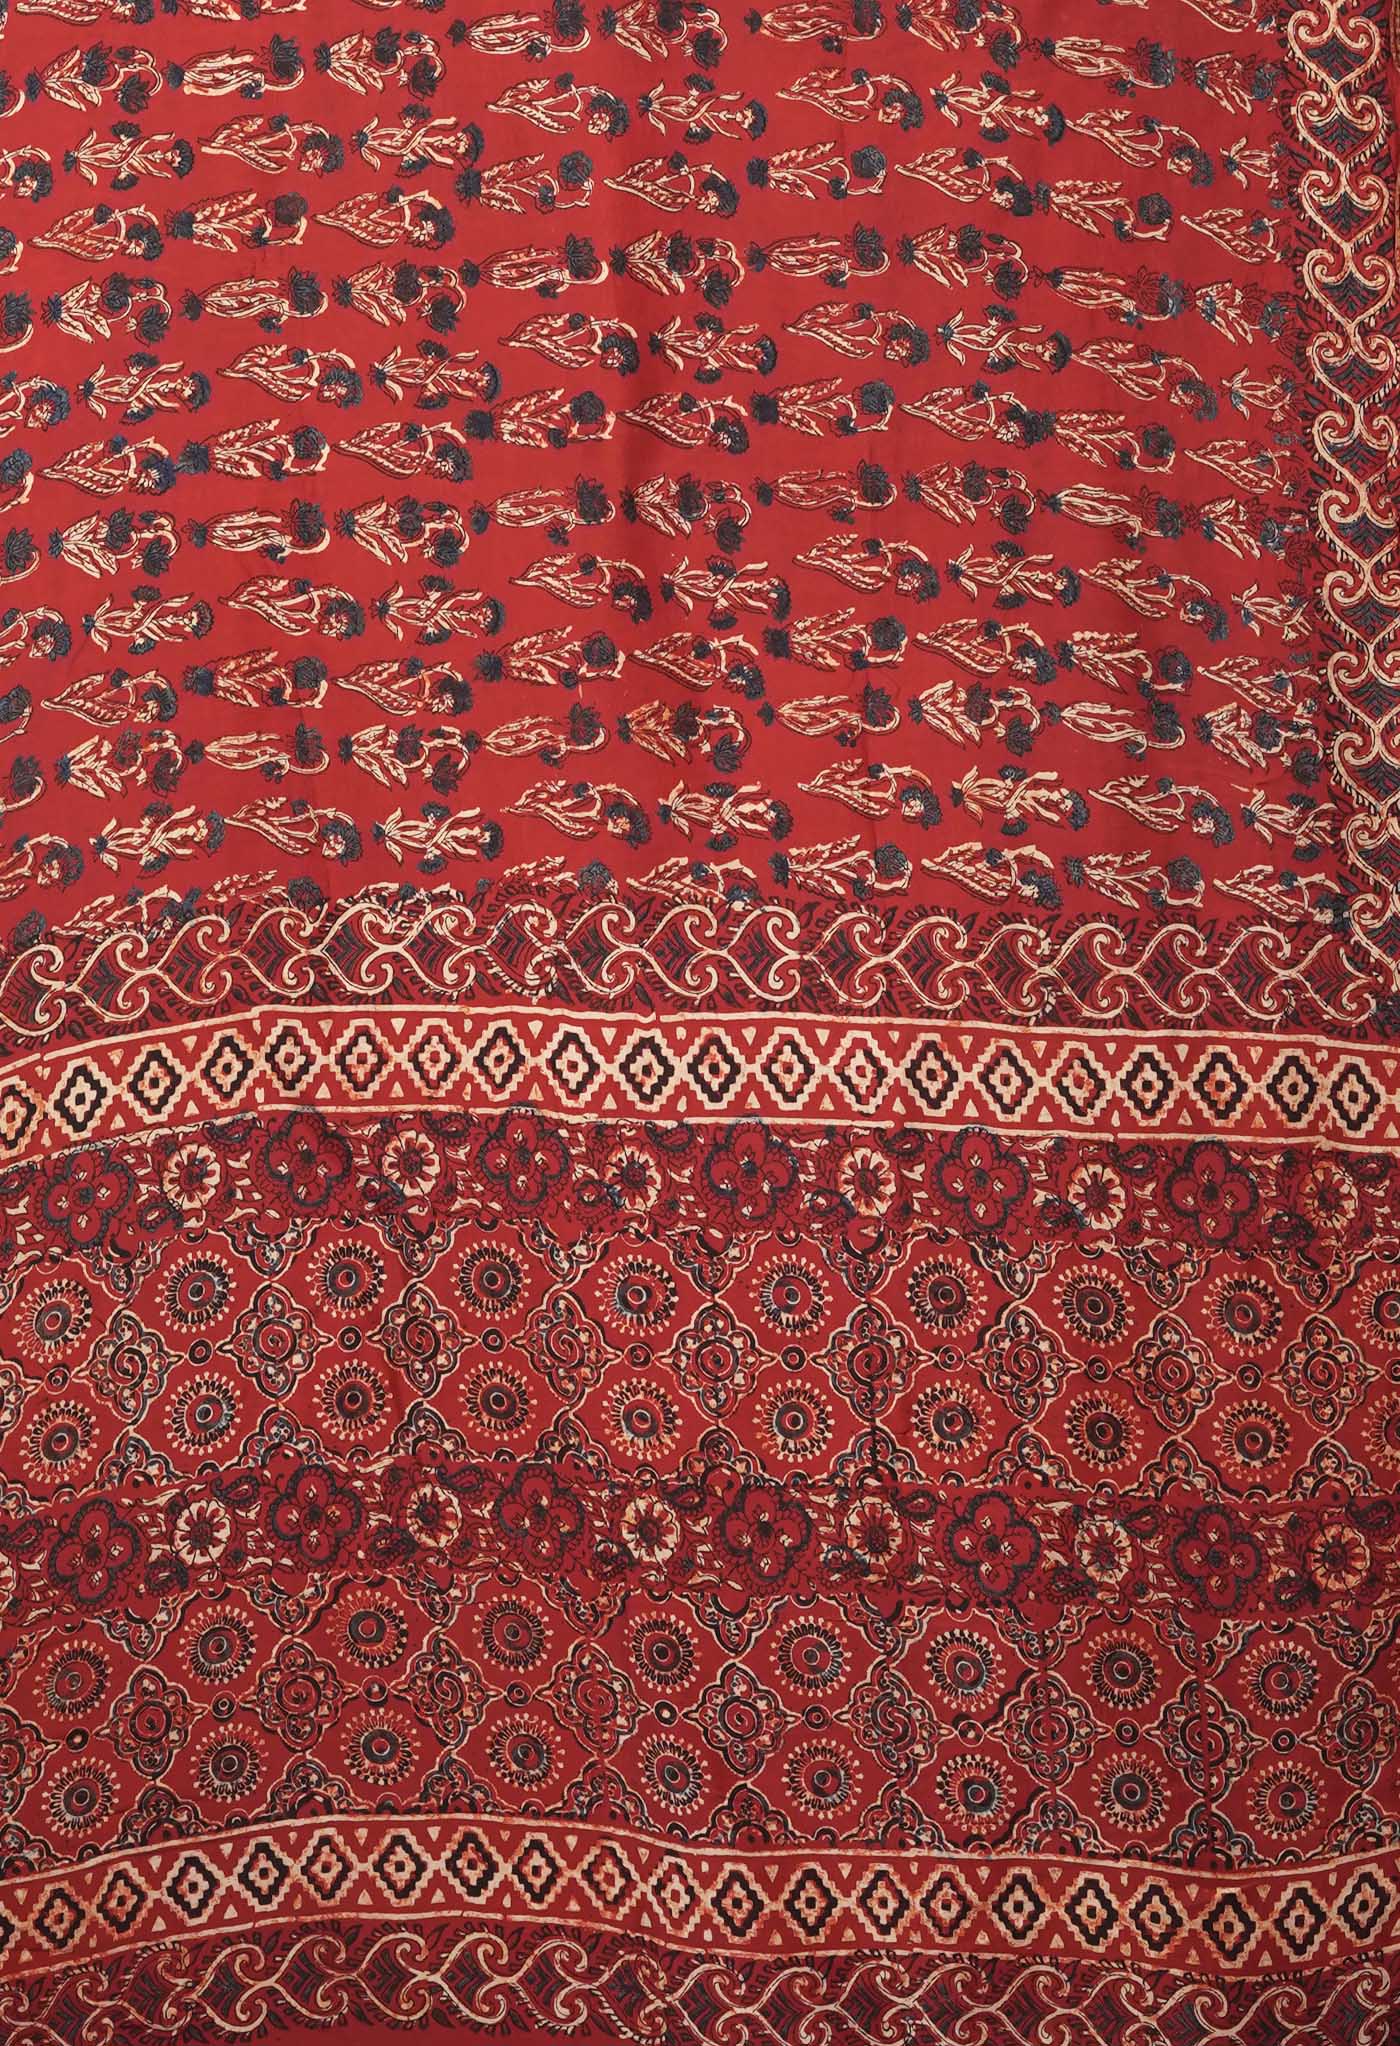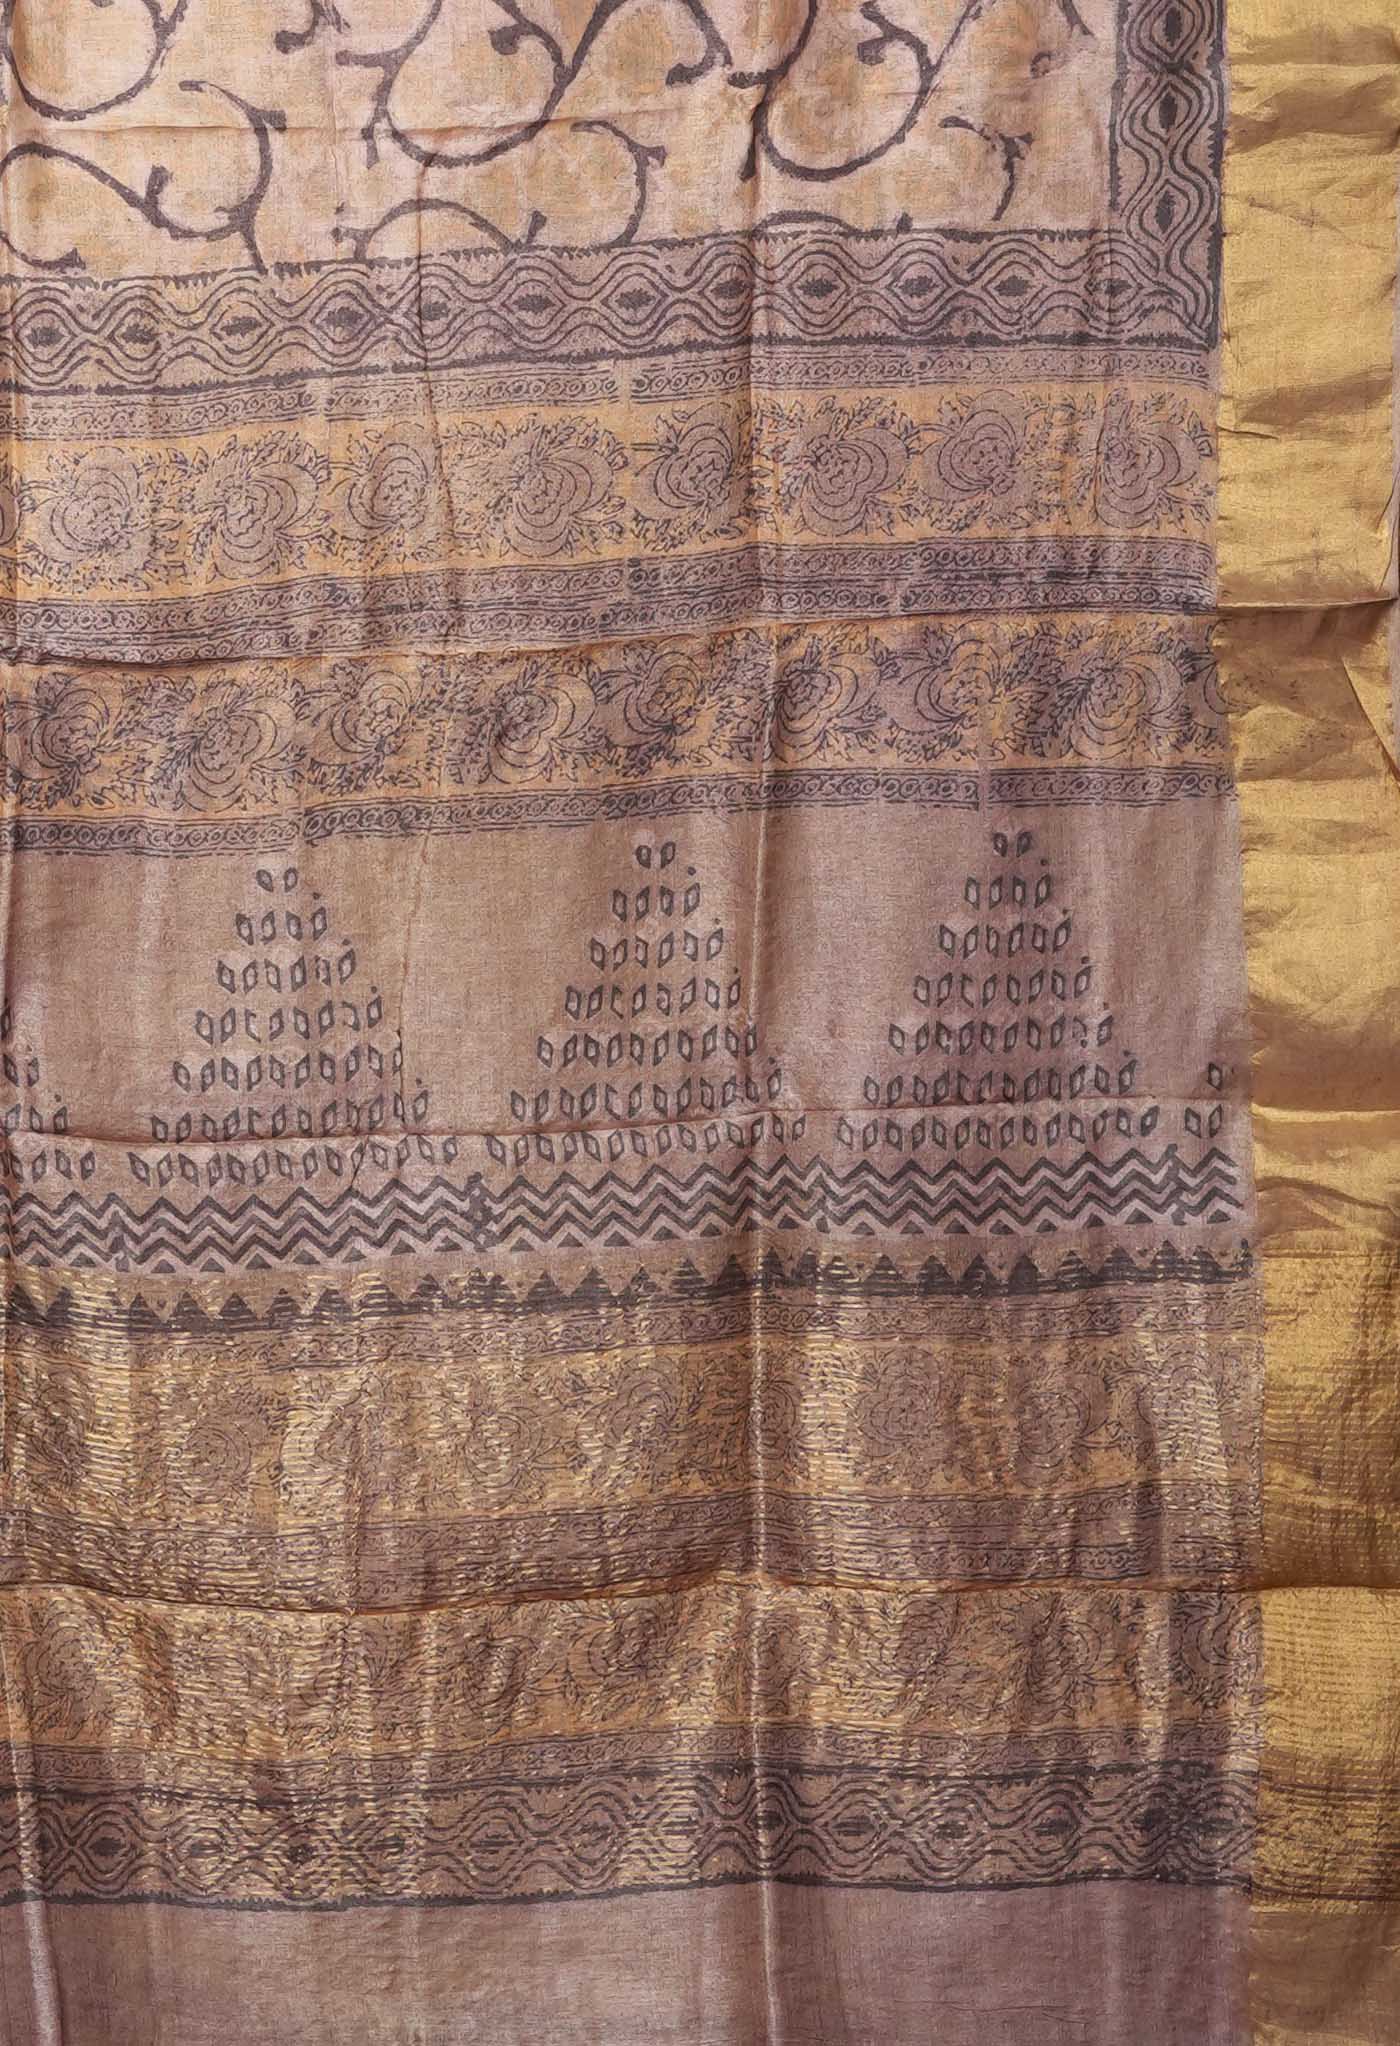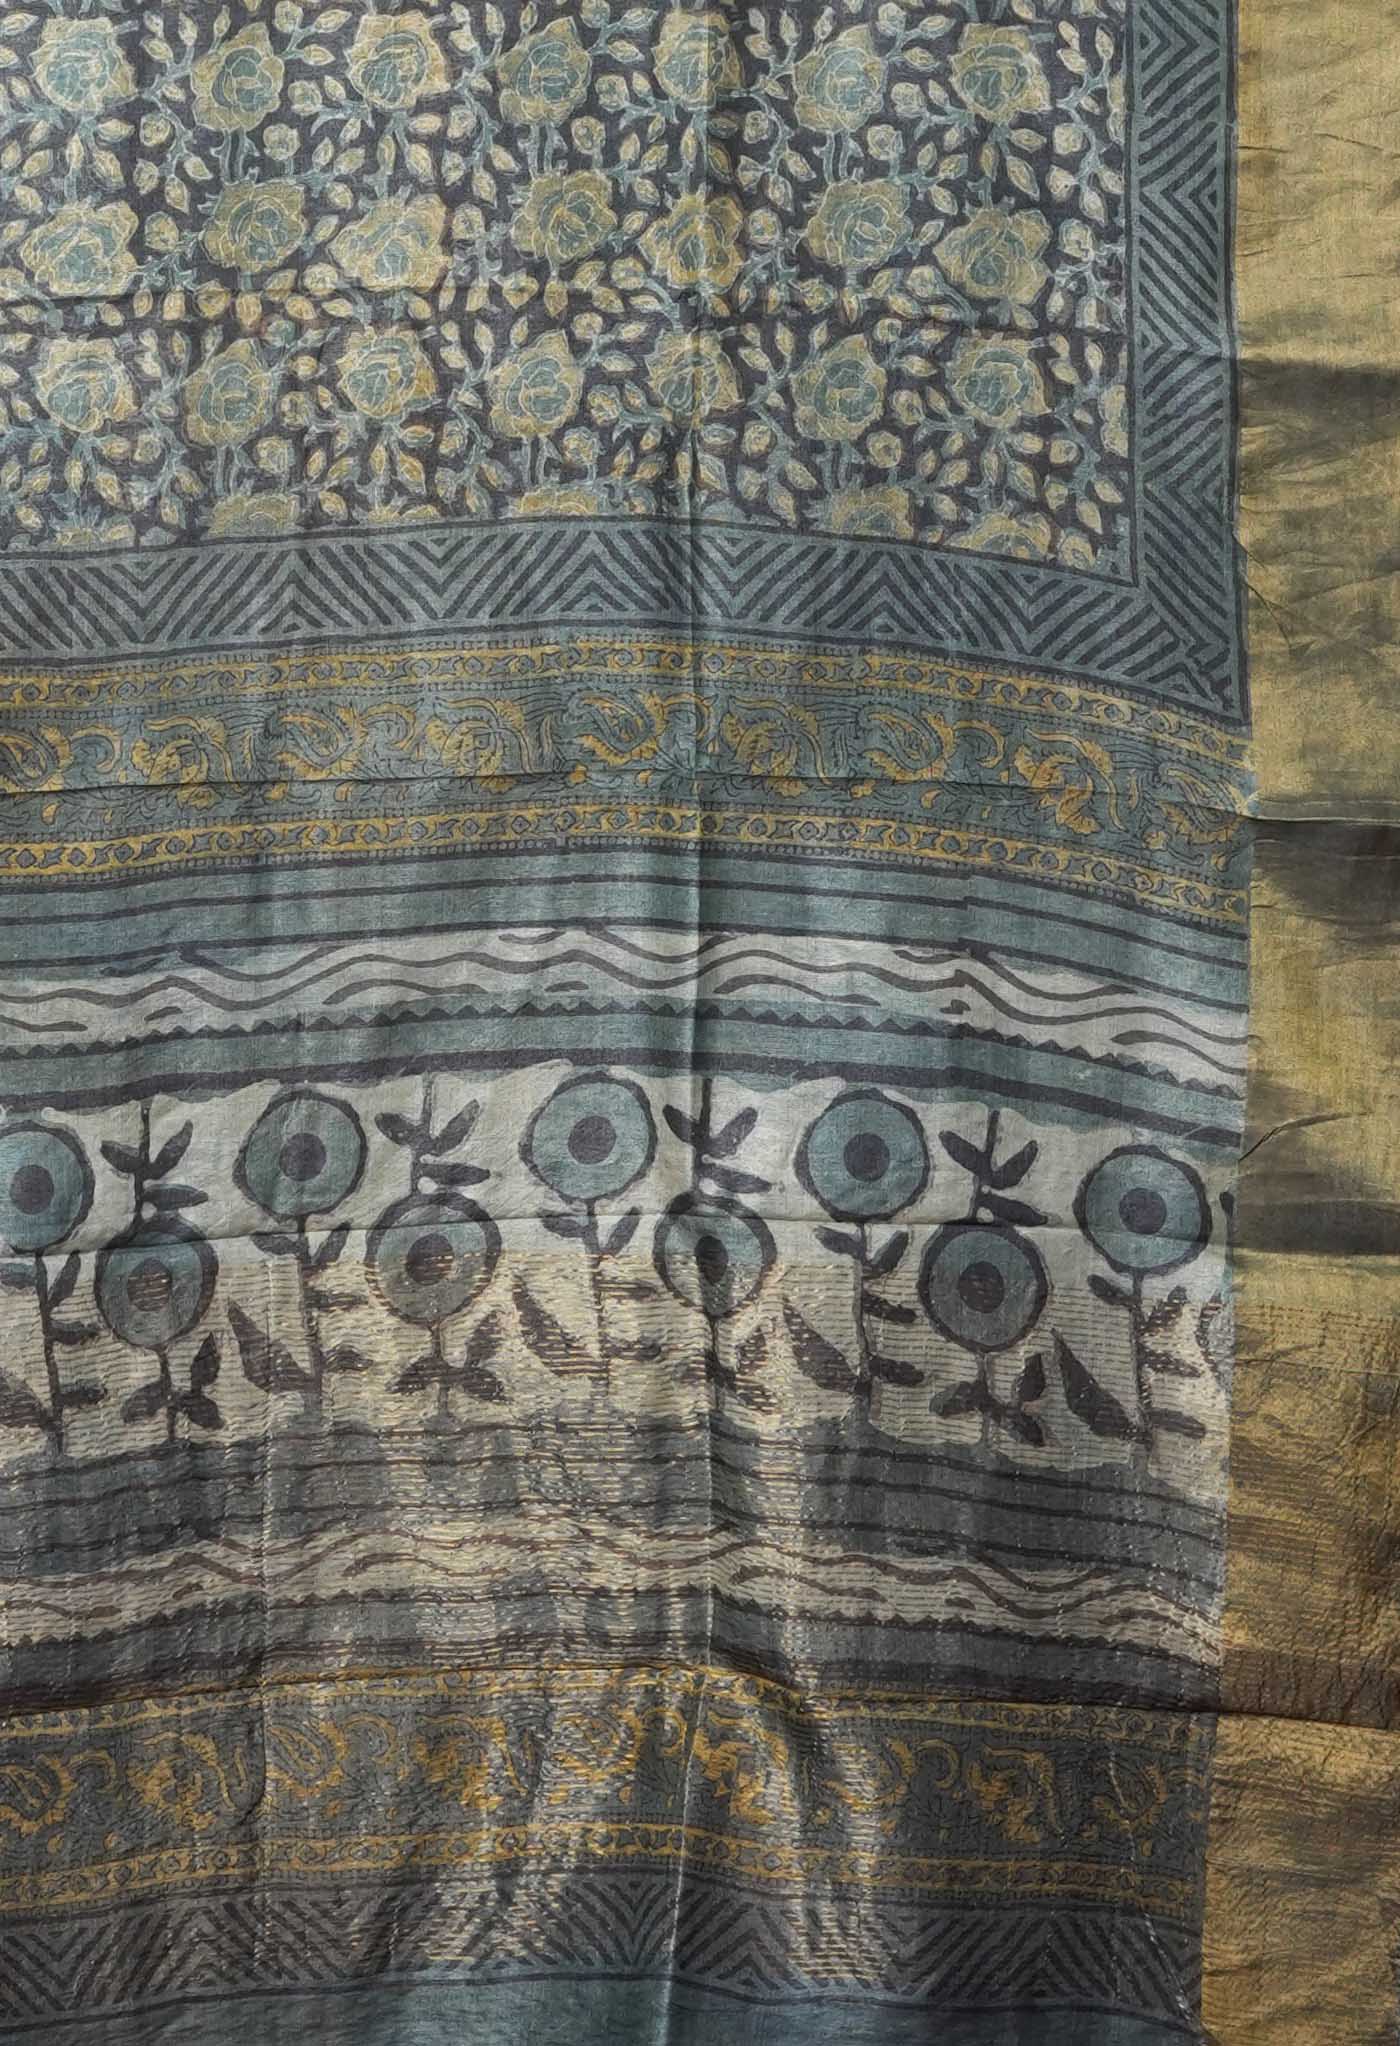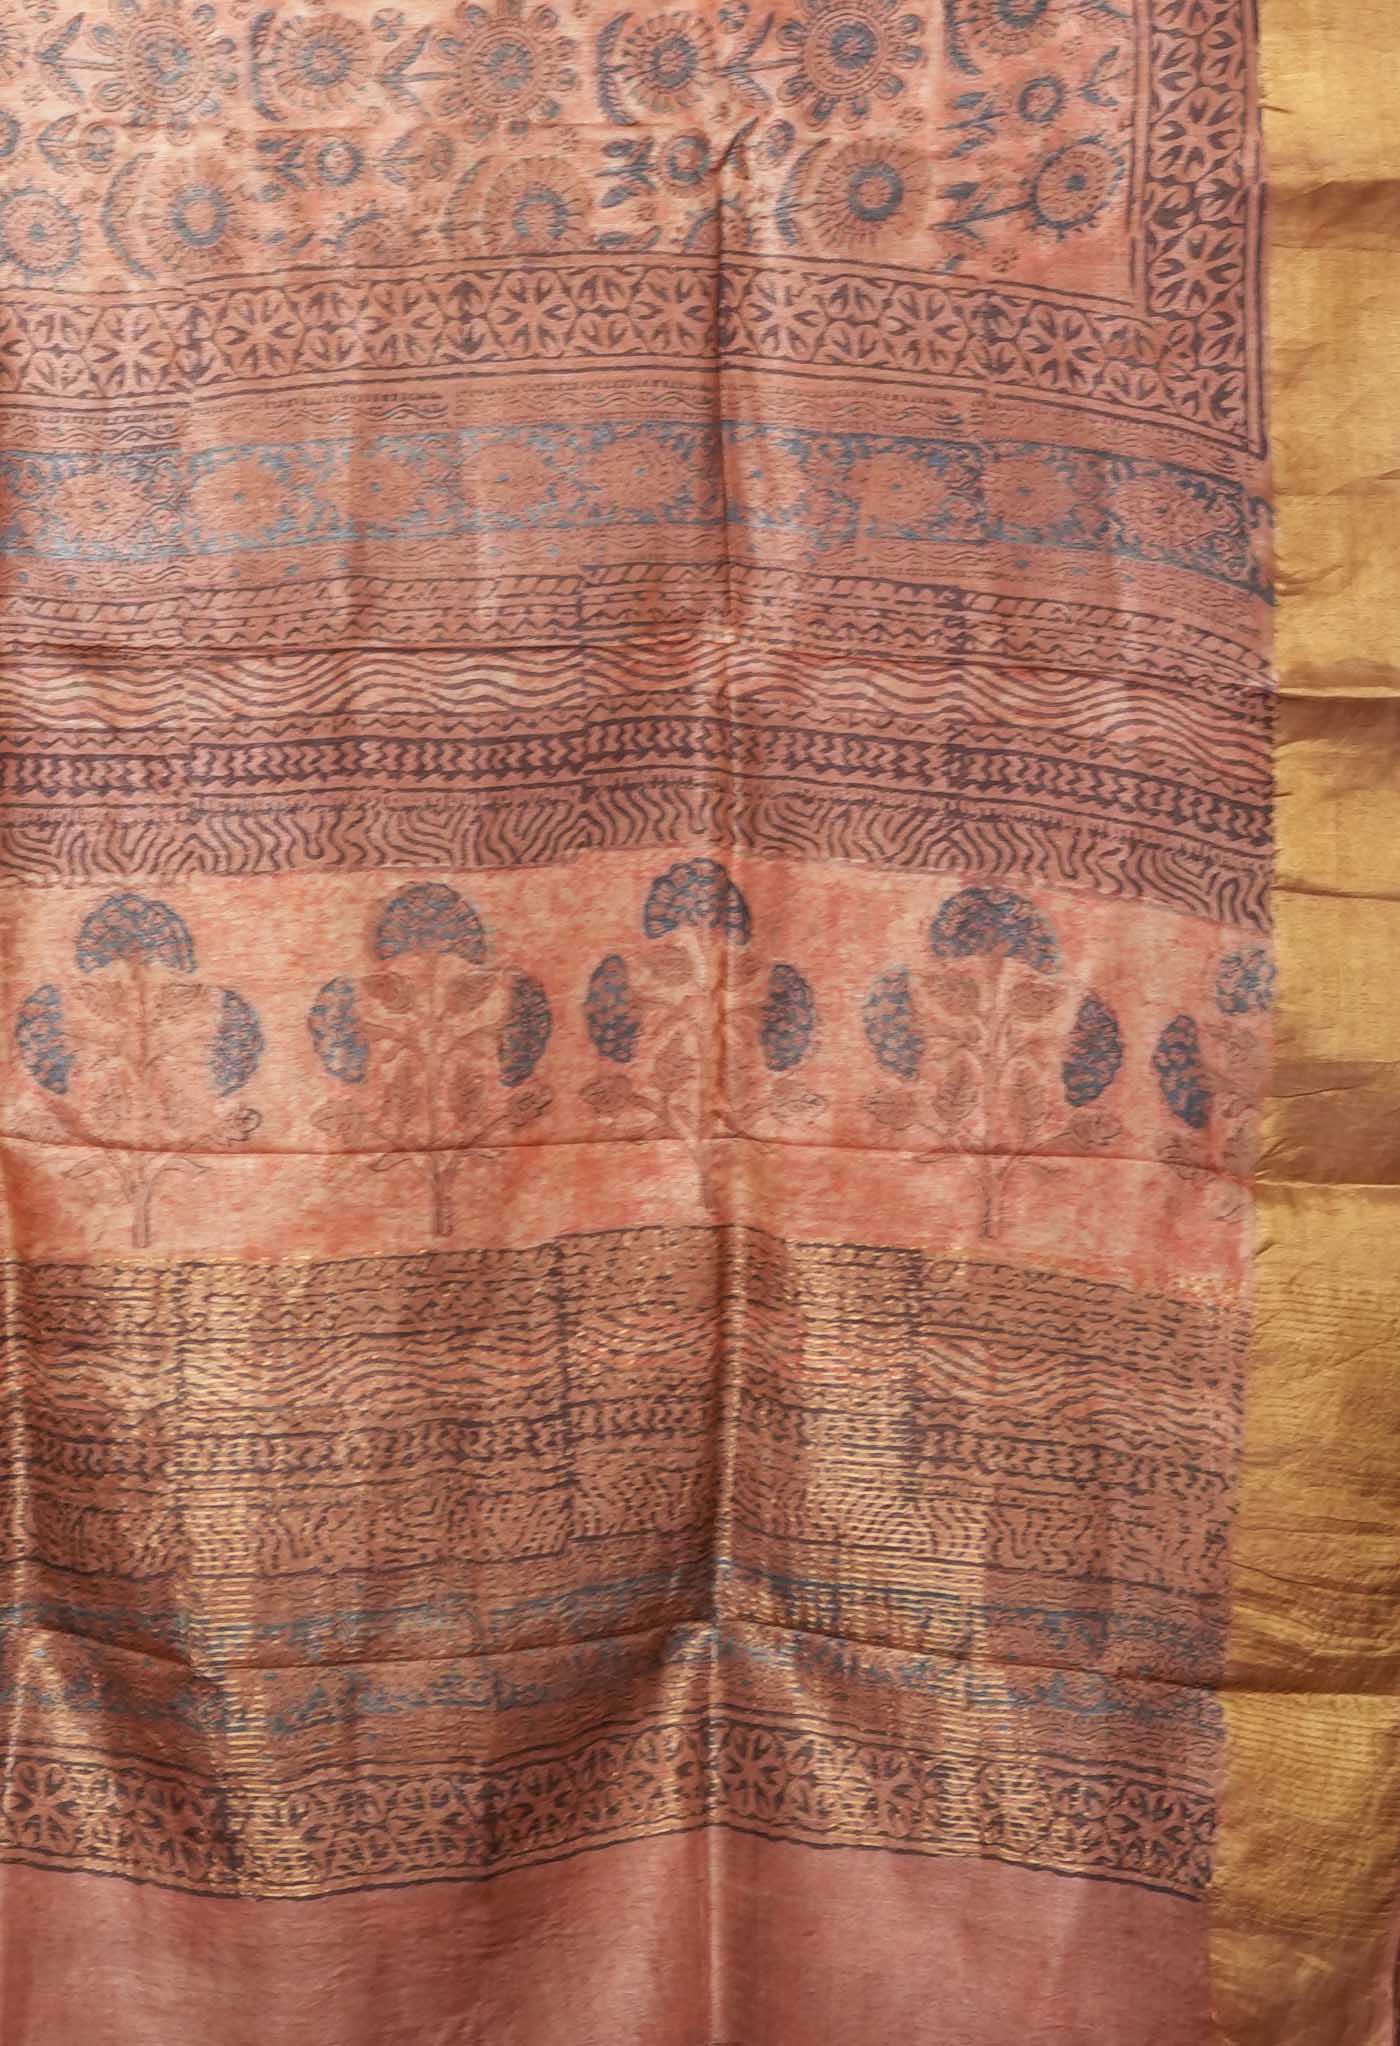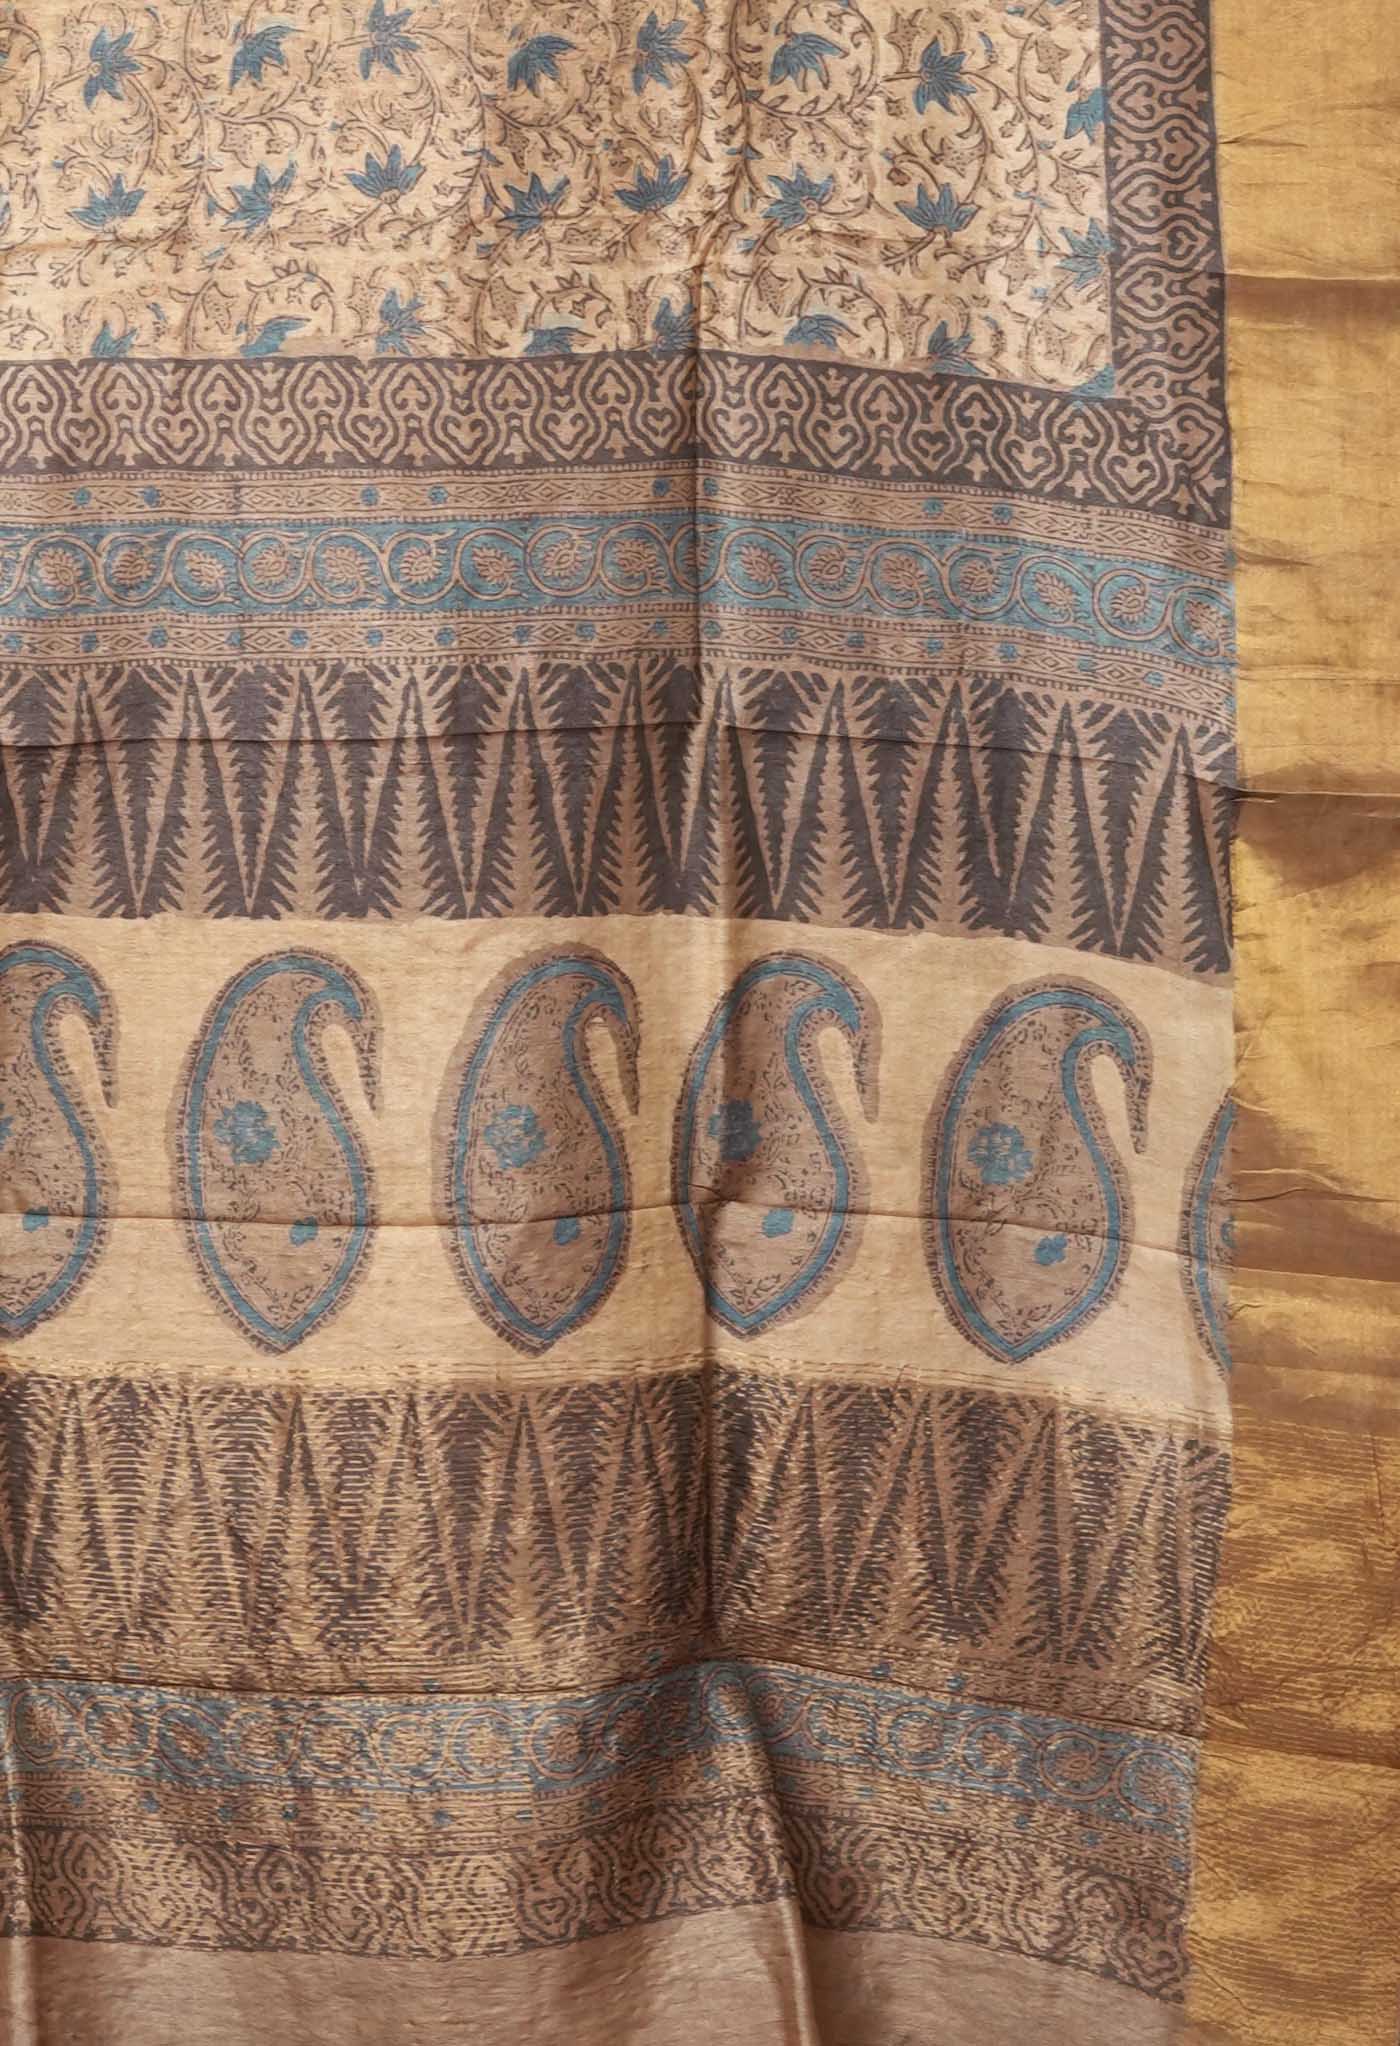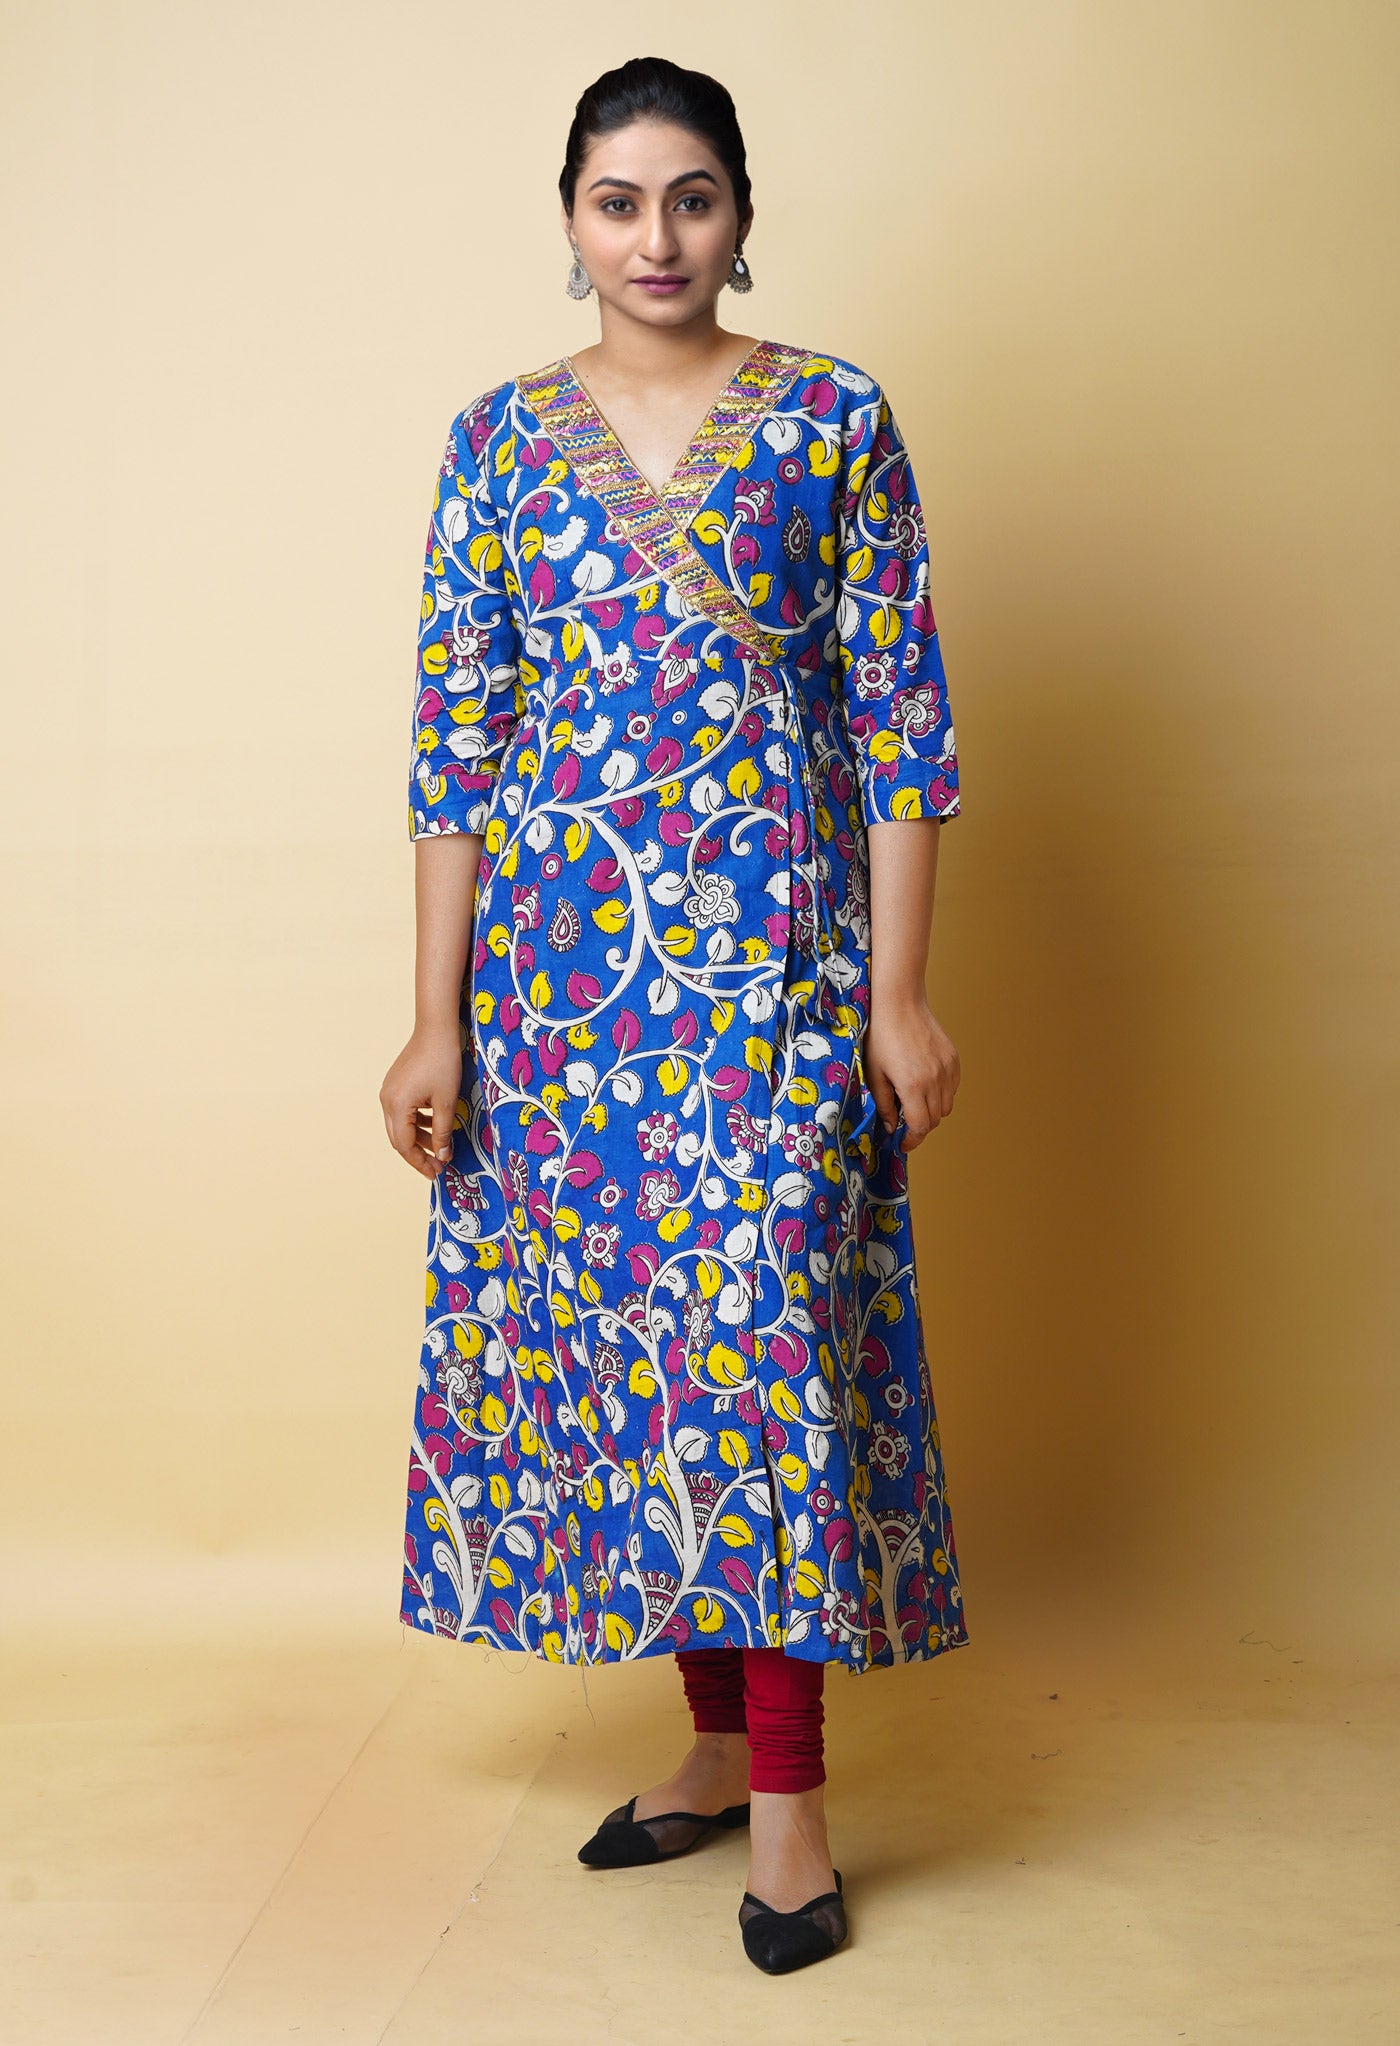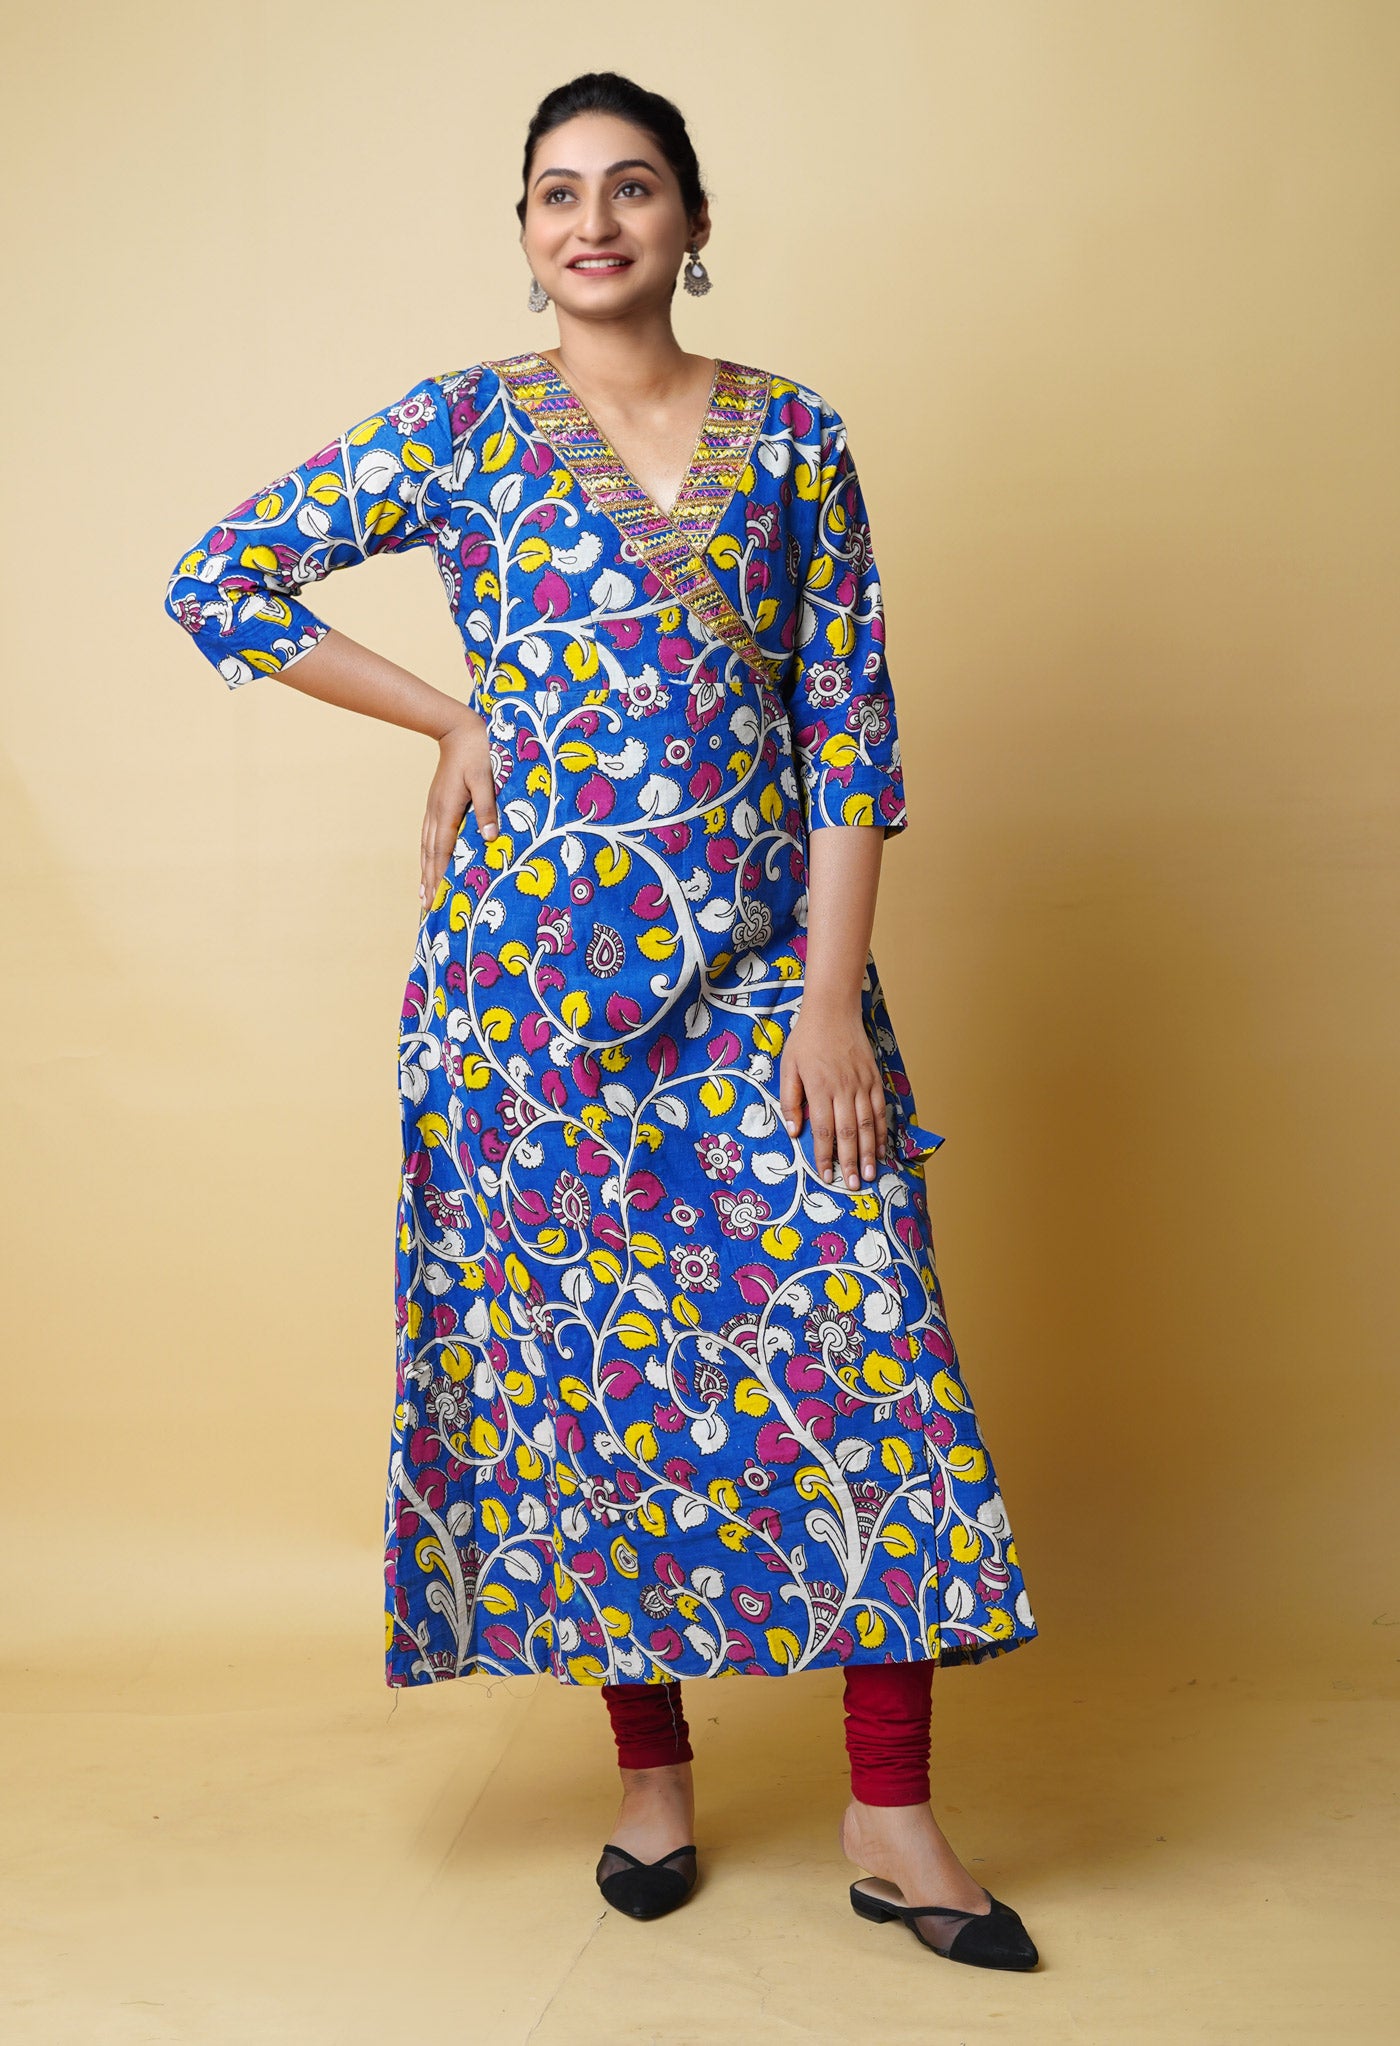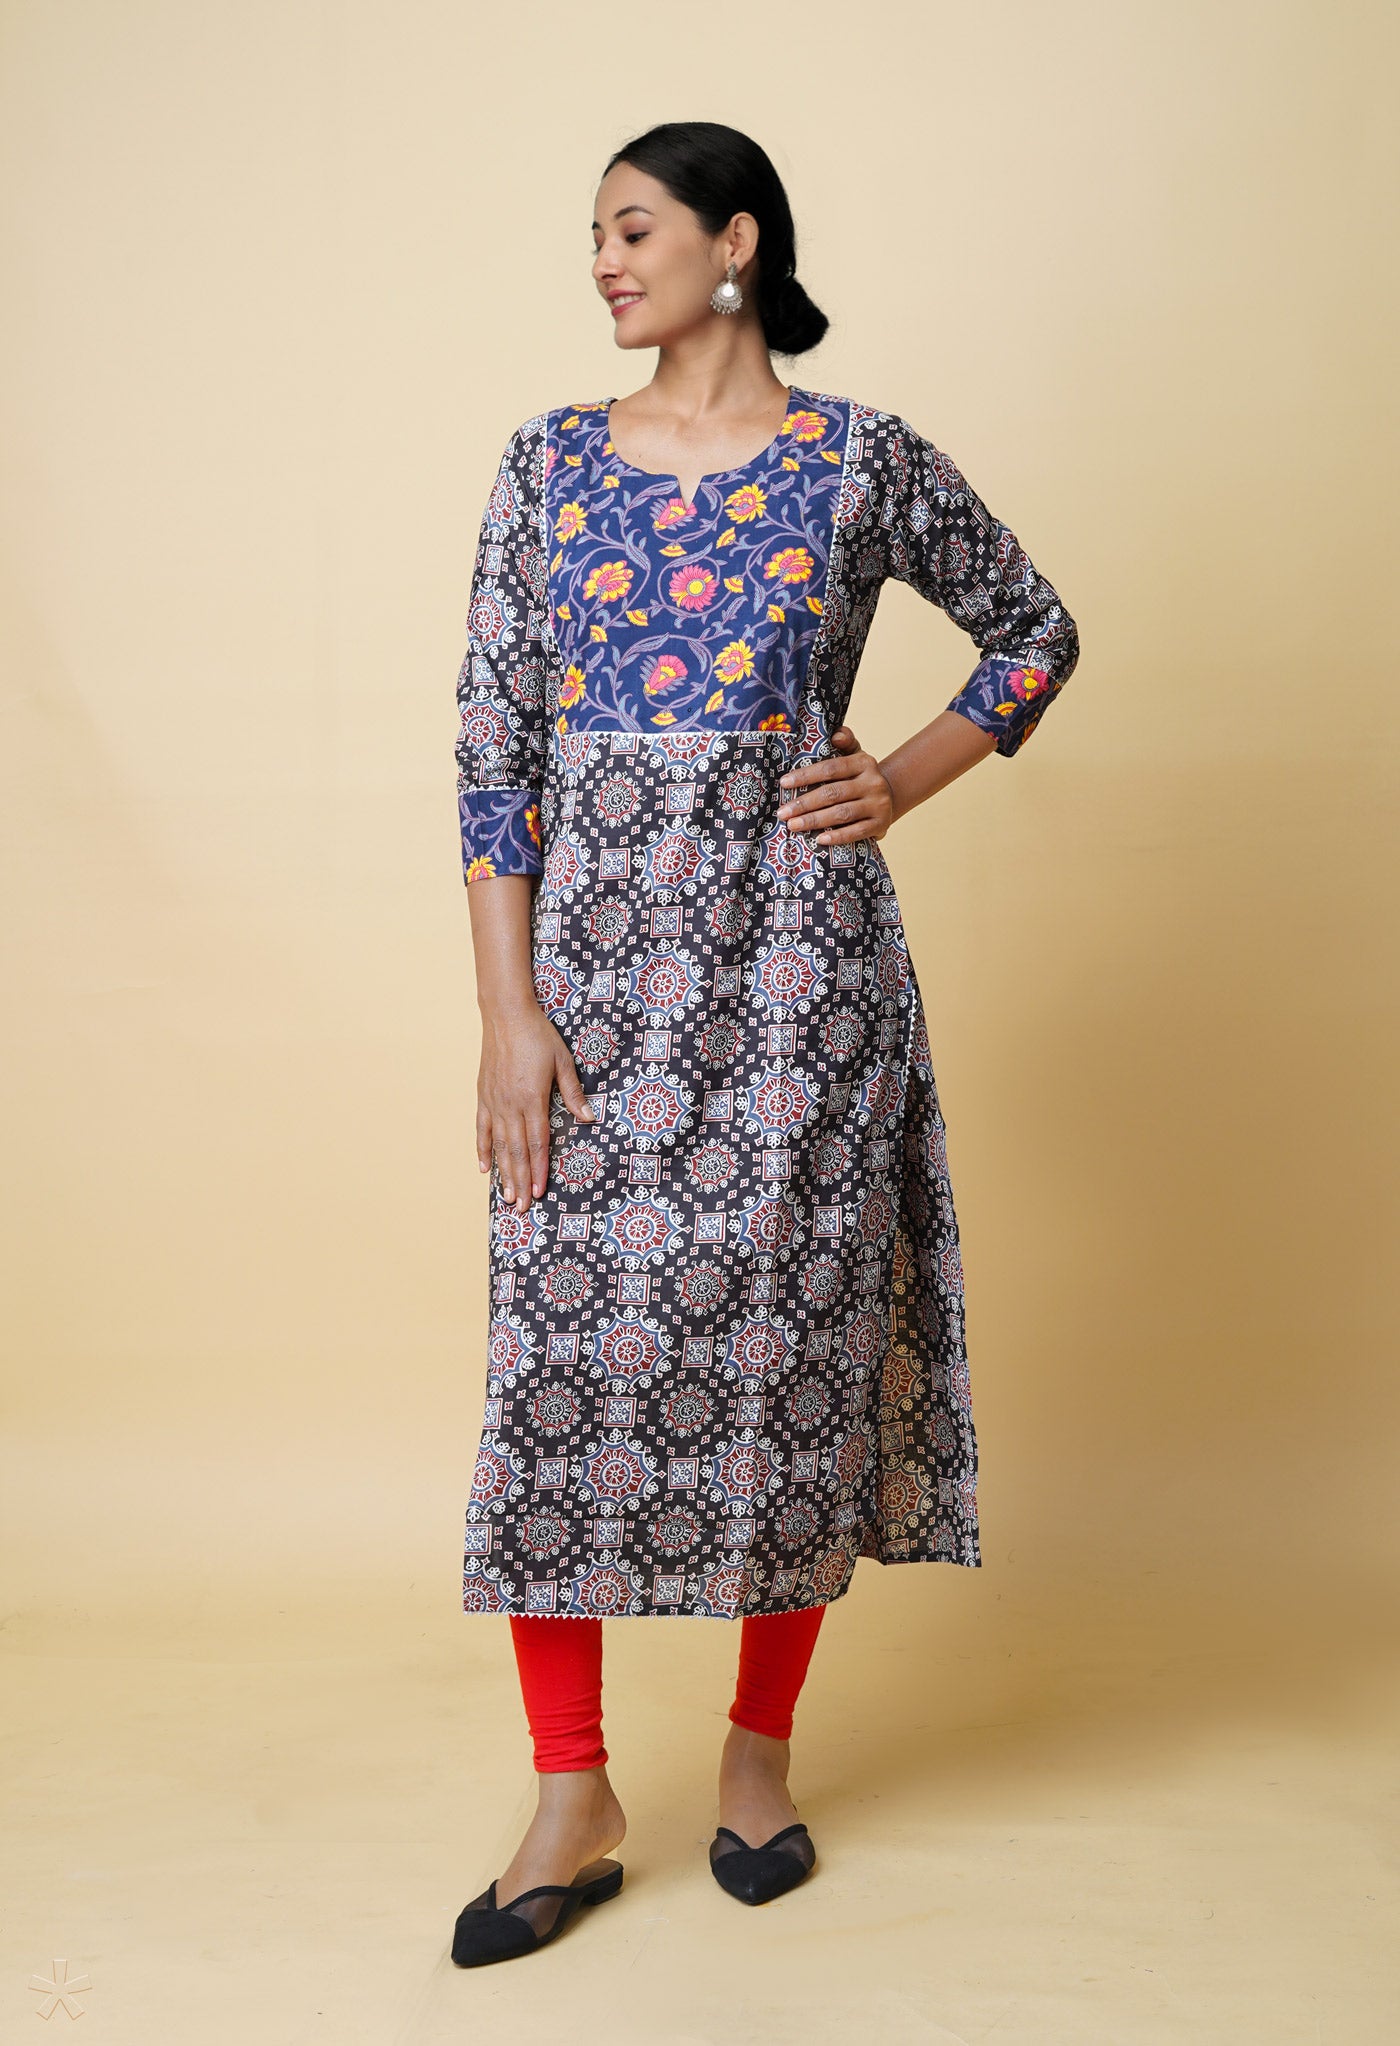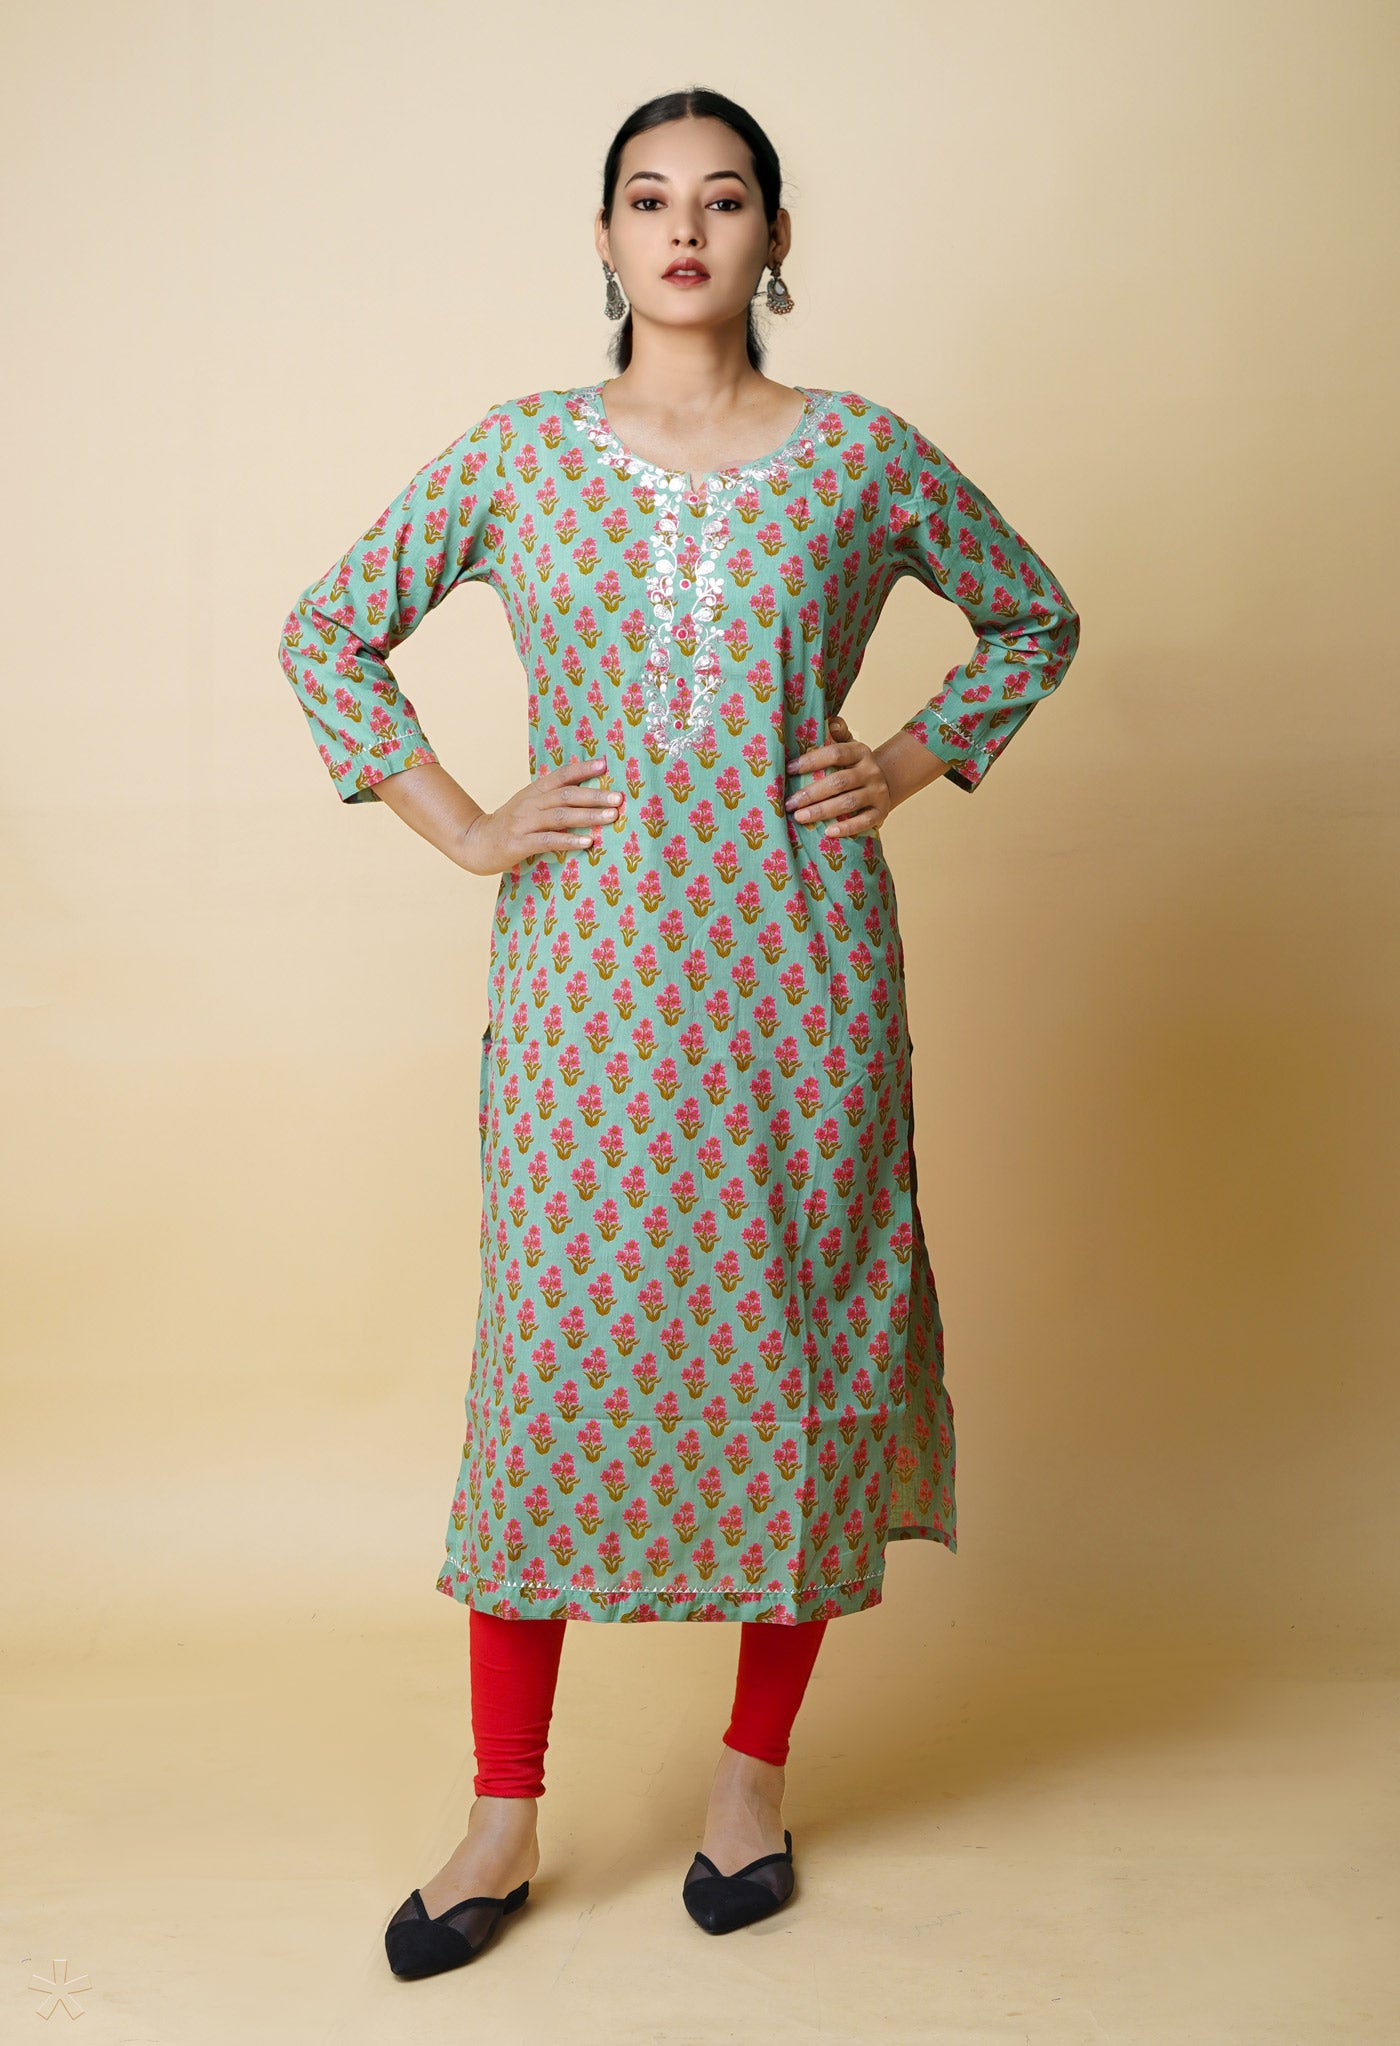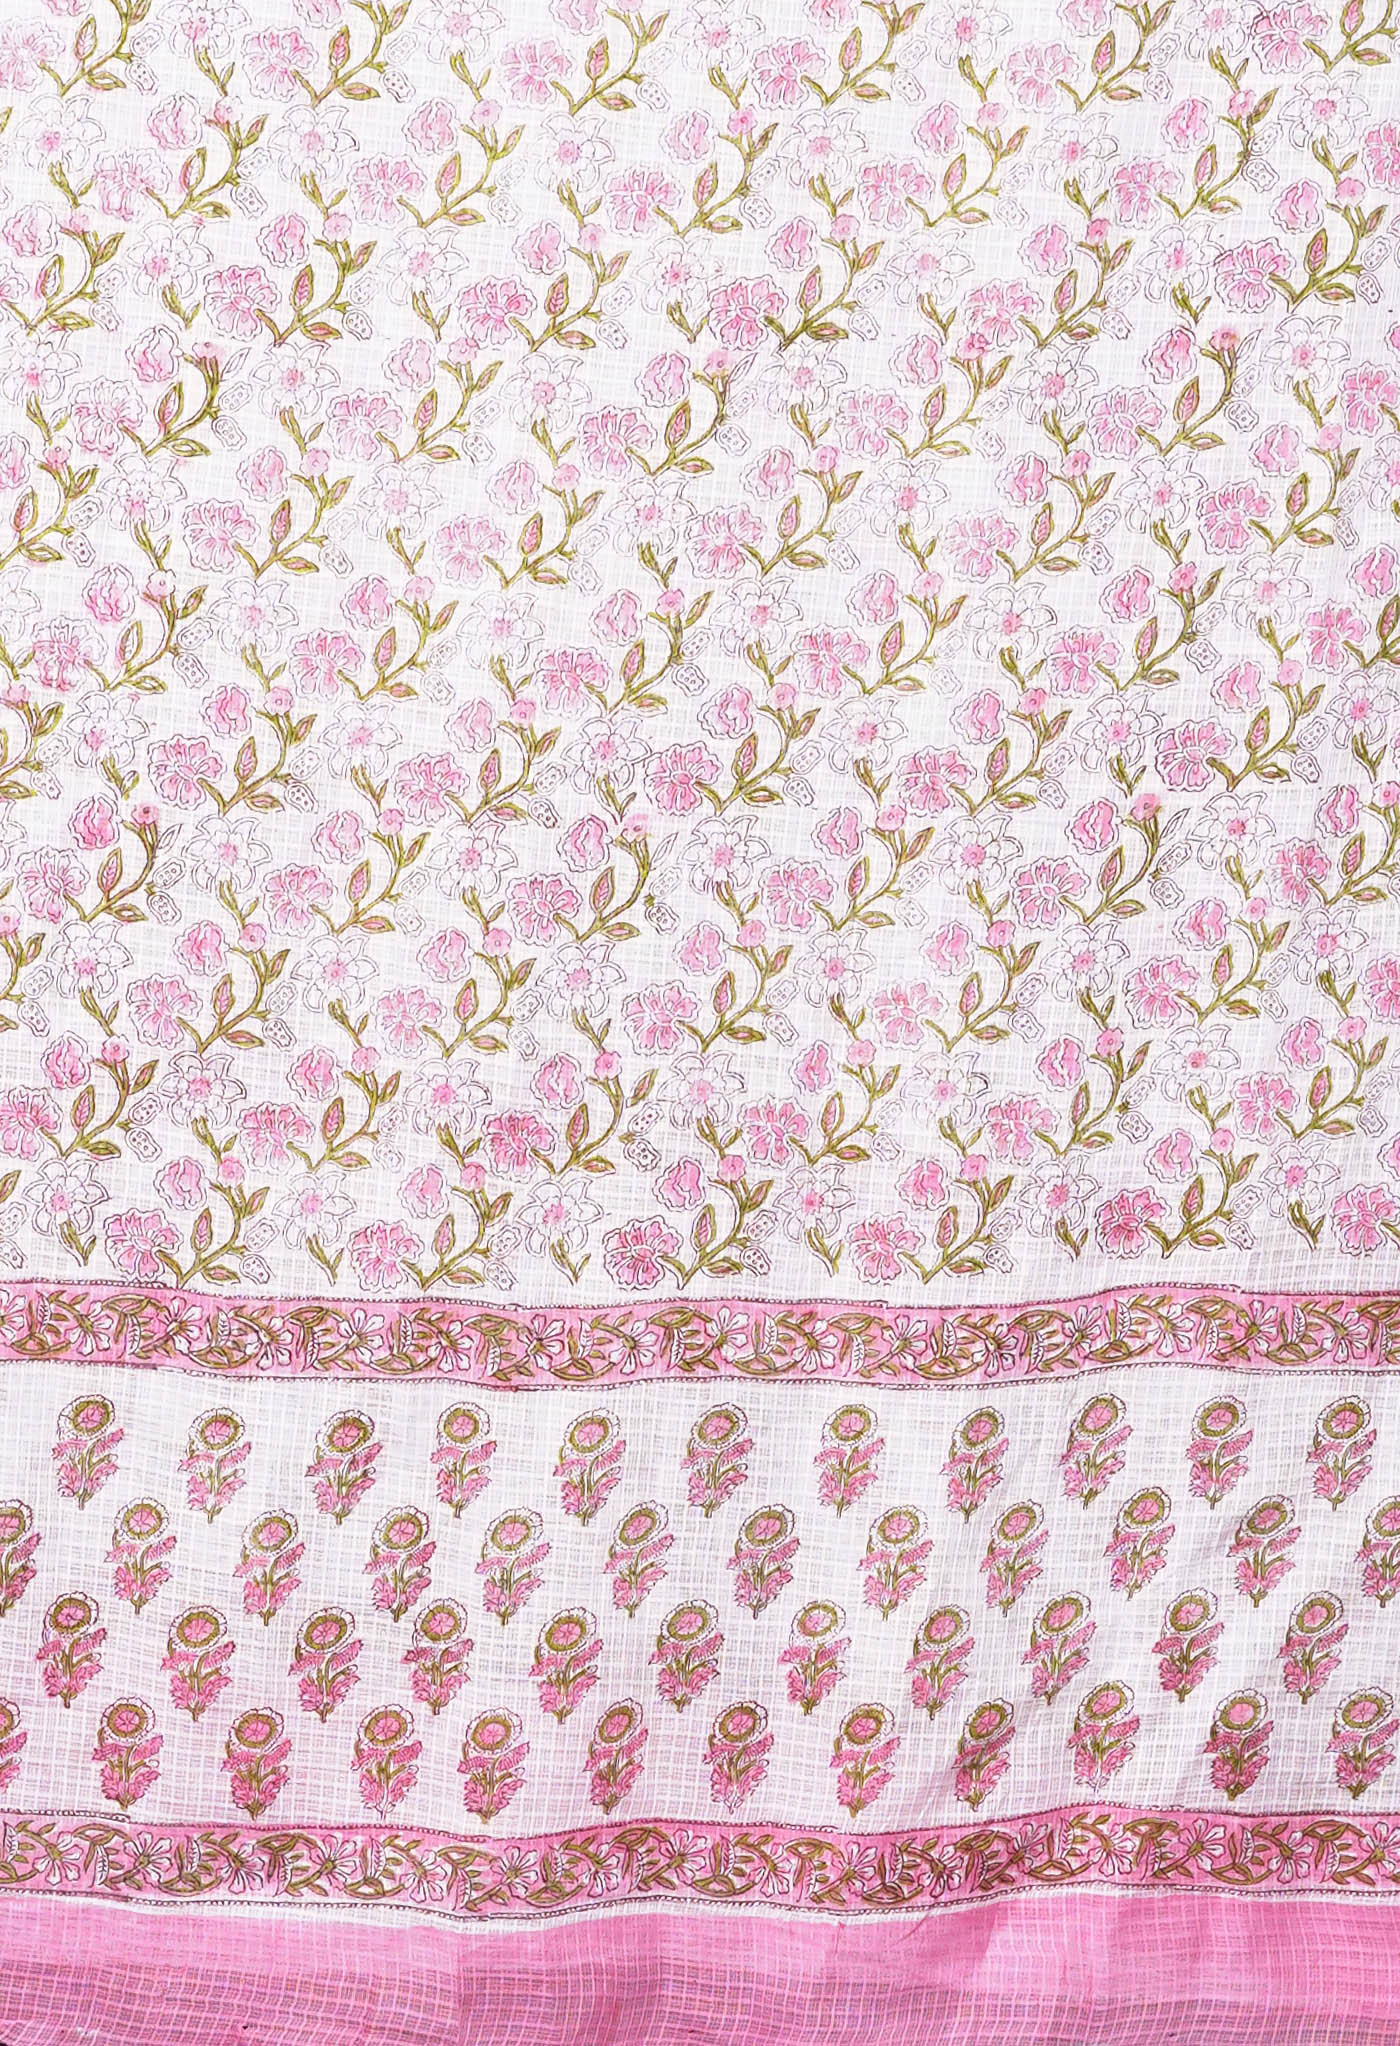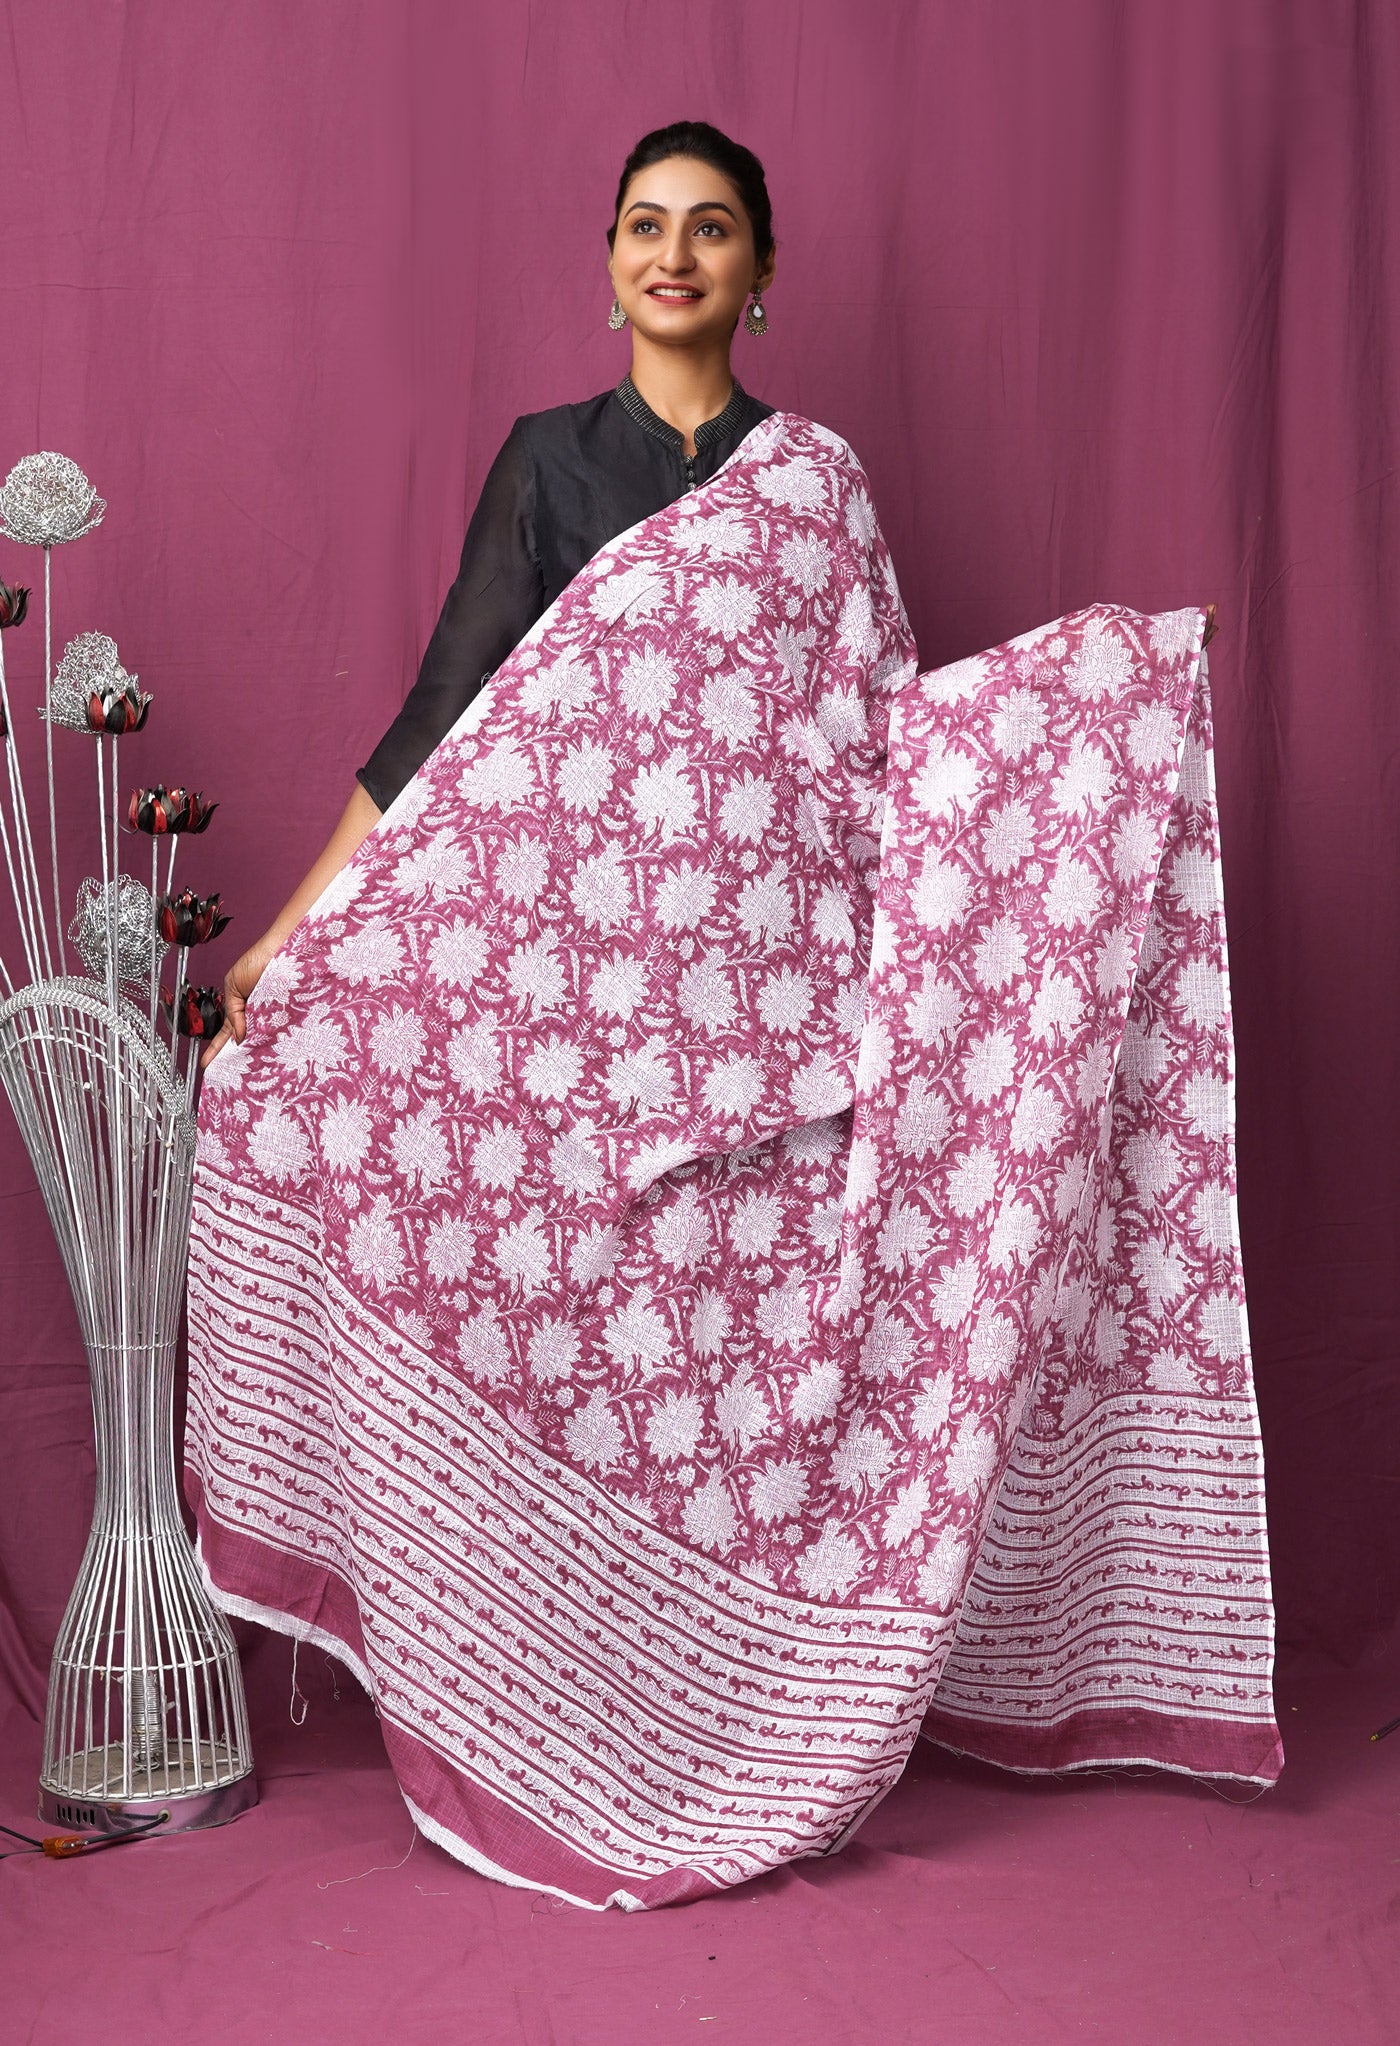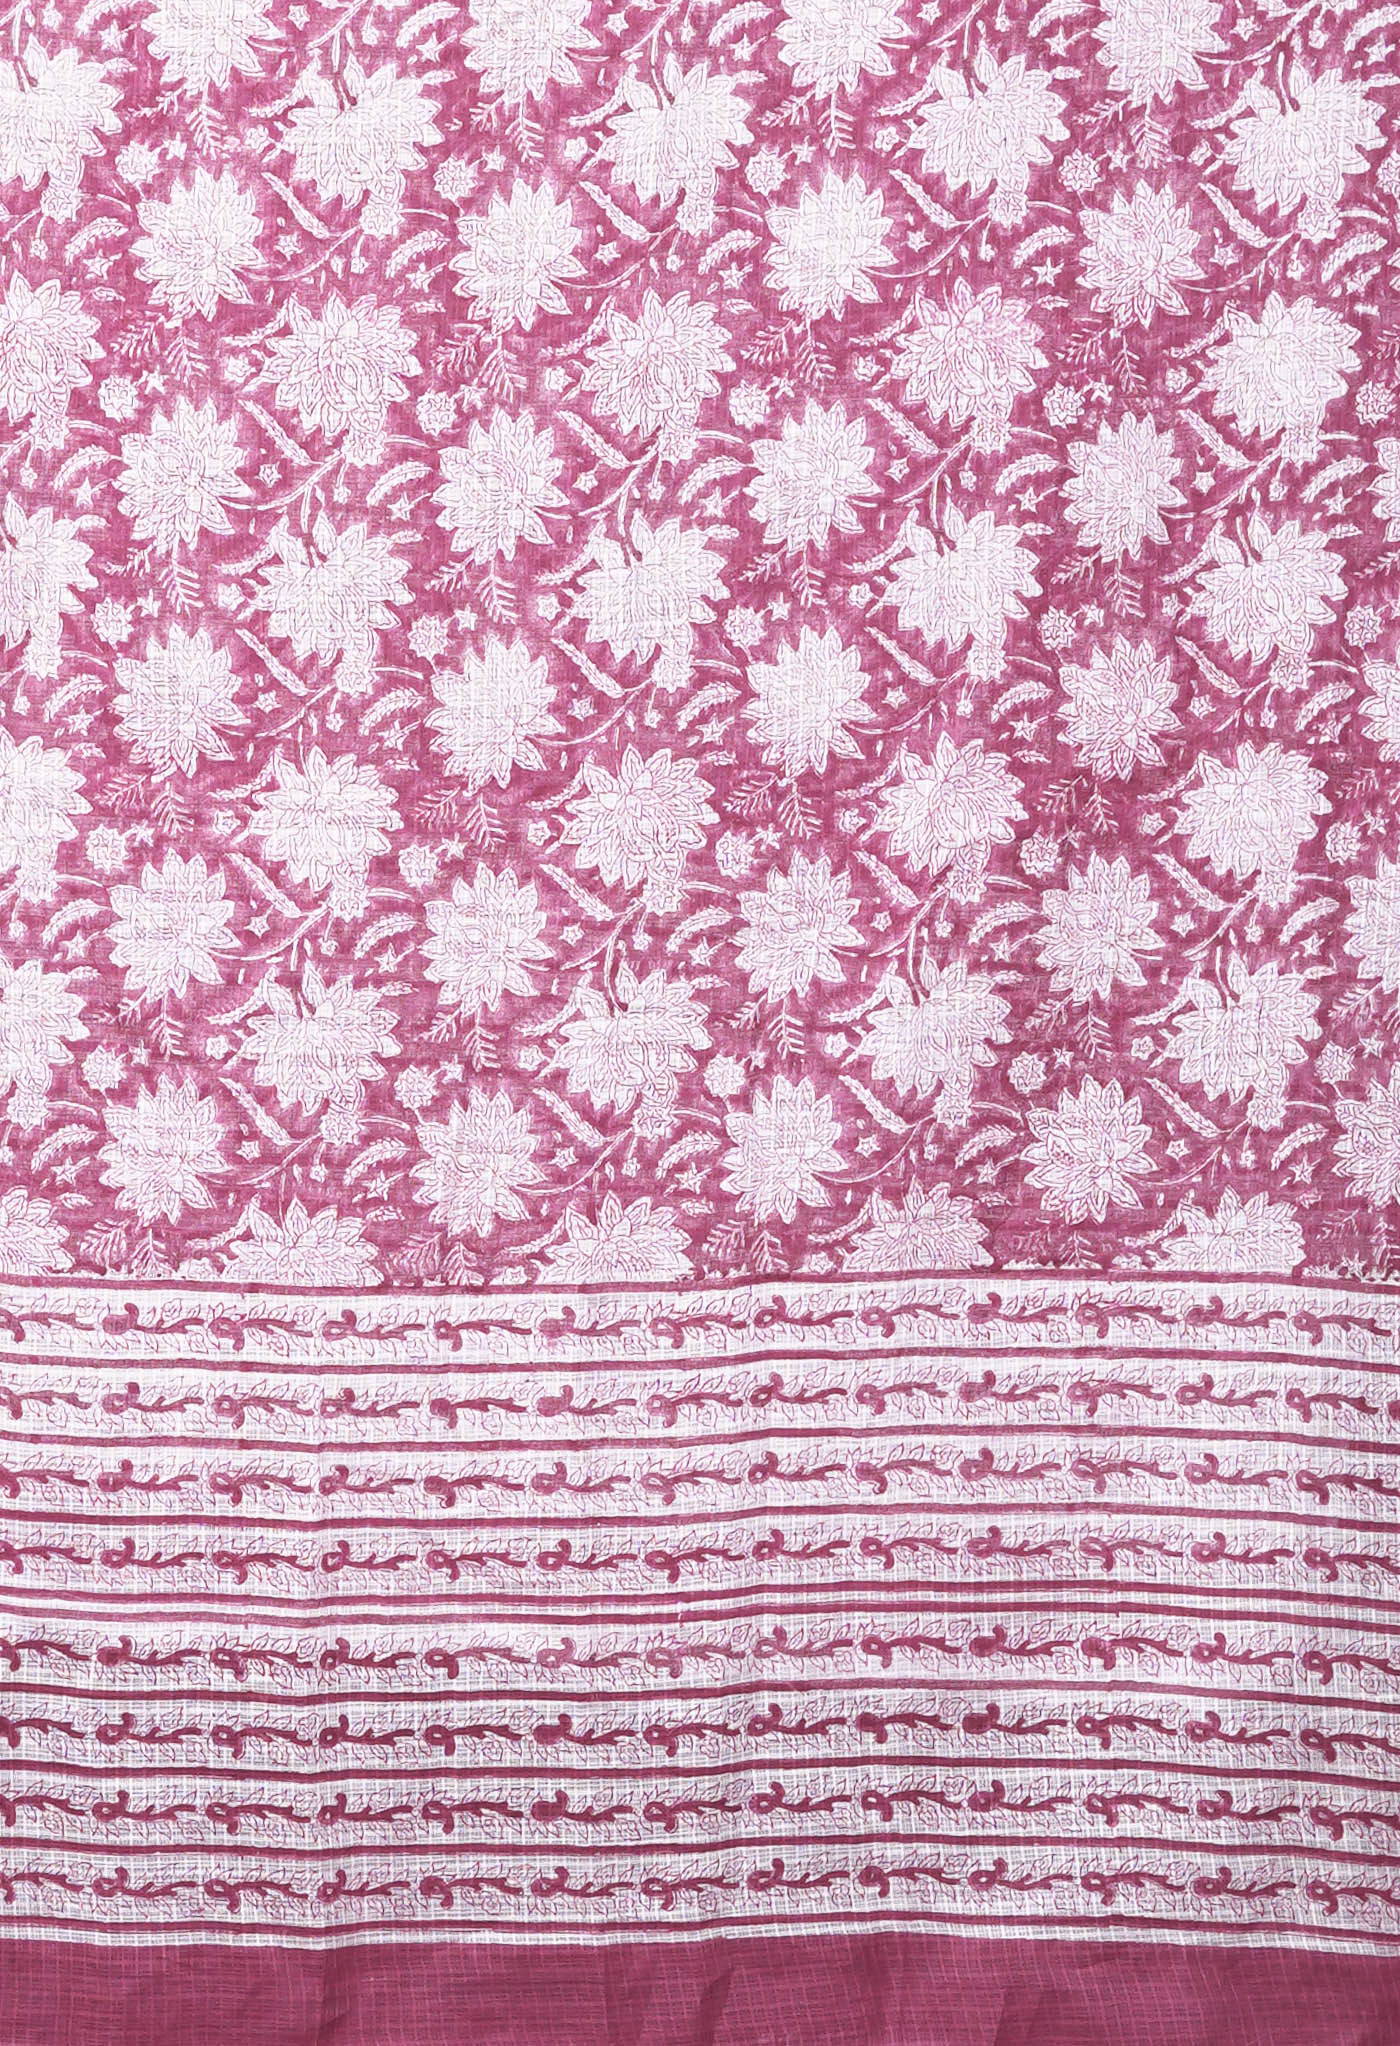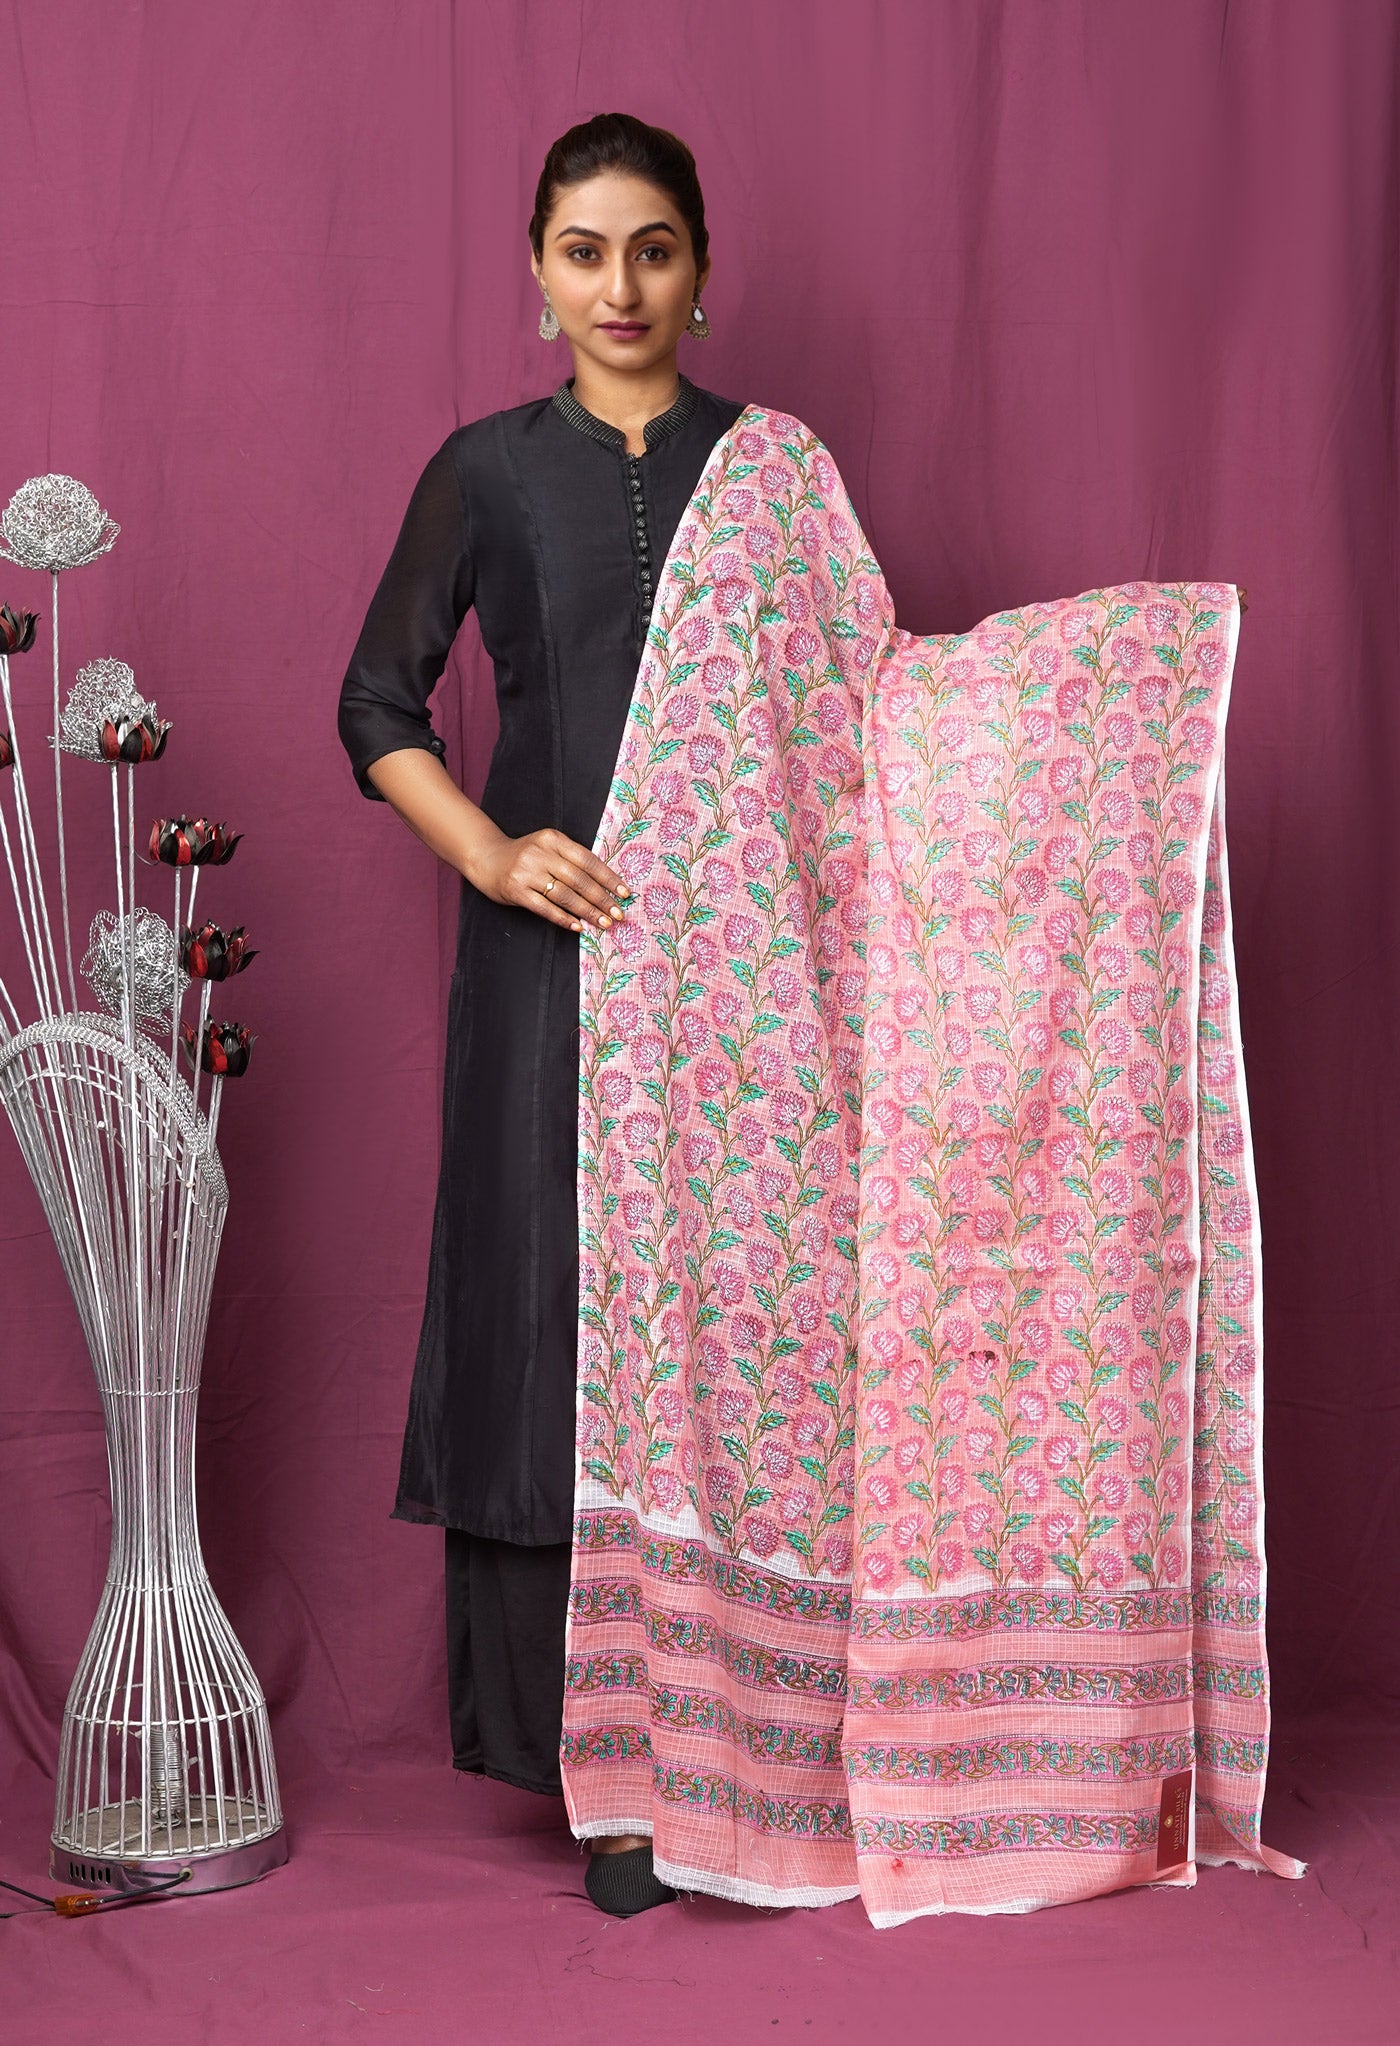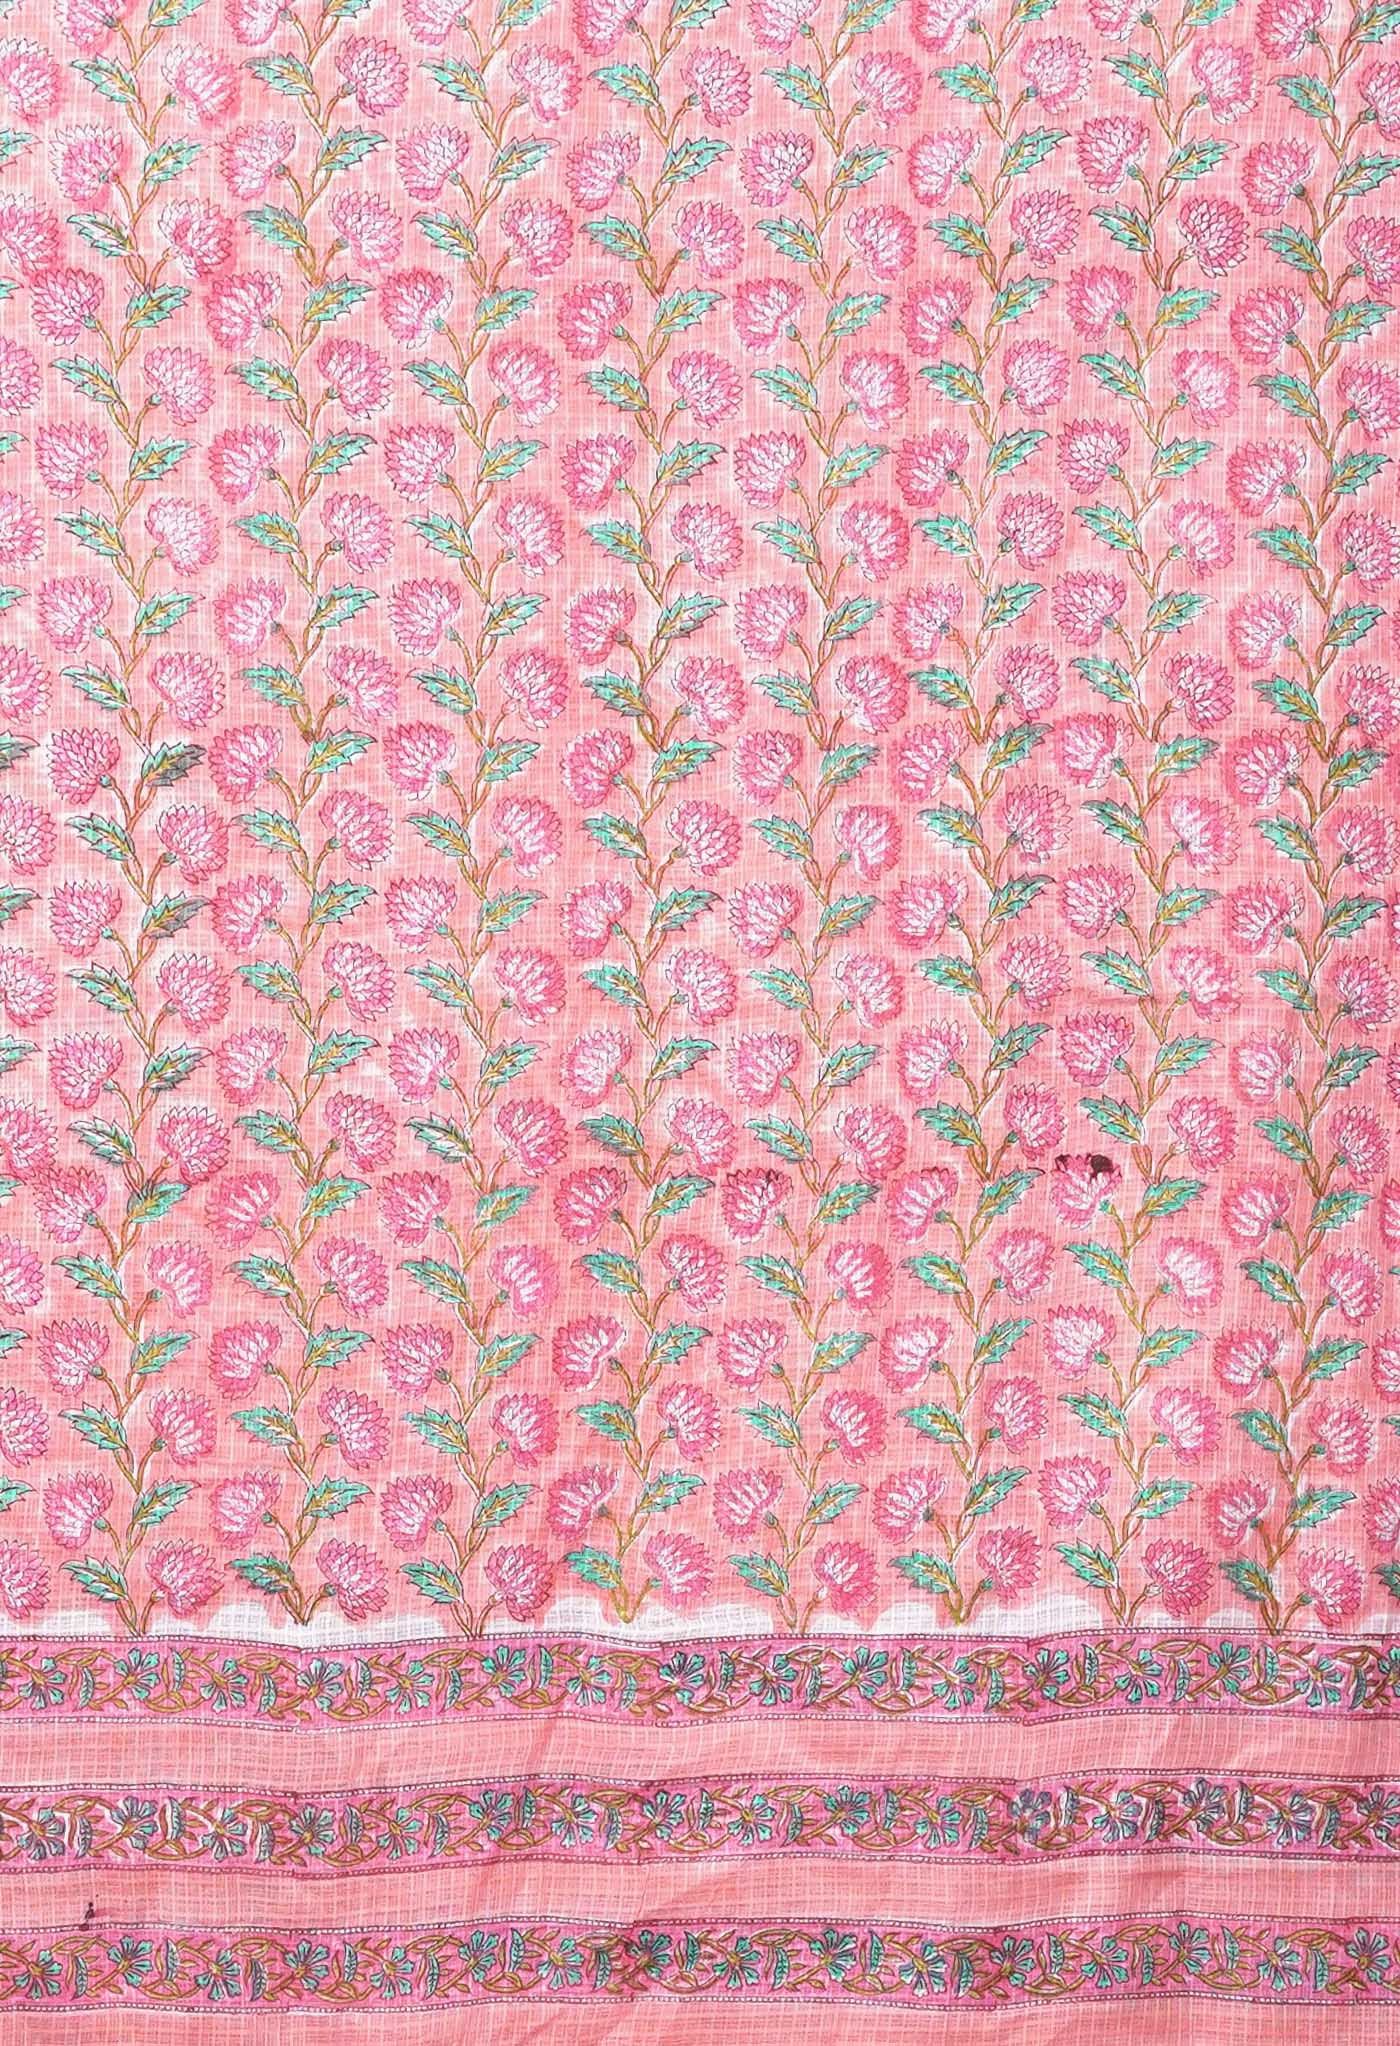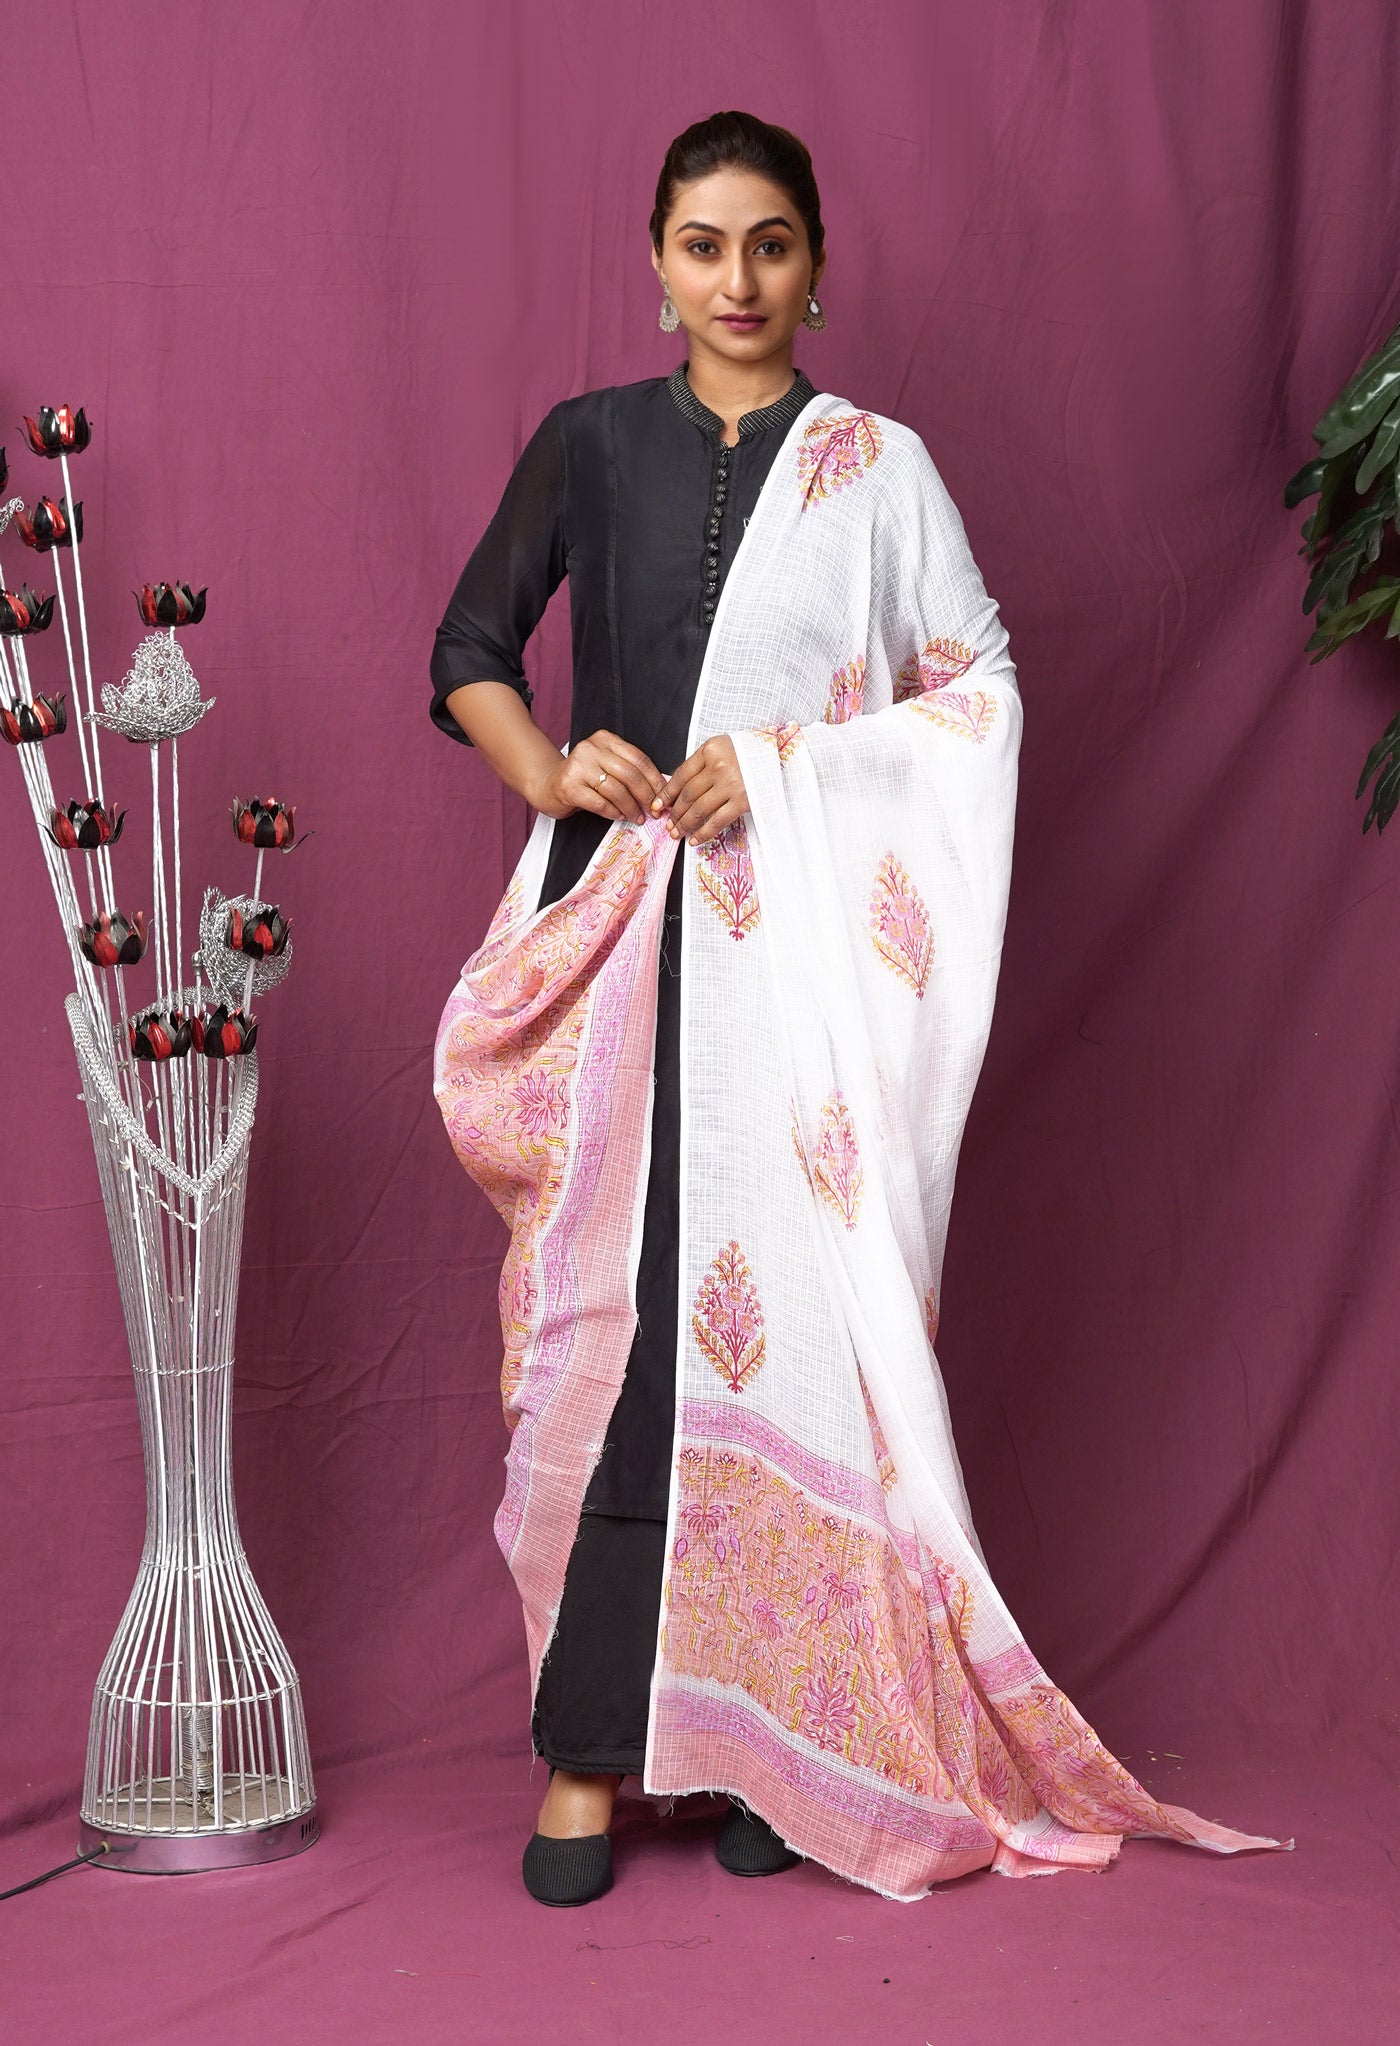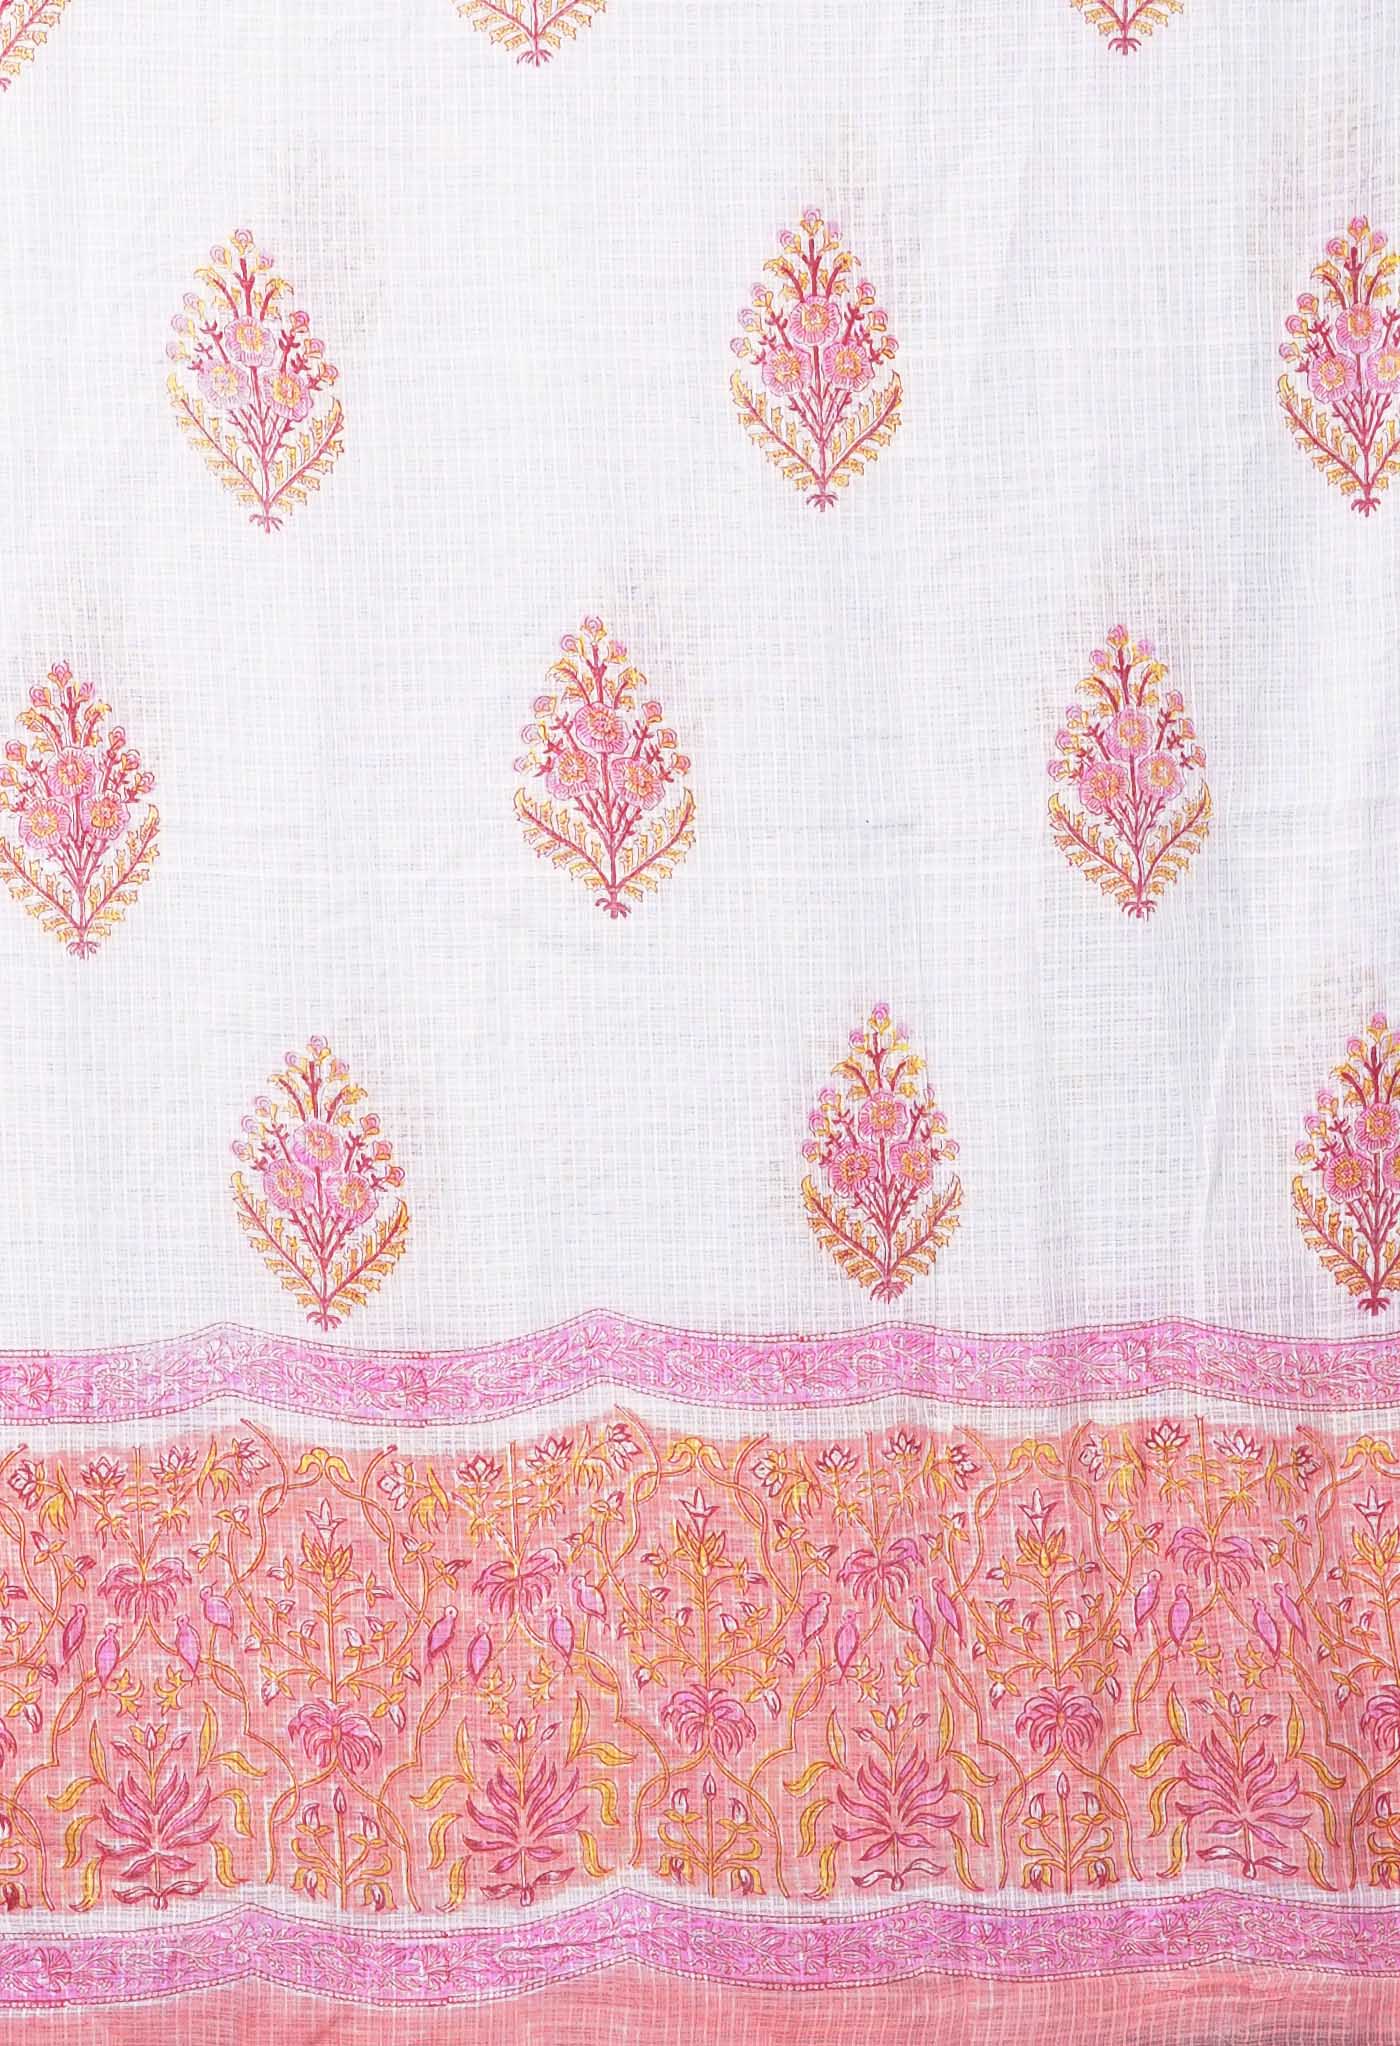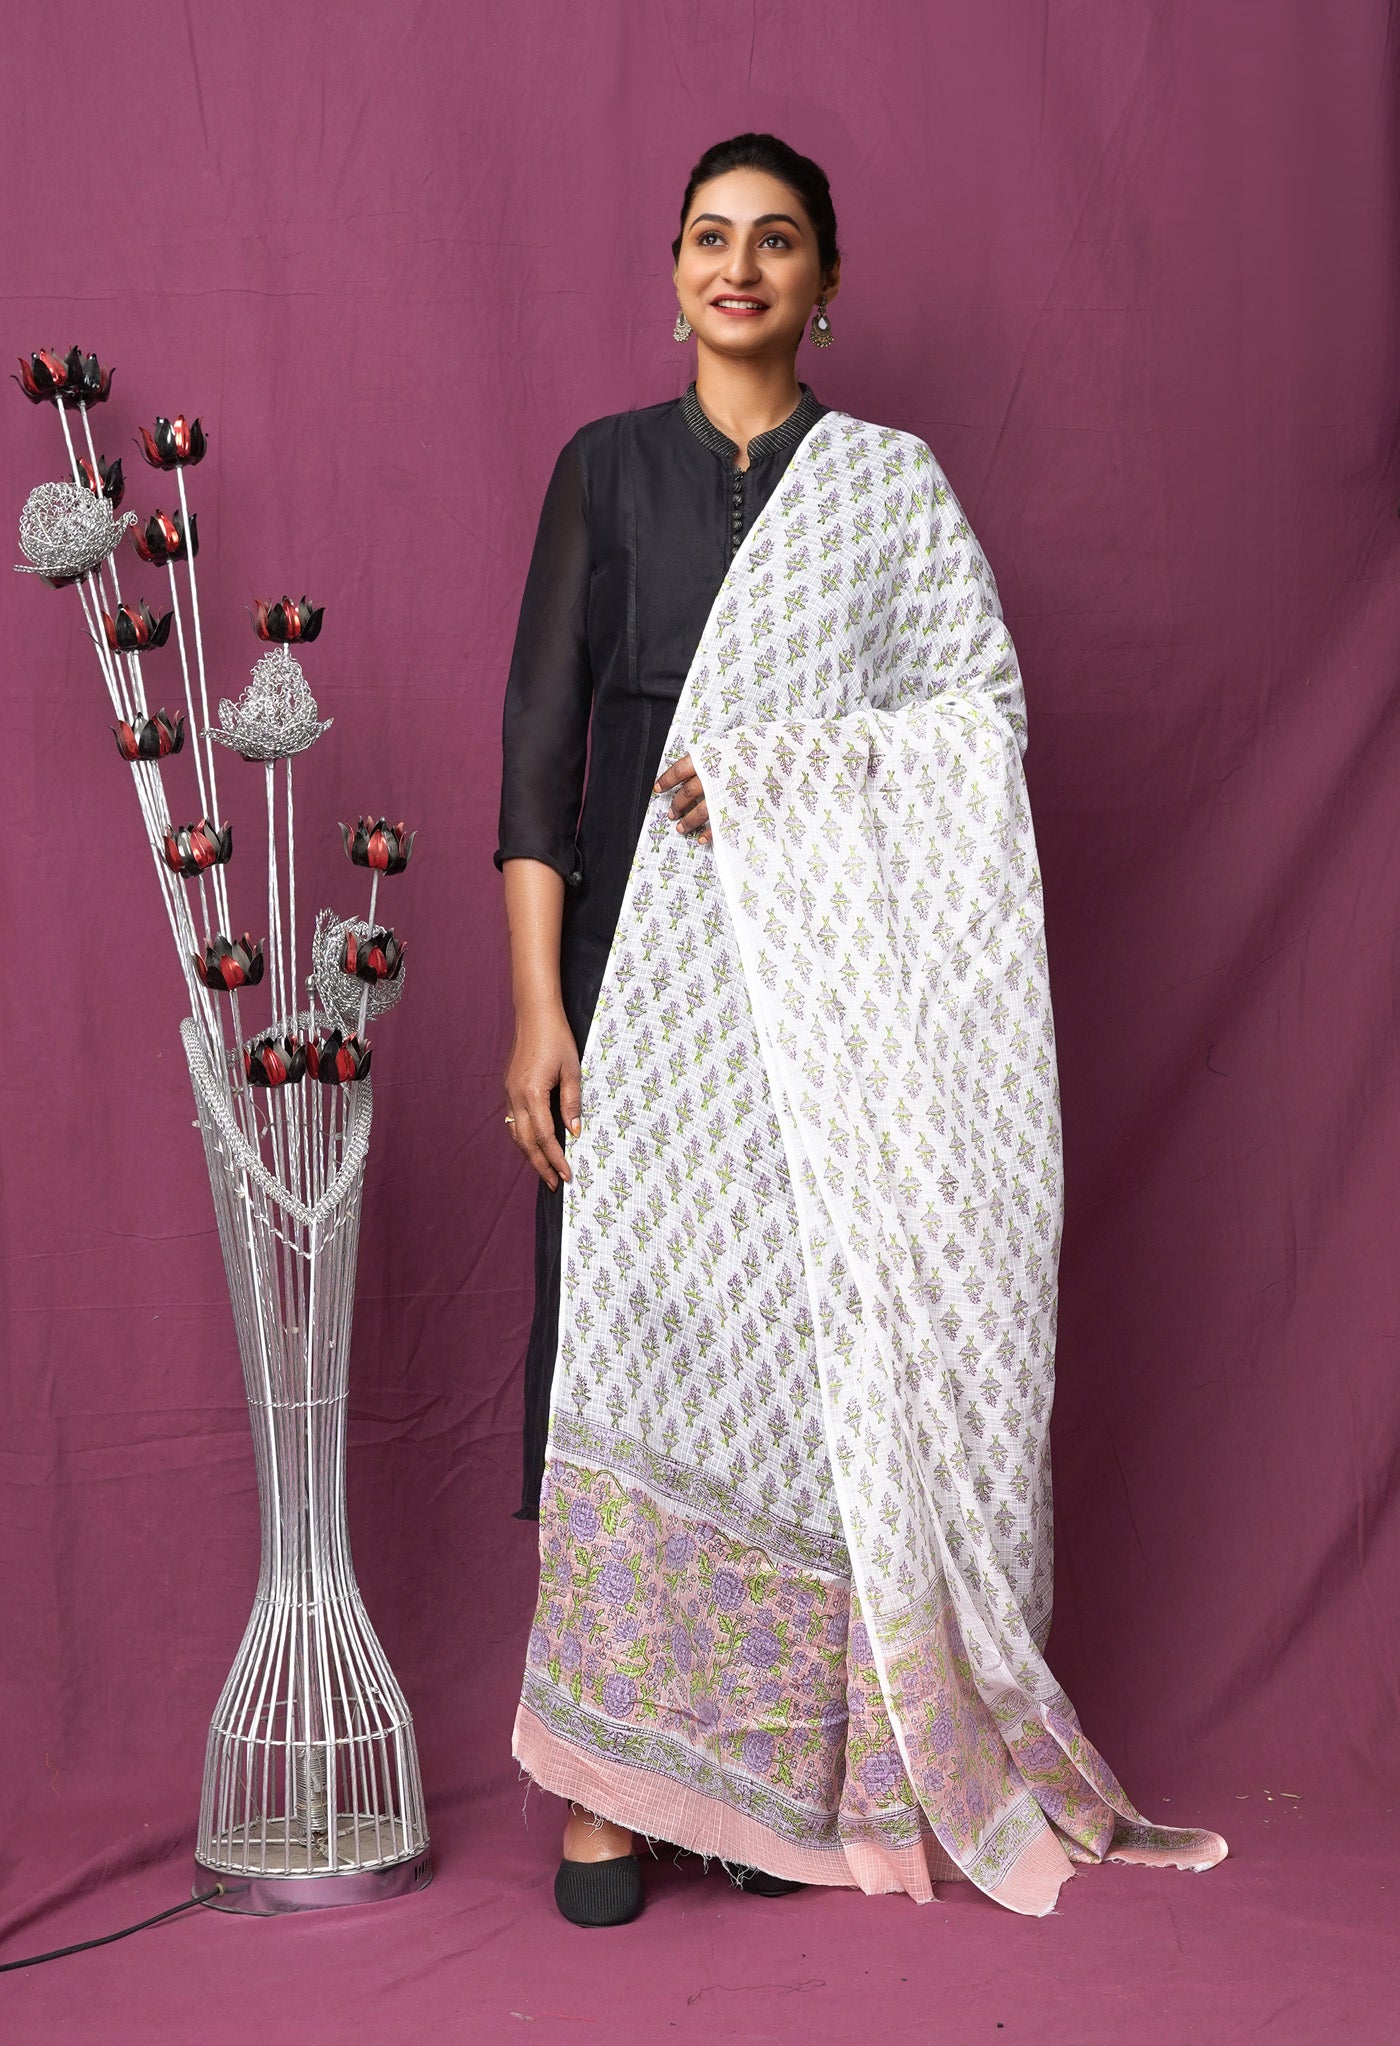
DIY stamp ideas for hand printing at home
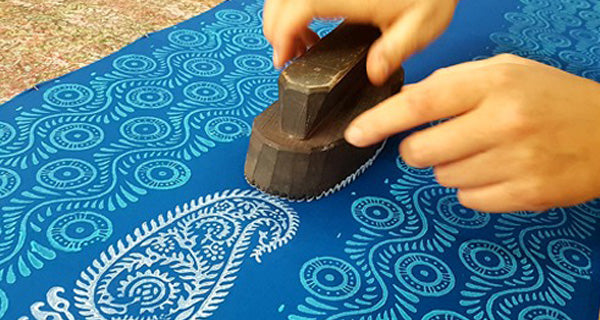
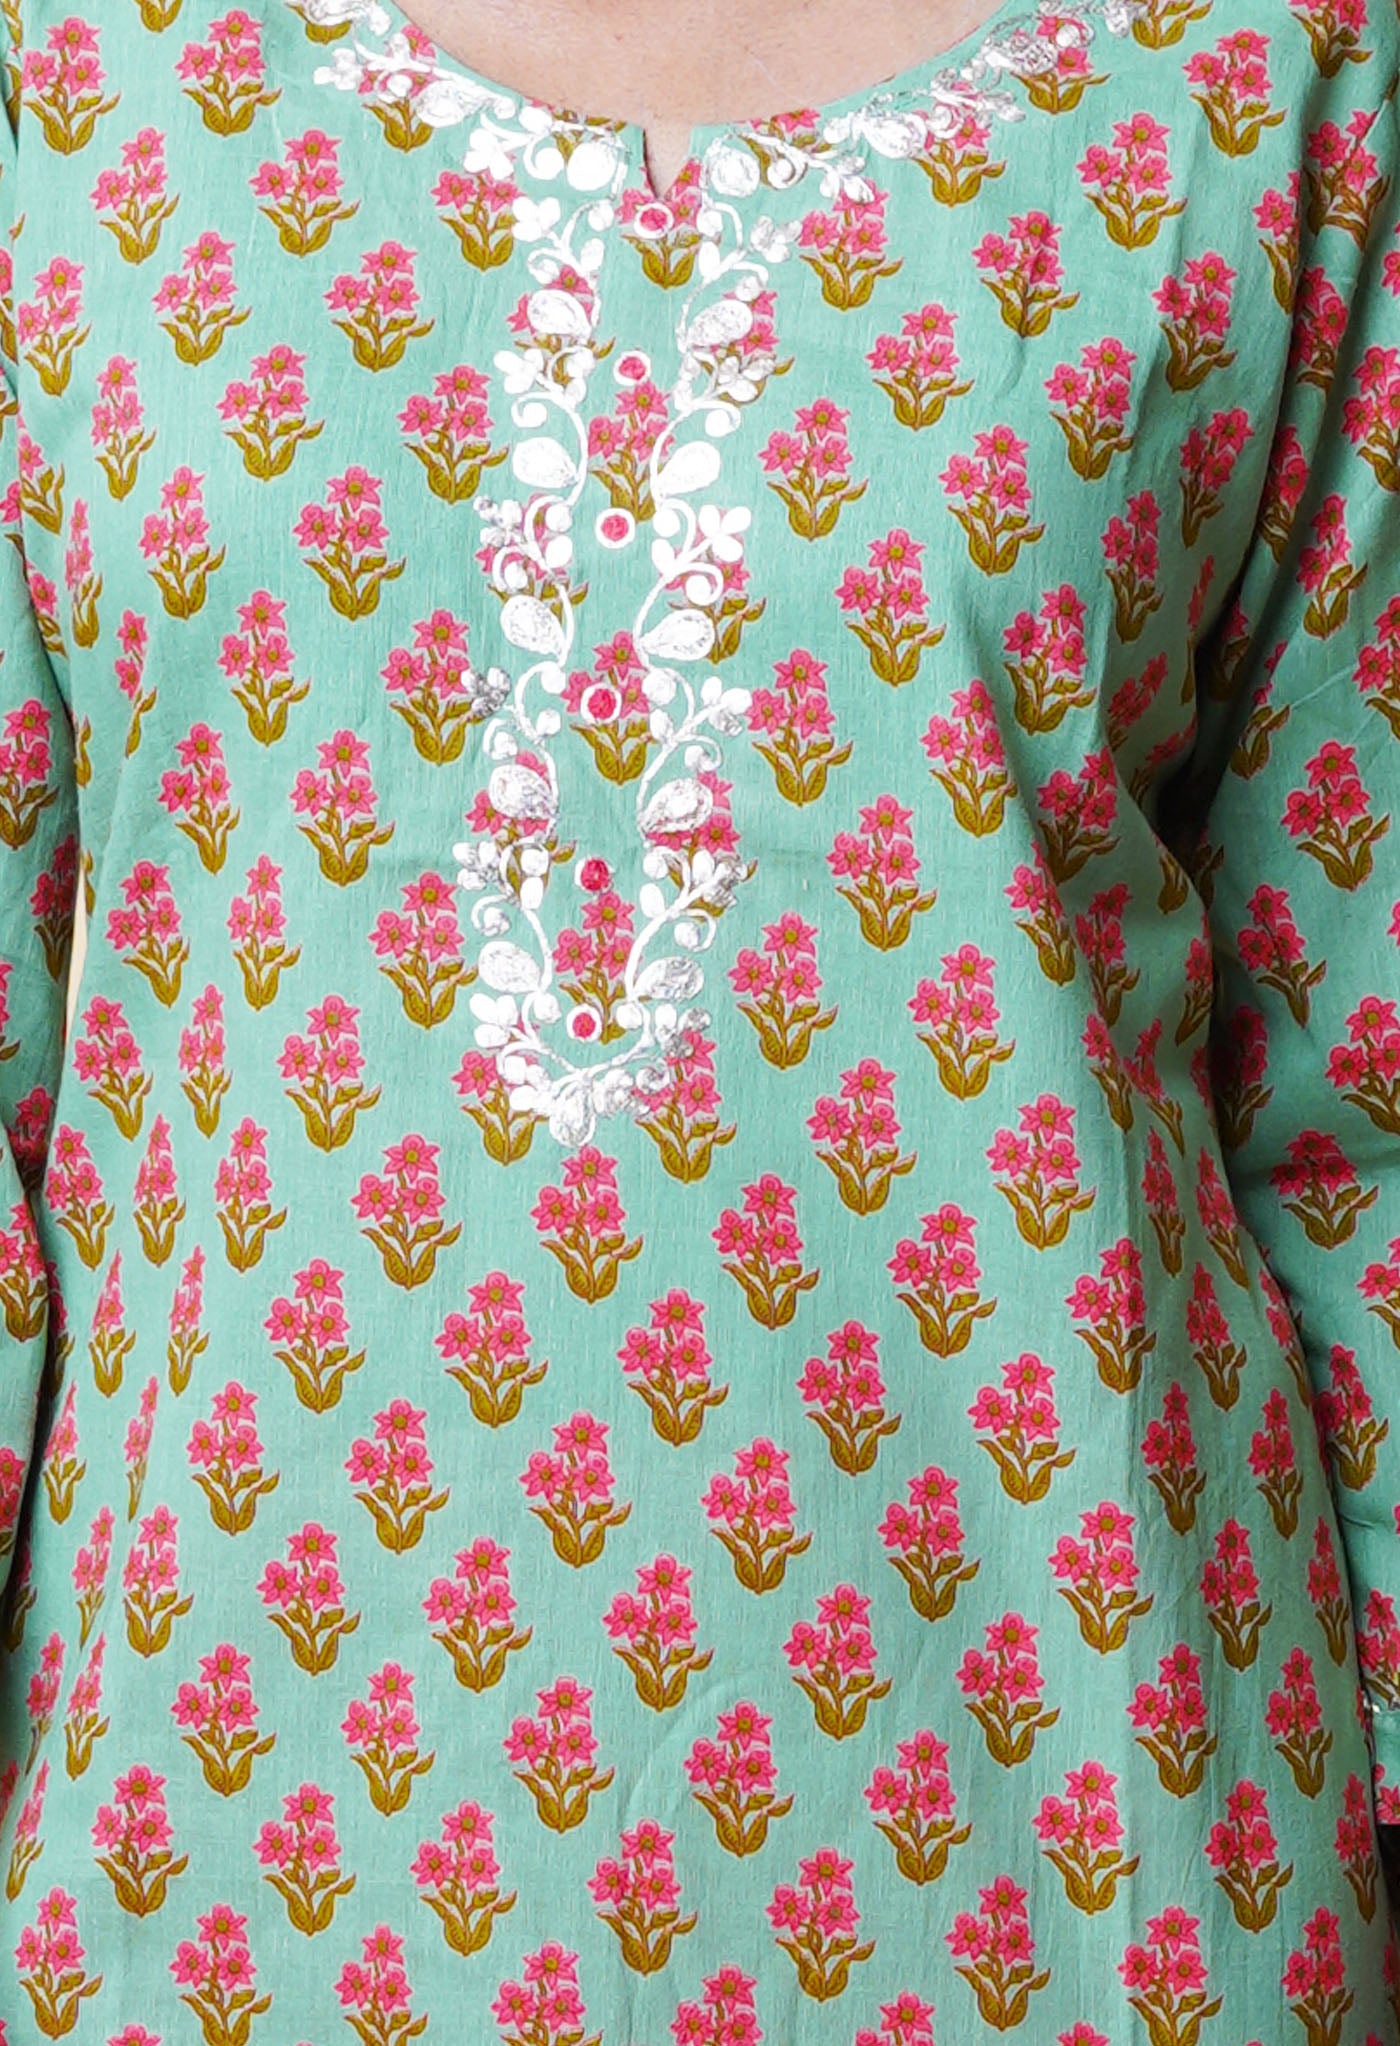
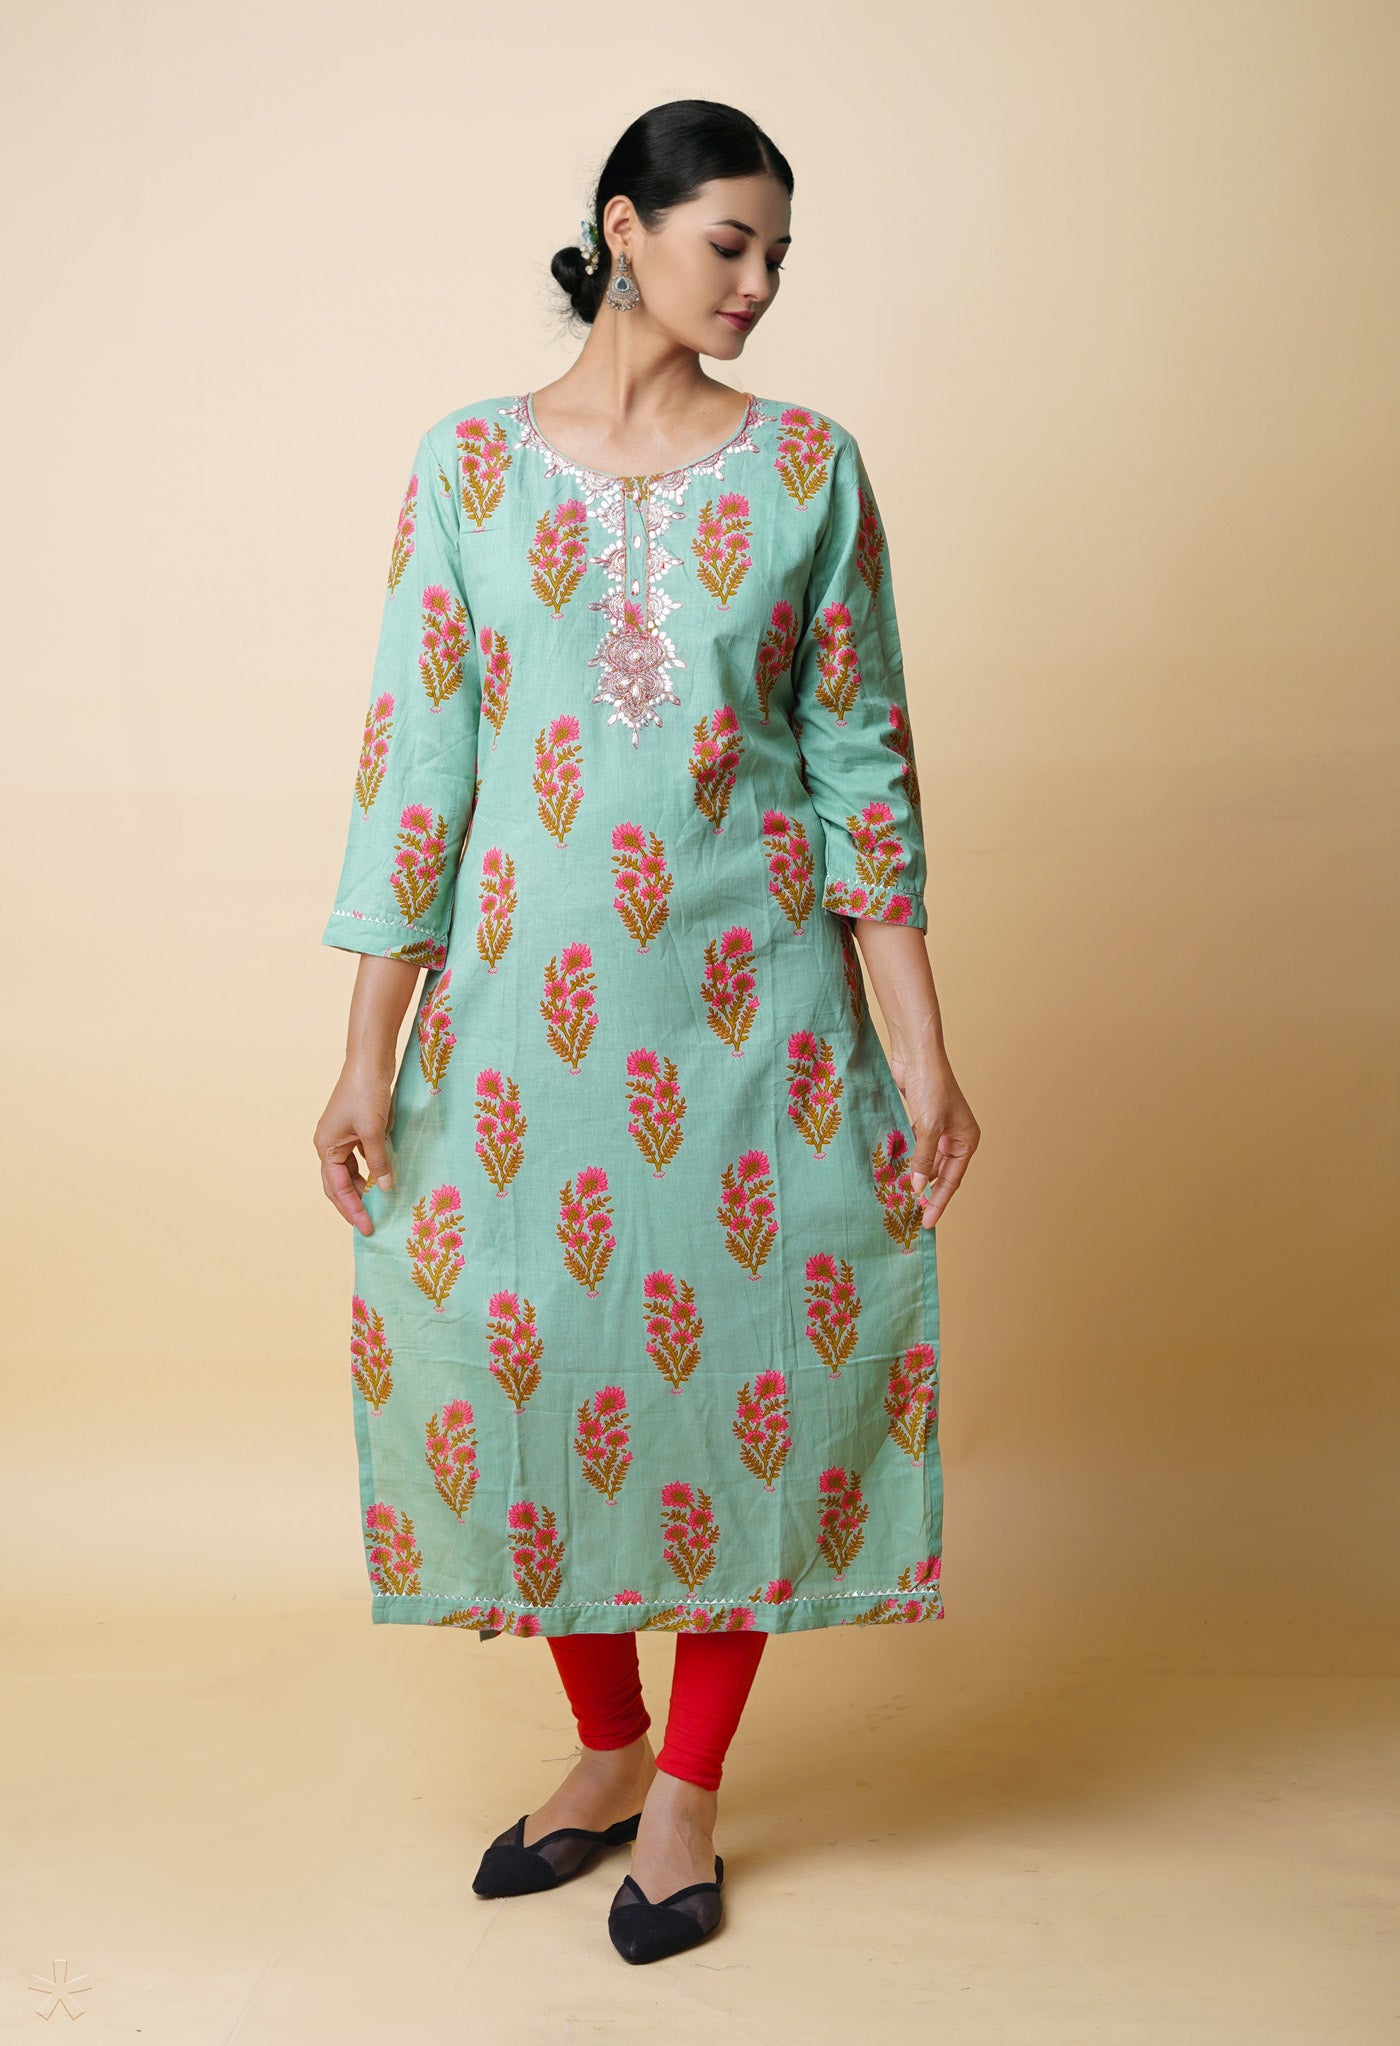
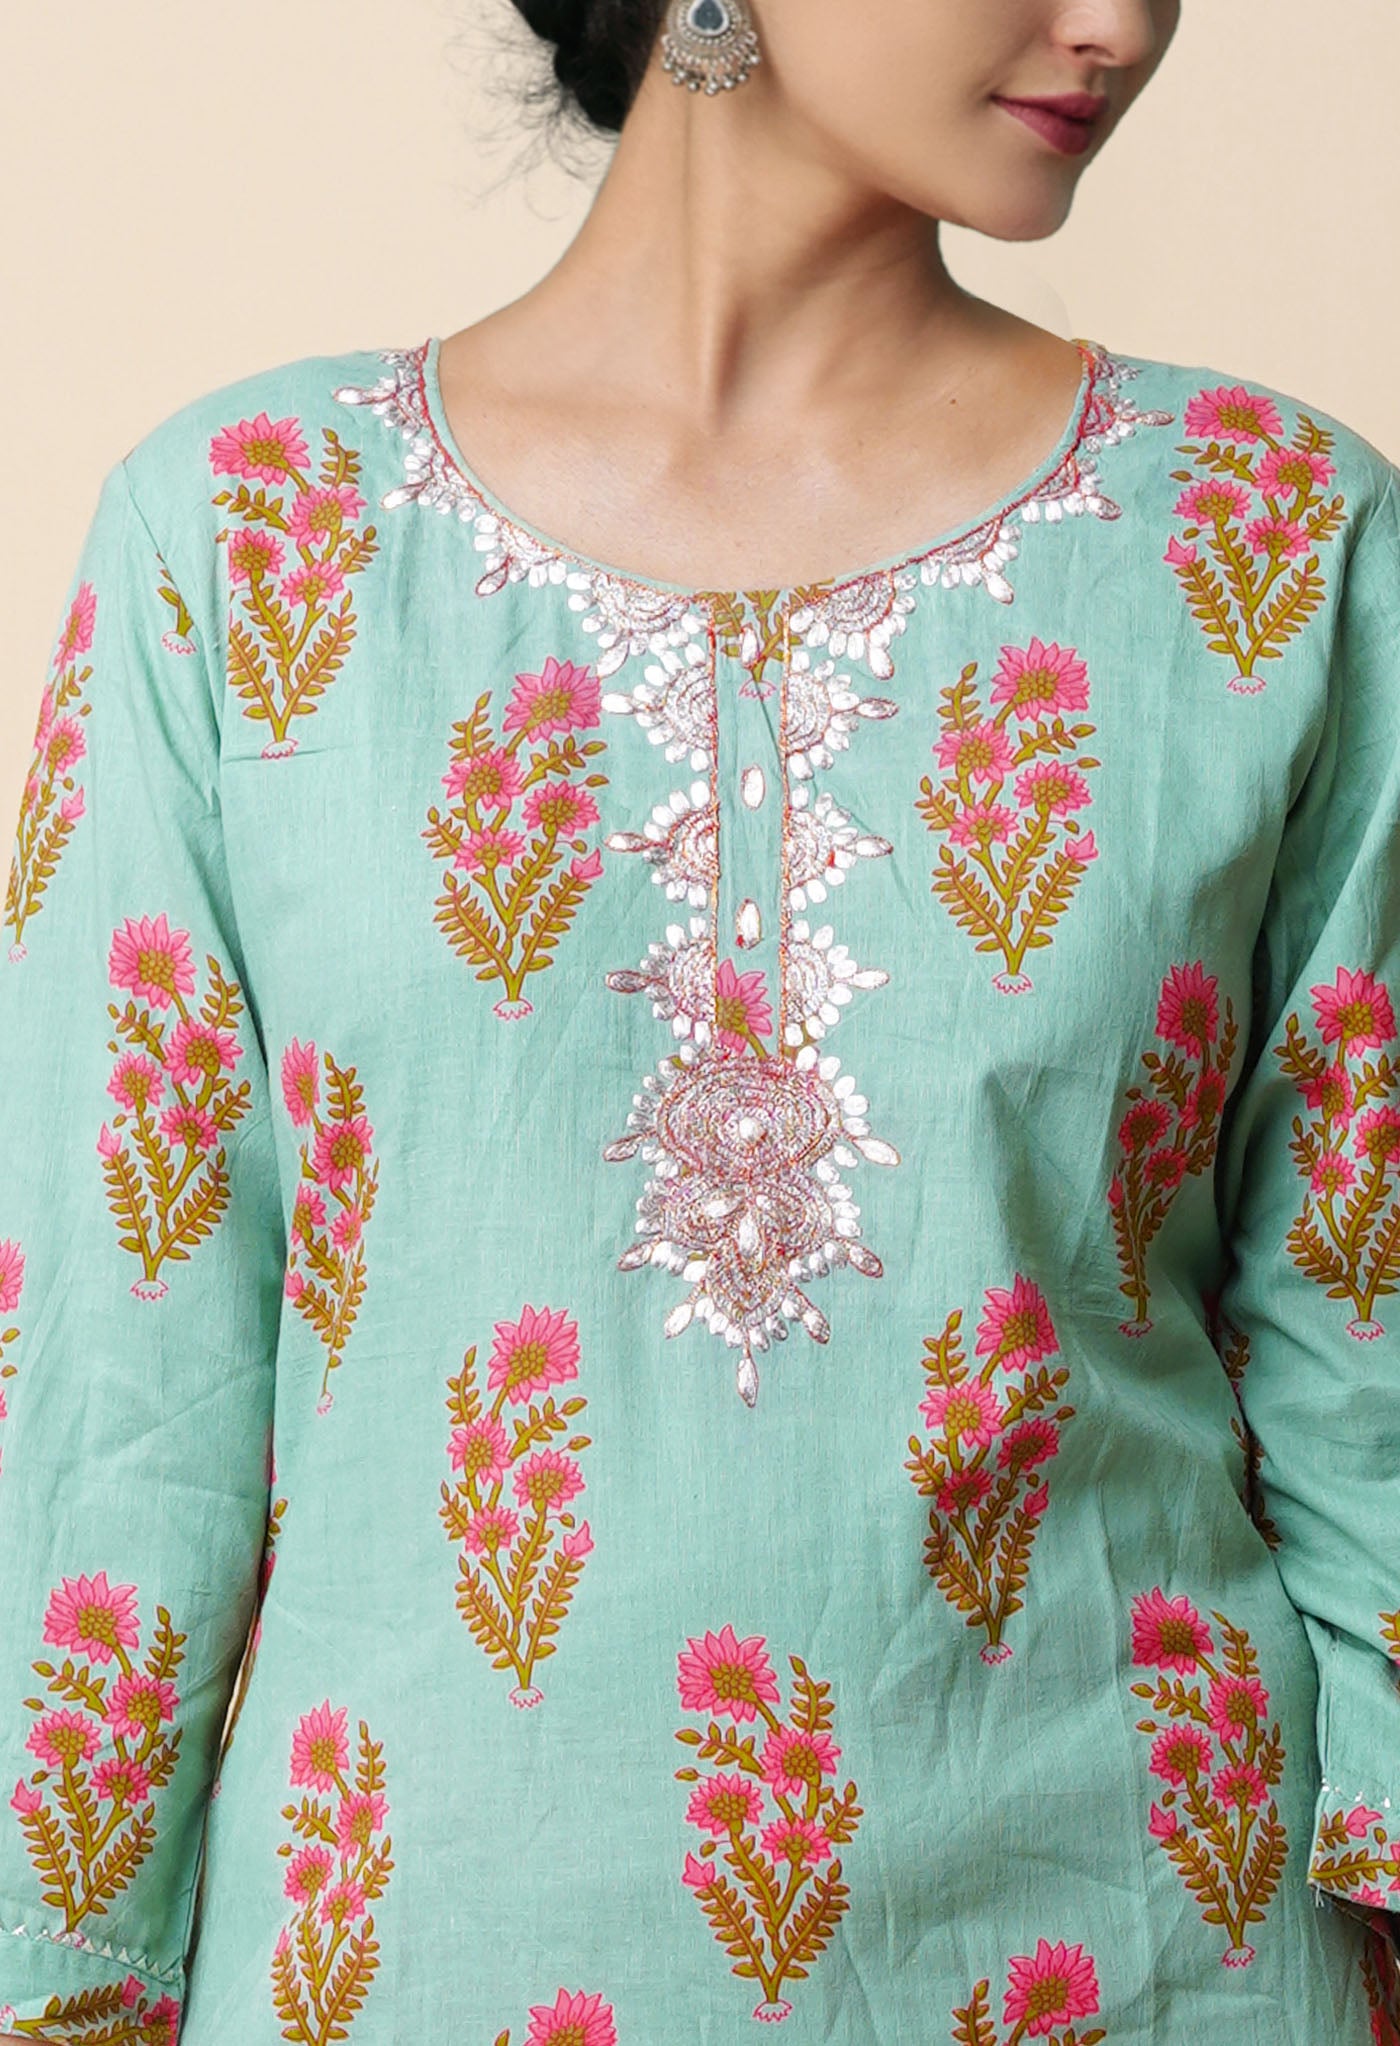
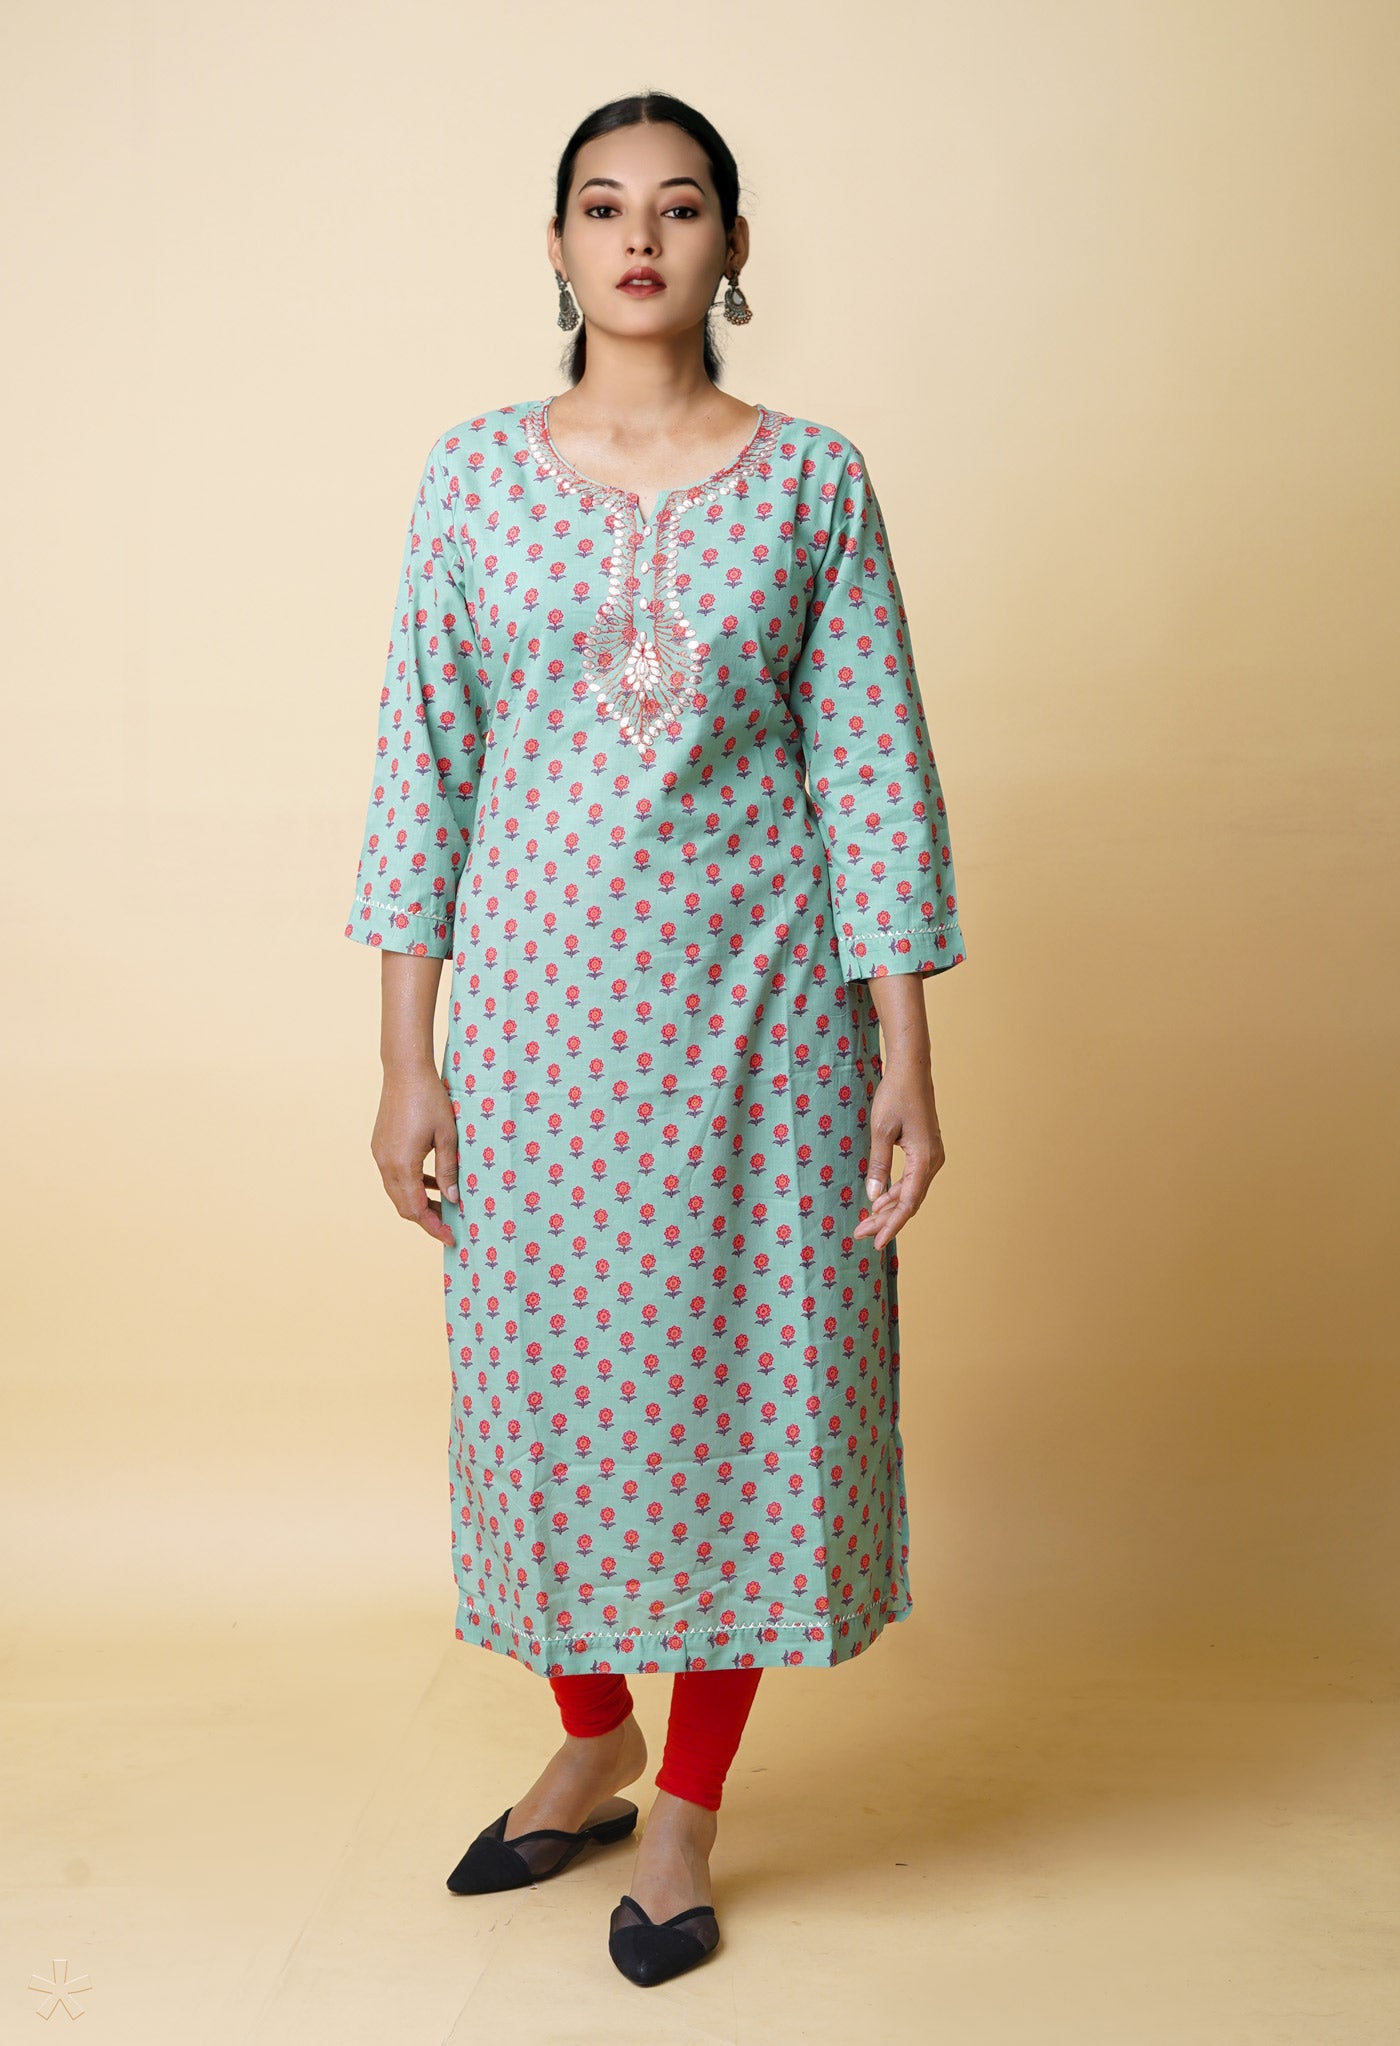
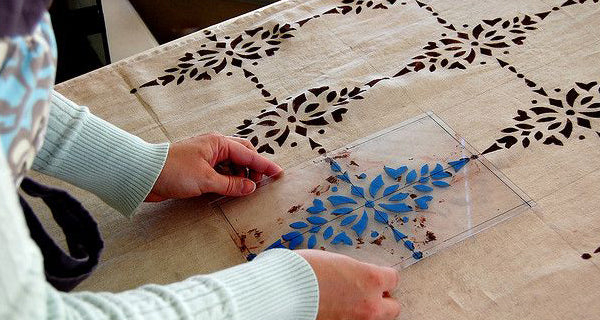
Hand-printing is done professionally. But hand-prints on your own fabrics could have your own personal stamp on them. The stencil method is easy, fast and most popular. But why not try the carving-out stamp and foam stamp for a change?
Here are some “bright” ideas for trying out.

1) Fruits and vegetables stamp
Fruits and vegetables come in various shapes and sizes. Why not get a fruit you like to put on your top?
- Cut the fruit or vegetable of your choice.
- Use acrylic paint to smear it evenly in the inner portions or halves with a small brayer (A small hand roller used to spread ink thinly and evenly, used in printing).
- If the seed portions could be done away with by gentle scooping, but with symmetry maintained you would have two halves of left and right.
- Try it with different fruits and vegetables first on a large sheet of drawing paper and then use the ones you like on your fabrics with a mix.
- You could even get innovative and try image mixes or even an appropriate message mentioning the benefit on eating that fruit.

2) Try a house stamp
If you are crazy about stamps on a theme in different colors such as say houses, or boats, try this.
What you would need? A Stamp Making Kit, pen, acrylic paint, small paintbrush, wood block, wood glue and a surface to stamp, like a plain journal or a large album.
How it is to be done
- Trace your wood block (this is what you will be mounting your stamps on) so that you make sure your stamps are smaller than the wooden surface they'll adhere to.
- Draw a design on your carving block and carve it. Your kit would come with different sized carving blades.
- Start with the small blade, carving the fine details. Next, use the larger blade to remove any excess area. Use scissors to cut closely around your design. This will help you get a cleaner impression.
- Use wood glue to stick the stamp(s) to your wood block.
- Brush acrylic paint on your stamp.
- Press your stamp onto your surface. Be sure to press all four edges to get the best possible image.
- Allow the paint to dry completely before stamping the back cover.

3) Enjoy what you eat looking at designer napkins you made for the dining table
Make your dining table or any wide surface interesting. If you are a regular in food photography and entertaining people, then this is a must. Instead of buying tea towels and cloth napkins with designs why don’t you get creative enough to design your own at home?
How do you stamp a dress?
- First create a stamp out of foam paper.
- Too large a stamp might make it a bit tricky. Prefer to use one that is easily handled.
- When searching for a dress to stamp, look for something in a solid color that flatters your body. Avoid a lot of ruffles. Cotton is an easy fabric choice.
- Create your own stamp. You can print out an image from anywhere, though the internet would be a great help. Trace it if you need help illustrating your object.
- Cut your stamp out and mount it in case it needs to be if you like.
- Use tape to mark the spacing on your dress where you will be stamping. This will help to make the spacing consistent.
- Stamp your object using fabric paint. Since with every stamp the paint remaining gets uneven you could brush paint on the stamp before each application. If the stamp is large use a small paint brush to do touch ups along the way!
- Be sure to let each section dry completely before moving to the next section.
- If fabric paint is used use napkins generally being washing machine friendly. Being reusable, they save paper towels too.

4) DIY Statement Wall
A statement wall can be a great way to spice up a plain white room. Rather than add a bold color to the walls, a nice print would be a good change. The best part about this being at a low-cost, you get a high reward.
What you would need: craft foam, a small piece of cardboard for mounting, super glue, scissors, small paint brush, black paint, masking tape.
How it is to be done
- Draw out an image for your stamp onto paper. Cut it out and trace the image onto craft foam.
- Cut out the foam and mount it onto a piece of cardboard with super glue.
- Measure out where you want your stamps and mark with masking tape. That way there is less room for error.
- Begin stamping your wall. If you are stamping on a textured wall, the stamped image will be imperfect.
- To make the image look solid and less like a stamp, you could go back over the image with a small paintbrush and fill in the holes. Depending on how textured your wall is, this can be a couple of dabs or possibly re-working most of the image.
- Keep stamping and filling until you’re all done!
An ‘anchor’ is a good example. You could use any other image.
 5) Add Personality to your Jeans
E.g. Add the popular hearts symbol to the knees of almost any pair or jeans
How you do it
- Try your jeans on (or hold them up to your body) and make a small pen or pencil mark in the center of your knee. This will be where you place your hearts.
- Cut a heart from paper that is the size and shape you want for your pants.
- Use the paper pattern to cut two stencils from contact paper. Place them on the knees and make sure they are both in the same position. Take your time, positioning is super important!
- Use fabric paint or screen printing ink to sponge over your stencil. Dry and repeat until the area is completely covered.
- Remove stencils and enjoy your new jeans!

6) Hand Printed Pillows
Wherever the room is full of places to sit, comfort is the word that comes to mind. A room with décor could do with a nice set of throw about pillows that could be taken to any corner of the room yet not look out of place. E.g. on sofas, wicker chairs, the upright one or the sink down type, or any other, just place a few polka dot or cross design cozy-looking pillows. And how do you get the designs onto them? Through covers!
How do you do it?
Patterns could be masked, stamped, painted, or embroidered. It’s your choice! You choose! You could use paint if you have the skill, you could use a round foam stamp for round shapes, you could use packing tape to make the shapes of desire and paint them over with a soft brush. You name it, you make it. Make the pillows bright, soft, colorful.

7) Hand Stamped D.I.Y. Pony Print Dress
What about an interesting print like a Pony Print on your top or long skirt?
Like described earlier you prepare a foam stamp. A pony is like able and loved by many. But if you fancy any other animal that to your mind you would like to be seen with, it is up to you.
The way you do it
- Create your own stamp. You can print out an image from the internet and trace it if you need help illustrating your object.
- Cut your stamp out and mount it if you like. If large then maneuvering becomes tricky. Small is mostly preferred because at times pockets could make things a bit difficult.
- When searching for a dress to stamp, look for something in a solid color that flatters your body. You will want to avoid a lot of ruffles. Cotton is an easy fabric choice.
- Use tape to mark the spacing on your dress where you will be stamping. This will help to make the spacing consistent.
- Stamp your object using fabric paint.
- Be sure to let each section dry completely before moving to the next section.
- Enjoy the effort and soon you will be good at it.

8) Putting wallpaper with your designs at home
Wallpapering instead of painting the entire wall would be very costly and subject to getting spoilt within no time and with no recourse to undo the damage. A good idea would be to paint the entire wall then decorate it with stenciled images of your choice.
- Trace an image onto stencil paper. You can use a favorite photo, mimic a pattern from a fashion piece.
Anything that is fanciful and eye-catching would do.
- Use a knife to cut the image from your stencil paper.
- Using stencil tape (or masking tape), stick your stencil to the wall.
- Start tracing with a white paint pen. Continue tracing, spacing evenly between each stencil.
Tips:
- When you get to the edges you may need to fold your stencil to continue into a corner.
- Choose a neutral color for the wall if you wish the stencil to stand out.

9) Wax-Resist Technique Scarf DIY
Have you heard of wax-resist or batik-dyeing? If not, you're in for a treat! Here are the basics: You'll need cotton fabric, wax resist sticks (or crayons!) and fabric dye.
- First, draw something on your fabric. You can do color or use un-colored wax sticks.
- Melt the tip of your crayon with a candle before drawing with it. If you choose to use the candle just be sure to use newspaper under your fabric.
- With fabric dye! Just follow the instructions on the dye bottle. Liquid dye is easy to save the leftovers for future projects.
- When you are done, rinse the fabric and hand wash it with soap in the sink. Hang it up to dry.
- After it is completely dry if your fabric seems to have an excess of wax you can remove it by placing the fabric between two pieces of newspaper and ironing it. It’s Done!
- You could have any lettering or image that catches your fancy.

10) Make a Herringbone Stamp
Try a herringbone stamp for variety and decor
How to make a Herringbone stamp
Supplies that you need:
Wooden letter (or any surface to stamp), acrylic craft paint, self-adhesive foam sheet, paint brush, two strips of cardboard.
- First, cut a strip of cardboard the width you want your pattern to be.
- Then, begin cutting dashes out of foam and applying them to the cardboard. You'll want the space between each foam piece to be the same size as the foam strips.
- Repeat this process, only the foam strips going the opposite way.
- Next, begin making the pattern by painting the top of the foam and pressing it down onto the wood.
- You want the two strips to go the opposite way and meeting strip to space, creating the herringbone pattern!
- All done! Enjoy your new decoration.
 [vc_btn title="Shop Online Beautiful Indian Handloom Sarees " color="warning" align="center" link="url:https%3A%2F%2Fwww.unnatisilks.com%2Fsarees-online.html||target:%20_blank"]
