Making fabrics look good with tassels
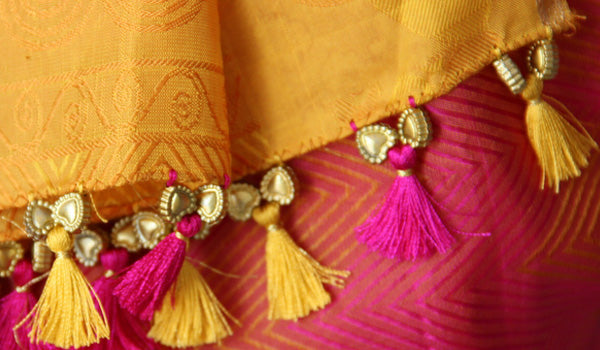
Almost anybody you ask regarding tassels would agree that it is an object of adornment, a beautiful addition to the fabric it is with. Defined as a tuft of loosely hanging threads or cords knotted at one end and attached for decoration to soft furnishings, clothing, or other items, it is a finishing feature in fabric and clothing decoration, a universal ornament that is seen in varying versions in many cultures around the globe.

A basic key tassel is made by binding or otherwise gathering threads from cord protrudes on one end, where the tassel is hung, while it may have loose, dangling threads at the other end. Tassels are normally decorative elements, and as such one often finds them attached, usually along the bottom hem, to garments, curtains, or other hangings.
Originating from the Latin 'tassau' meaning clasp, as in the neck of a garment, tassels have seen their way from being simplistic and useful to intricate and decorative. In its beginnings, it was a weaving knot used to tie off various garments, preventing unraveling. Being a series of threads wound around a suspended string or cord, it can be given any style curvature. It was in this way that they became more stylized. As it progressed, it eventually gained an inner wooden core, allowing for more elaborate coverings, called 'satinings'. Receiving this title from the bands of filament silk that were intricately bound vertically around the core in a means of internal 'lacing'.

Known as the 'passementerie' in France, 'passamanaria' in Italy and 'aziamentos' in Spain, these are just a few of its other names. Looking into its history reveals how the tassel and all its associated shapes, evolved from first a practical knot, to the simplistic designs of the Renaissance, the slightly larger but more formal appearance during the Empire period through to the extravagance of the Victorian era and on to today's detailed designs of many sizes.
In Egypt, the simple tassel can be traced back to the ancient tombs of the pharaohs. Almost half a world away, the Chinese were known to incorporate them into their woven silks. But it is the French who are credited with the evolution of the tassel into an ornamentation. In the 16th century, the first Guild of the Passementiers was established and so the art of passementerie had begun. Practitioners, known as "Passementiers", had to gain the skill with a seven year apprenticeship in order to become a Master in one of the many guilds. As each tassel was made from such valued material like silk or metallic gold and silver threads, they became a symbol of wealth, power and prestige. With at least 300 threads per tassel, it is no wonder that the 'Passementiers' took such great pride in their work. The art of 'passementiere' or the making of trims and braids, continued to grow over the centuries as artisans from places such as Ancient Greece, the Orient, Persia and Rome as well as England, France and Italy, practiced and perfected their skill.

Some historical examples of the tassels' growth date back to as early as 330 AD and 540 AD during the Byzantine Empire. Both Emperors Constantine and Justinian brought a demand for trimmings, leading them to be exported westward towards Europe. During the Middle Ages the wealthy houses of Europe used tassels on a variety of goods- from clothing, carriages and chandeliers to canopies, draperies and pillows, taking after the Arab fashion from which they came. The church also played a large part in the history of the tassel, affixing them to religious apparel in order to signify the difference between clergy members. They also made their way into decorative use as bookmarks, as we still see today. Not long after in the 17th century, King Louis XIV and his French Royal Court commissioned tassels to adorn the costumes of royalty and their residences, influencing the whole of Europe as a result. A status symbol then and now, it also often distinguished rank on a uniform. It was after the French revolution that the fascination for interior design grew to a new level.
It was around the 1800's that a new merchant class had emerged in Europe, and used their wealth to support a favorite pastime- home decoration. To flaunt their riches, they trimmed almost everything- from their footmen, horses and carriages to cushions, curtains and keys. By the 1880's, Napoleon had adorned his throne and bed chamber with opulent gold tassels and various trims. Fashion and design, promoted by popular magazines of the era, began to create trends- of which the ladies were found to decorate their accessories, such as shoes, sashes and parasols, with miniature tassels. The trend was not long-lasting, in the early 20th Century, the Victorian era and its excesses became shunned. The preference for a simple and unadorned aesthetic took hold. But this too would pass. New geometric shapes and colors gained popularity in the Art Deco period, with the introduction of new synthetic materials, like Rayon.
Through the years, the tassel has become a functional and decorative object. Used mainly in interior design, today's tassel offers stylished options that easily add a splash of color to any room. From hand-made personal creations to mass-produced variations, there is a tassel for every need.
The tassel was its primary expression, but it also included fringes, ornamental cords, galloons, pompons, rosettes, and gimps as other forms. Tassels, pompons and rosettes are point ornaments; the others are linear ornaments.

Making a tassel from yarn
Easy tassels with embroidery thread
- Considered the easiest way to make tassels, the method is simply to take some embroidery floss and some yarn.
- Now wrap the yarn in the middle tightly and when finished, glue the end of the thread to secure it.
- Bend the middle portion and tie another piece of yarn. Cut off the excess floss.
- Make the tassel really fluffy by running a comb over the thread. This separates the floss and really makes it fluff out.
- One can also make instant Tassels from embroidery thread skeins (lengths of yarn, etc, wound in a long coil).
- If you have an unused skein of embroidery thread just tie a thread at the middle (or on the fold in one side if you want a thinner tassel) and fold it.
- Insert a folded thread a little above the skein, like it is explained above. Then tie another thread at the neck, holding all of the threads together.
- Cut off the thread fold at the bottom. Level the threads.
- You have a beautiful tassel in your hand, with a hanging thread.

Make simple tassels of any size with any thread
Practice making different sizes of tassels just for fun and a little practice.
Step 1 – The first step is to decide what would be the length of the tassel. Cut a piece of cardboard about half an inch longer than this. Alternatively one could also use a bundle of threads for grip and a little rigidity. Choose lengths slightly long and trim for better handling since small lengths would be difficult to manouvere. 18” would be a good length to start with.
Step 2 - Wrap embroidery cotton thread around the cardboard say about 15 or twenty times to achieve thickness. See that the thread is wound tight and in the centre, not spread out. Loose winding would make the loops slip out. Tension should be even throughout. You could wrap more times if you wish to achieve your desired level of thickness.
Step 3 - Now we have to remove it from the form. Cut out a piece of thread, thread it through a thick needle. Slip the needle between the cardboard and the thread loops. Tie a knot. Now slip the loop from the cardboard carefully. Once the cardboard is off the form cut the tails (if any).
Step 4 - Tie the tassel at the neck. The Neck could be kept at about 1/4 inch from the top. Cut out 6 inch of full strand of embroidery thread or thin metal wire to secure and attach the loops of the tassel. Wrap this thread or wire over the loops about 1/4 inch below the level of the knot you just made. Tie it securely. You could also use thin satin ribbons for this. You could also make a head for the tassel using beads, or even polymer clay.
Step 5 - Cut all the ends of the tassels evenly with a sharp scissors. Separate the yarns. Thread some beads and tie it to the car keys. If I had added some metallic thread in between it would have added a sparkle in between. Separate the strands for a fuller look to the tassels.

Making tassels from fringe trims
- This is a quick tassel to make. All that is needed is some readymade fringe and some cord.
- Cut 10 inches of the cord. At one end tie a knot.
- Apply craft glue on the fringe base and some around the knot.
- Wrap the fringe around the knot tightly. The knot should be covered at least once.
- Under the knot use a thread to tie tightly securing the fringe to the cord.
- With the knot tight, cut out the thread tails.
- Now turn thr fringe upside down so that the knot is inside the fringe threads.
- Now use another thread to tie at the neck of the fringe about ¼ inch from the top.

Making tassels in suede or leather
- Here soft material is required to make these tassels. This serves very well for key chains, bags and purses.
- You would need two pieces of the material to make this tassel. One for the loop, one for the fringes.
- Cut one rectangle of 10” x 4” and the other of 2” x ¼ “.
- Make lines starting from one side spaced 1/8“ x ¼ “ ending from the top.
- Cut out these lines carefully with scissors;
- Attach the ends of the smaller rectangle together to make the loop. Use binder clips to keep them together till the glue dries off.

Making bead tassels
The beaded tassel would require the following materials to be kept in readiness.
Beaded tassels – supplies
Assorted beads (seed beads, bugle beads crystal beds)
Beading needle
Upholstery thread
Step 1- First decide your length for the tassel. The thread required would be double that length plus 1 inch. Cut five pieces of that length from the thread.
Step 2- On each of the sewing threads, tie one end; String a big bead then small beads in a sequence then another big bead and tie a knot. Make some 4-5 strings like this.
Step 3- Fold these strings by half. Insert a piece of thread into the fold and tie the whole thing together.
Fix the knots in silk thread, with clear nail polish (use two coats). When dry, trim.
Step 4- Finish off with a bead cap. You can also simply add a big bead on top through the hanging thread.
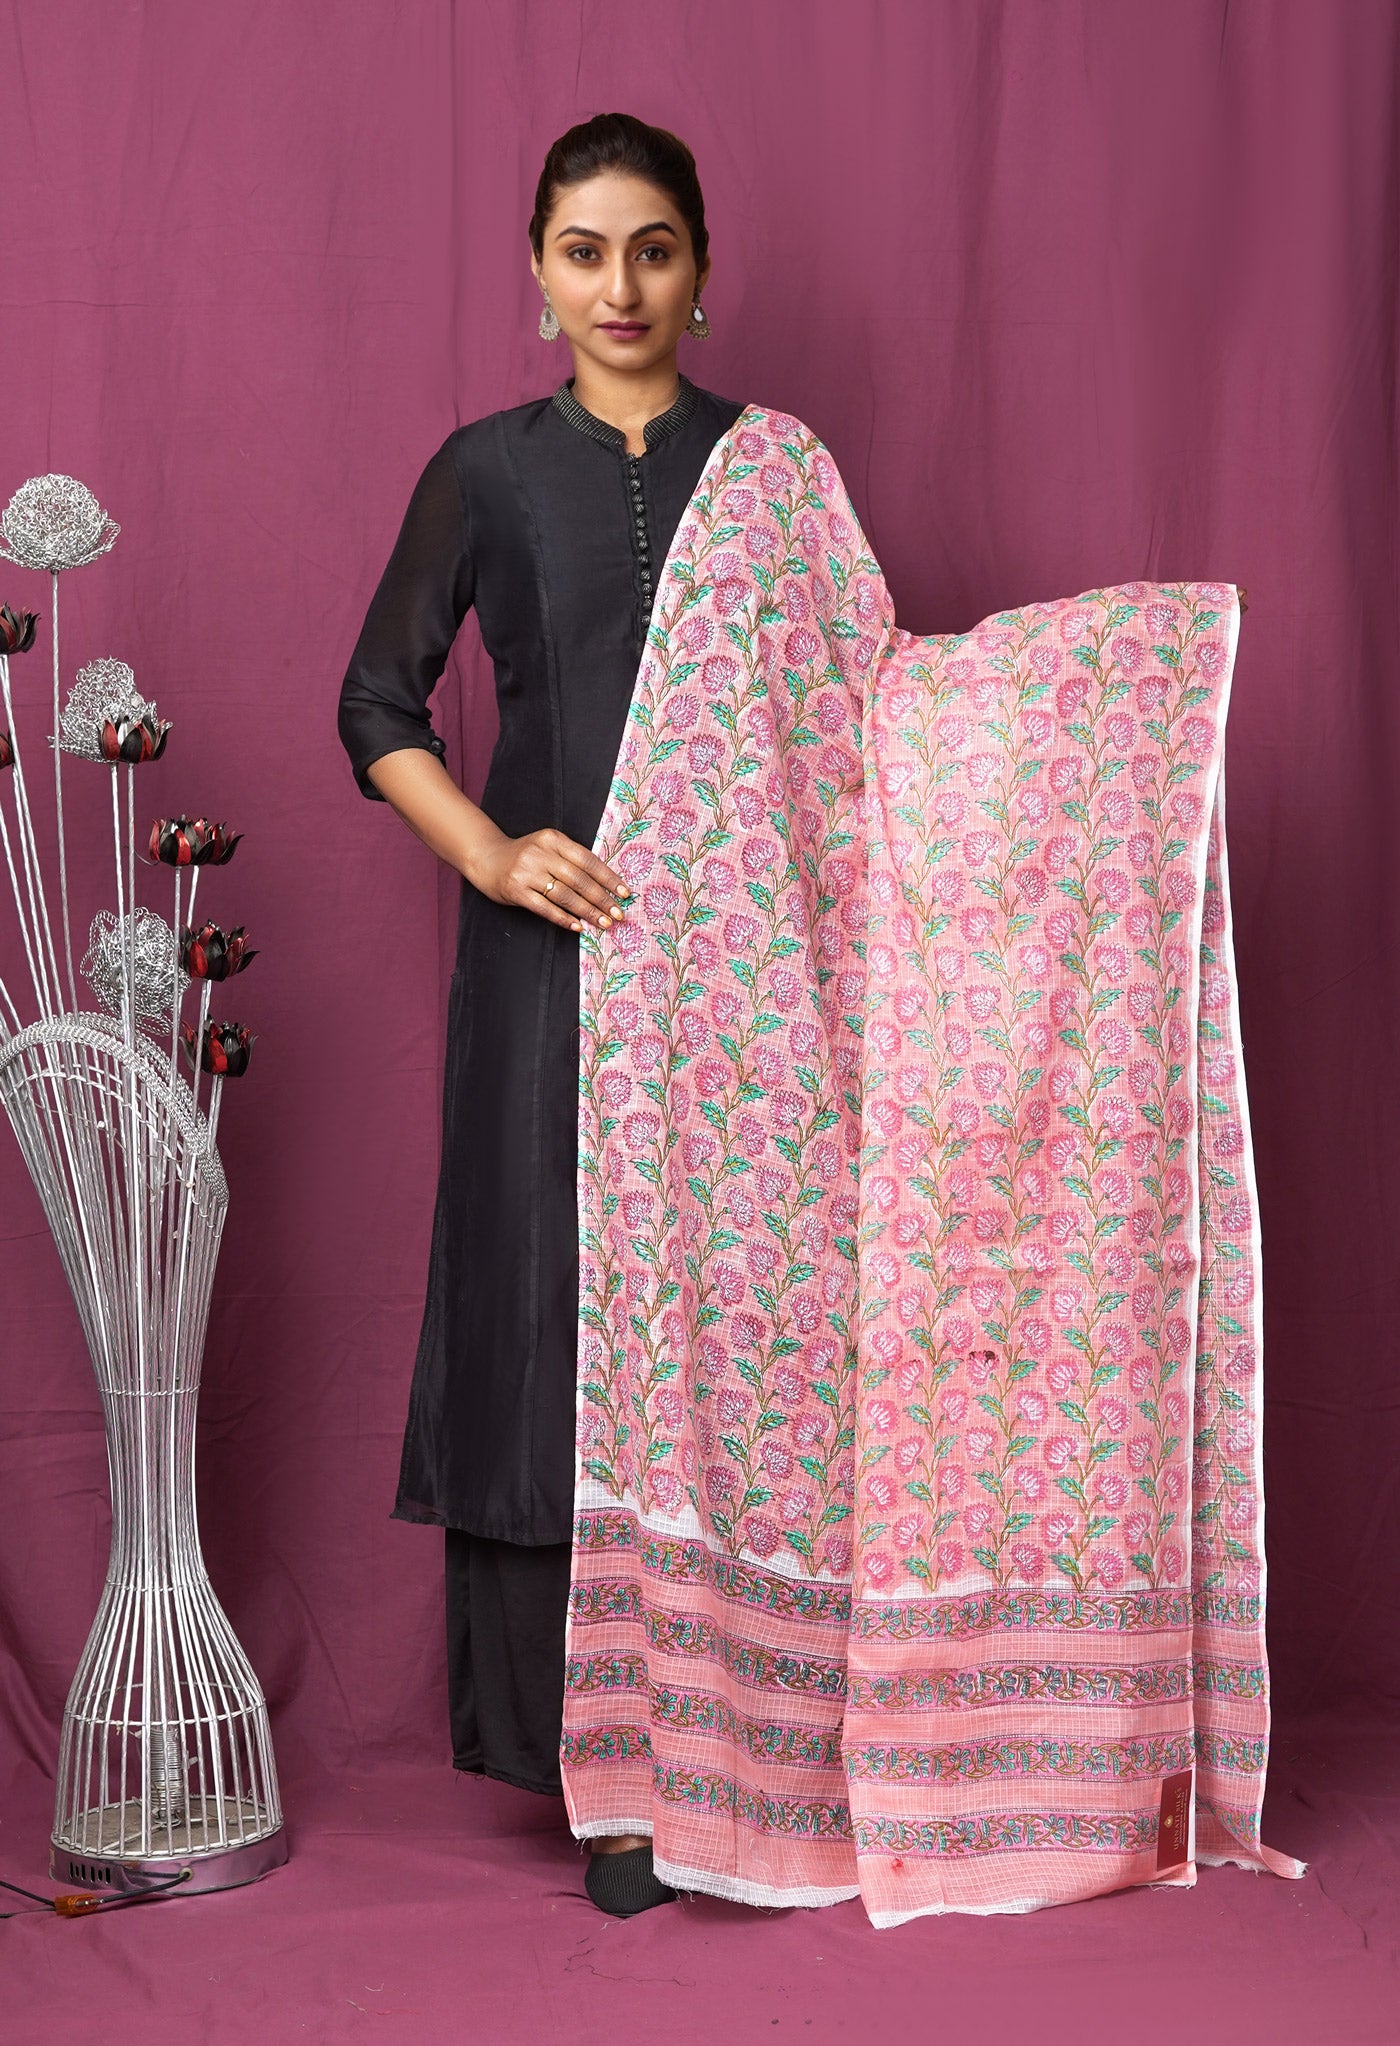
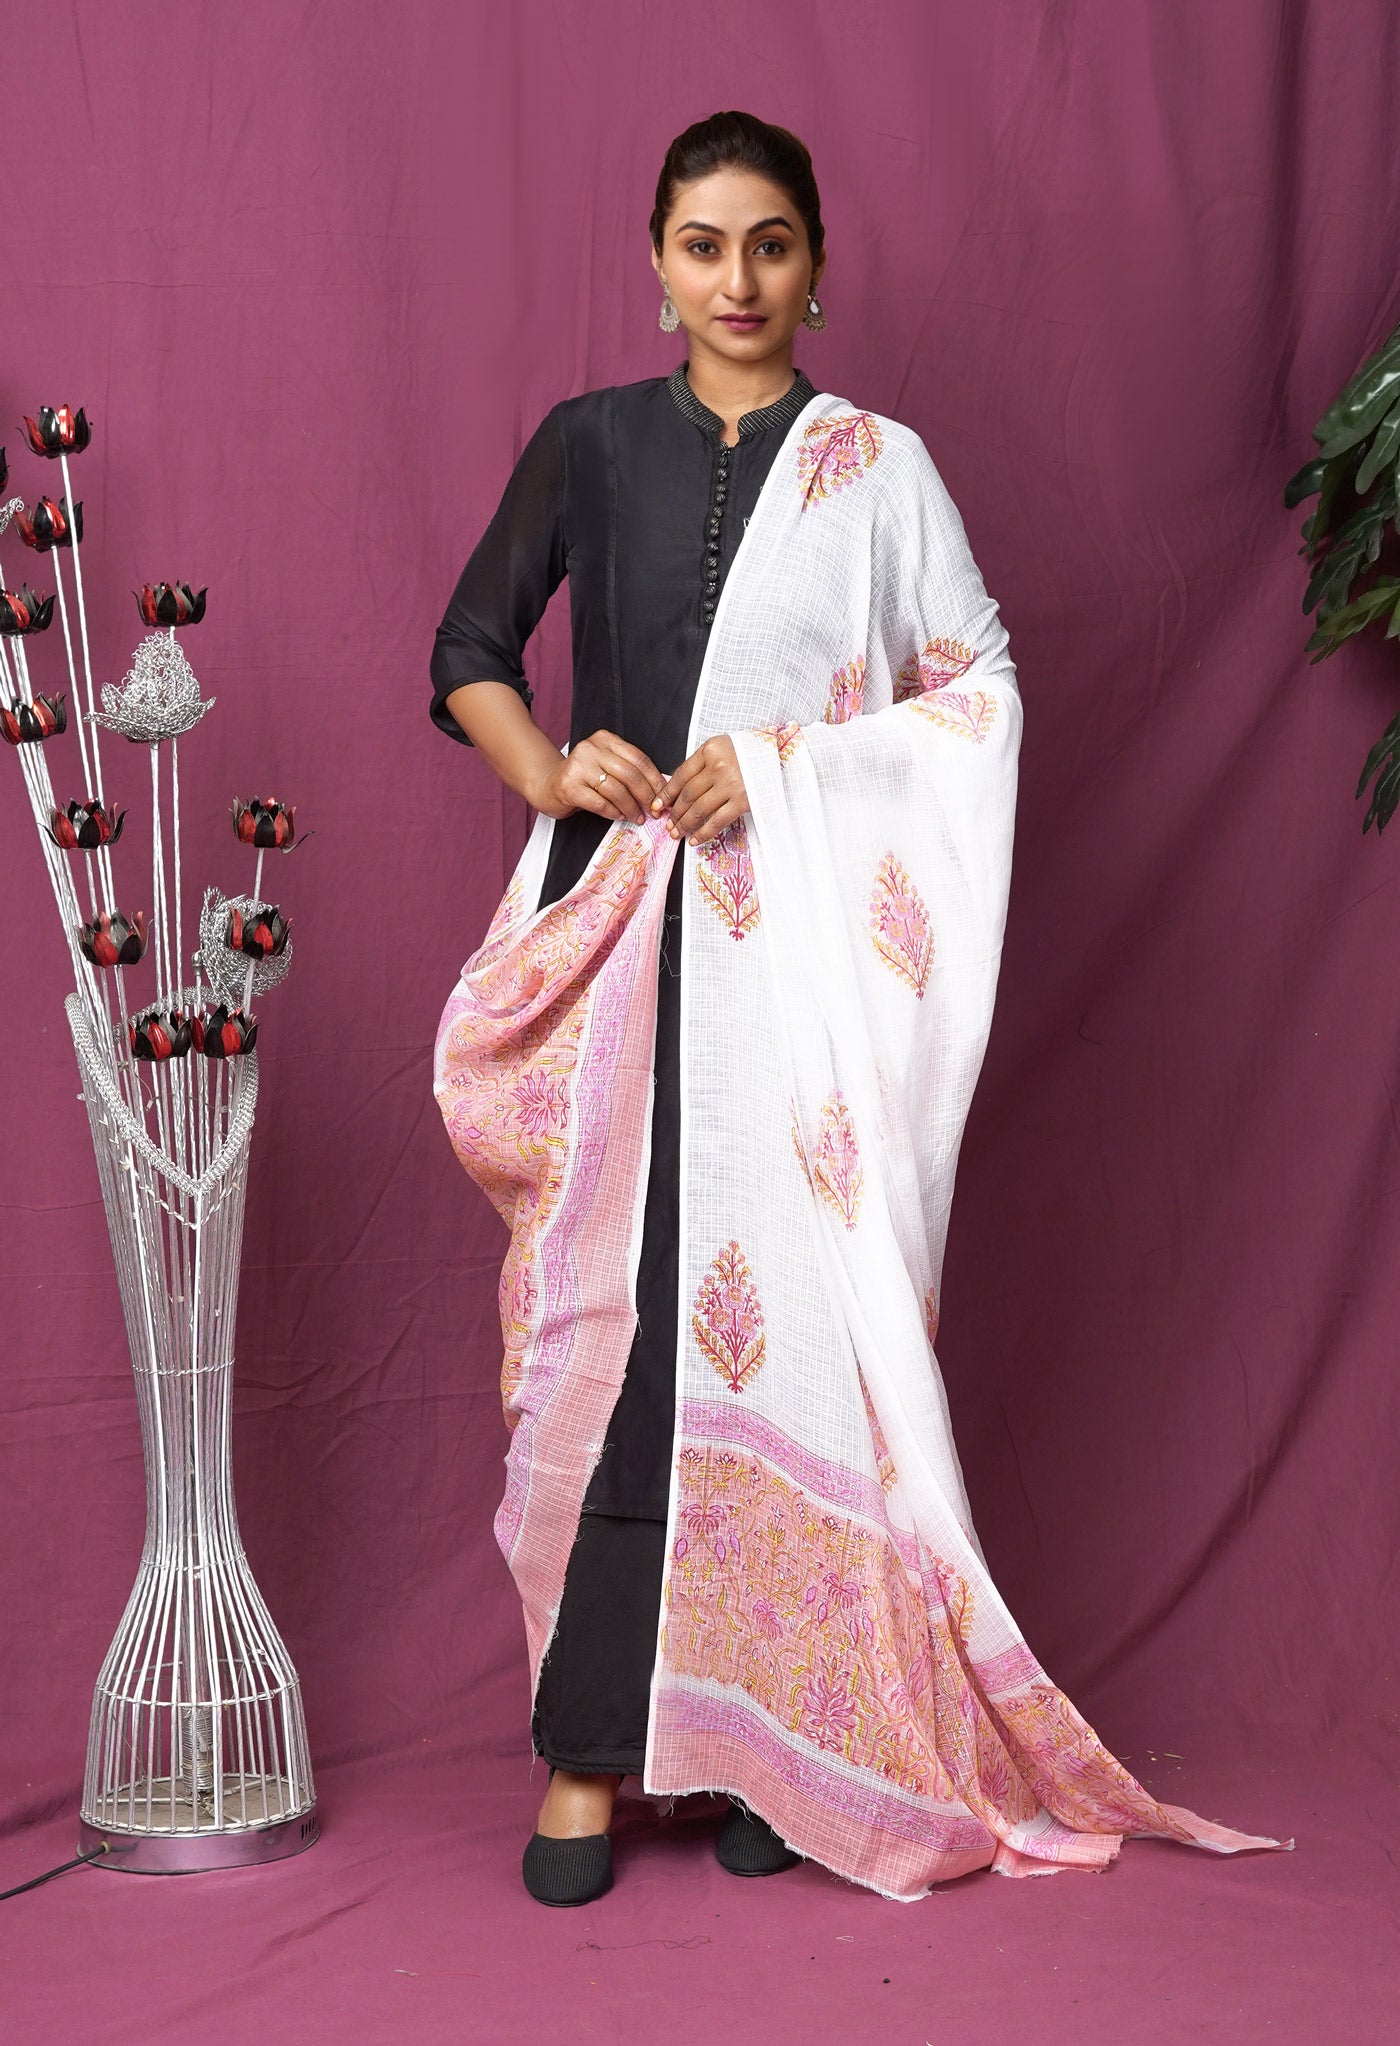
These tassels can be sewn to the ends of shawls or dupattas as individual strands
Checkout this post – 8 ways to make beaded tassels and edge beading for more details

How to make Saree Tassels (Sari Pallu)
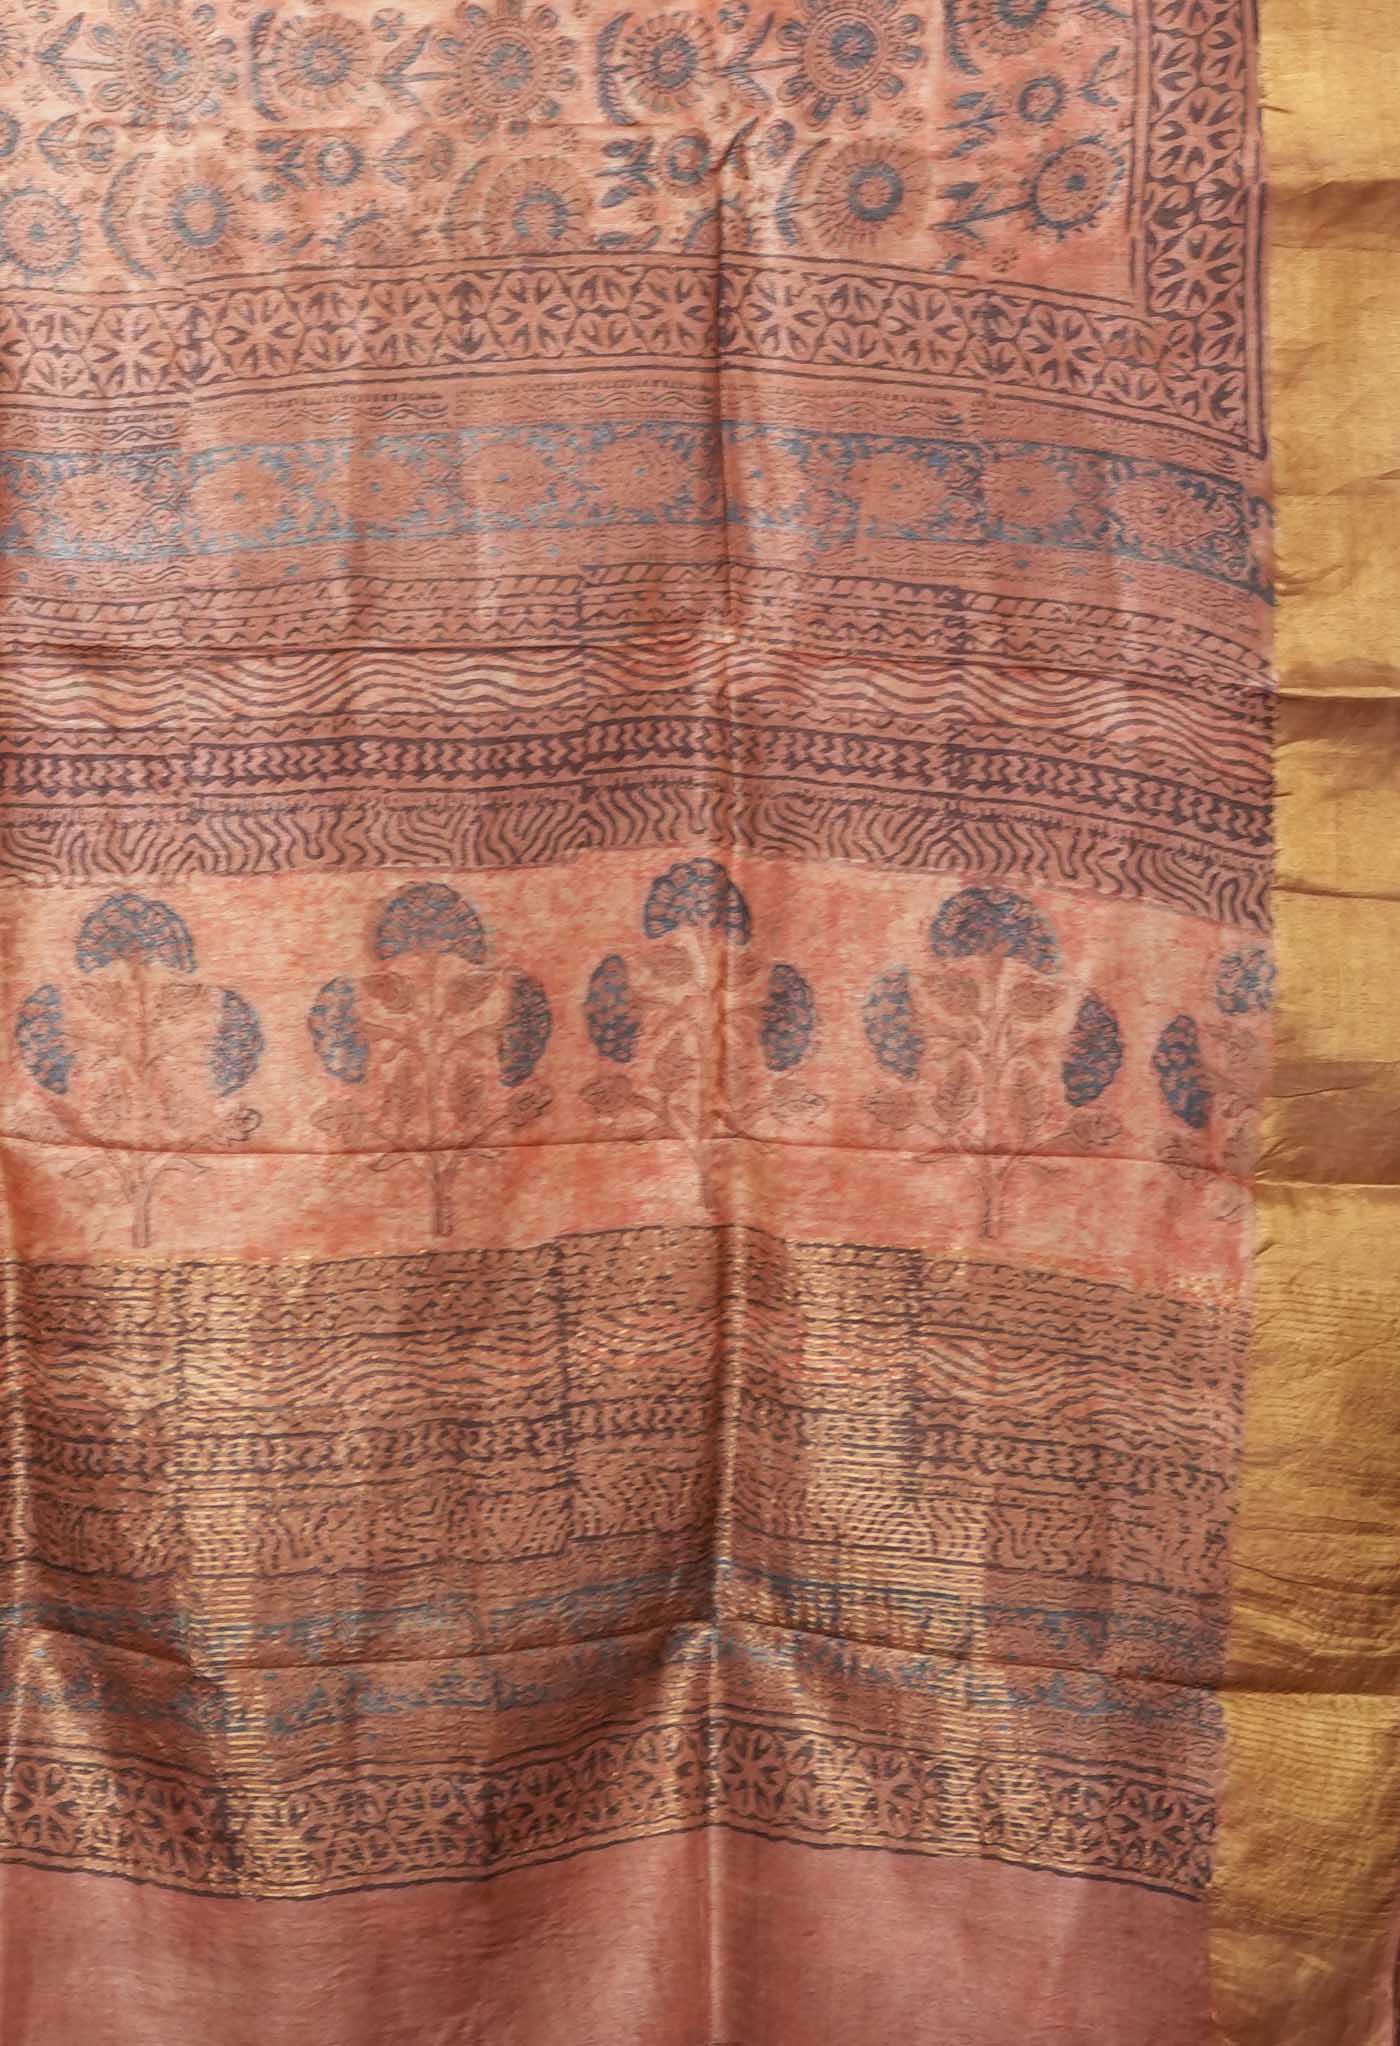
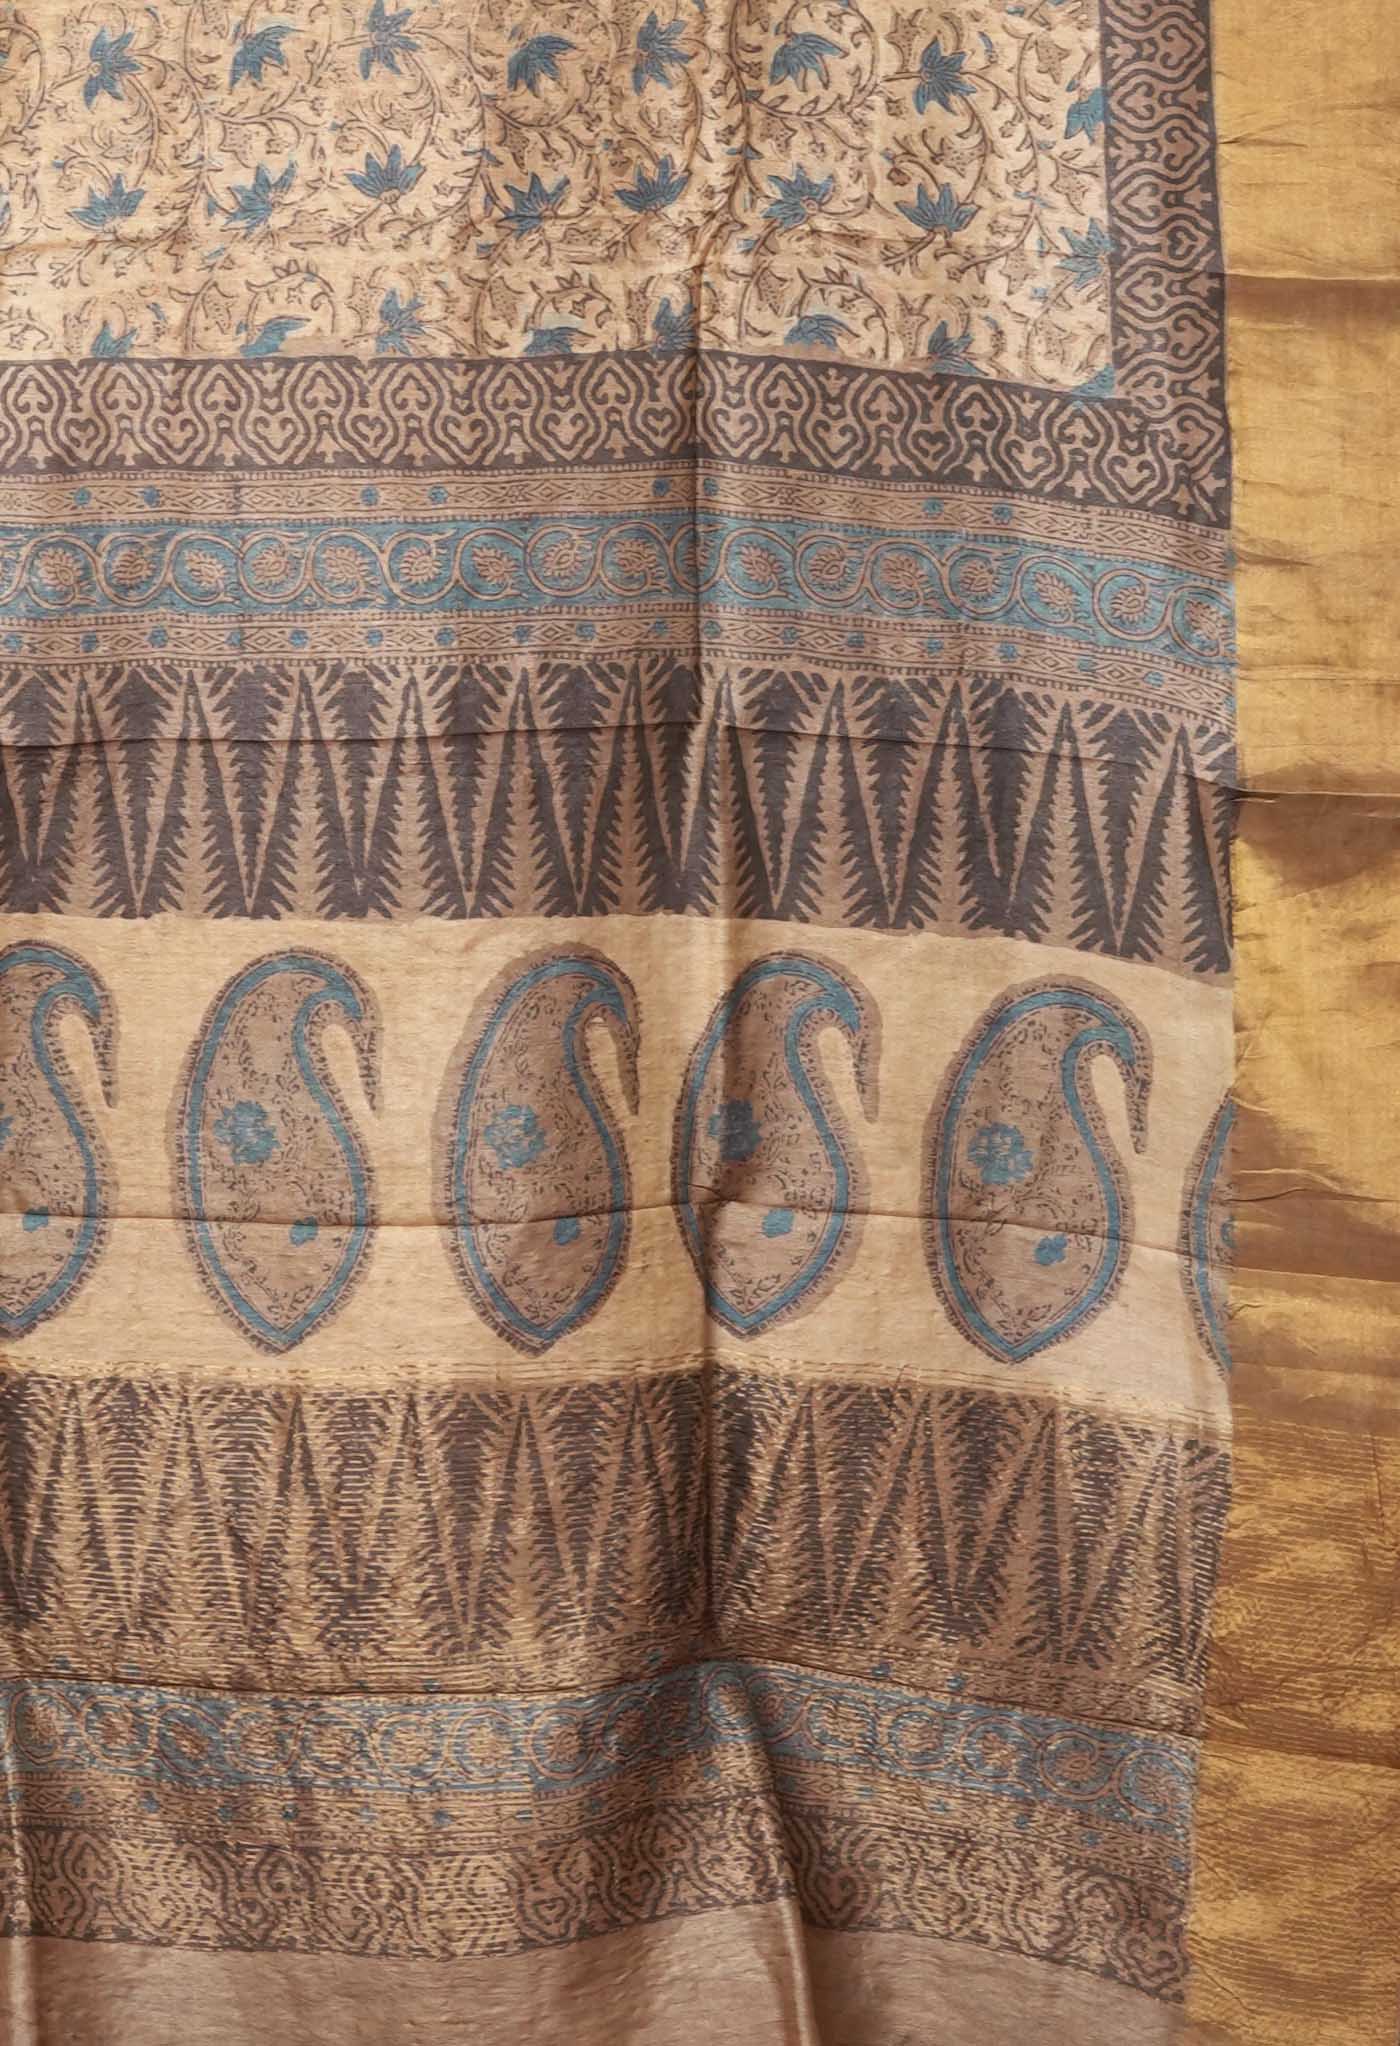
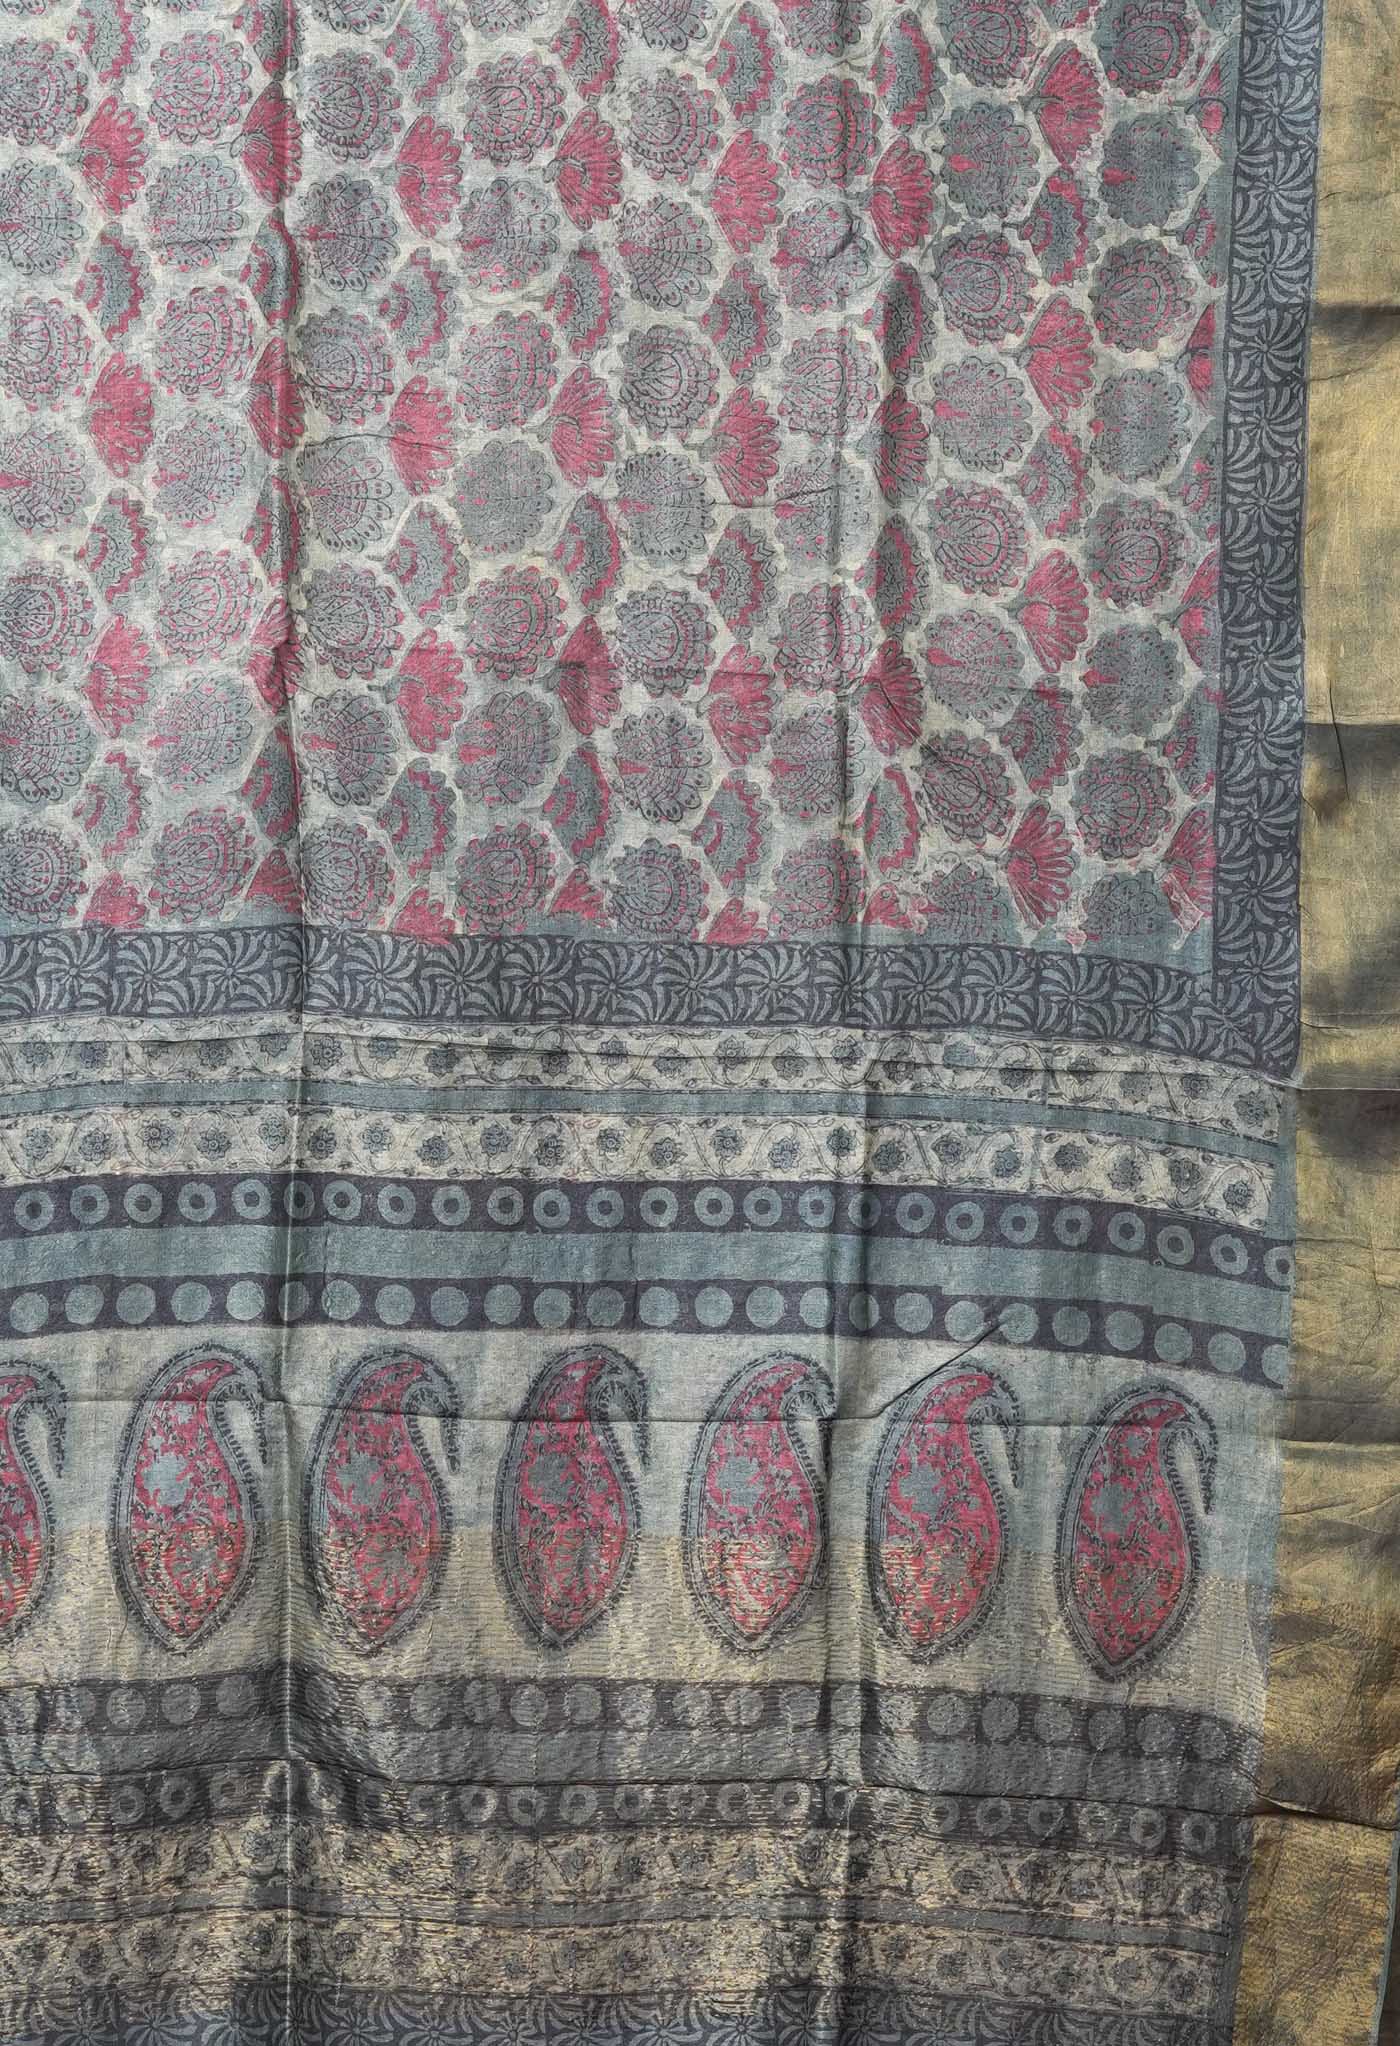
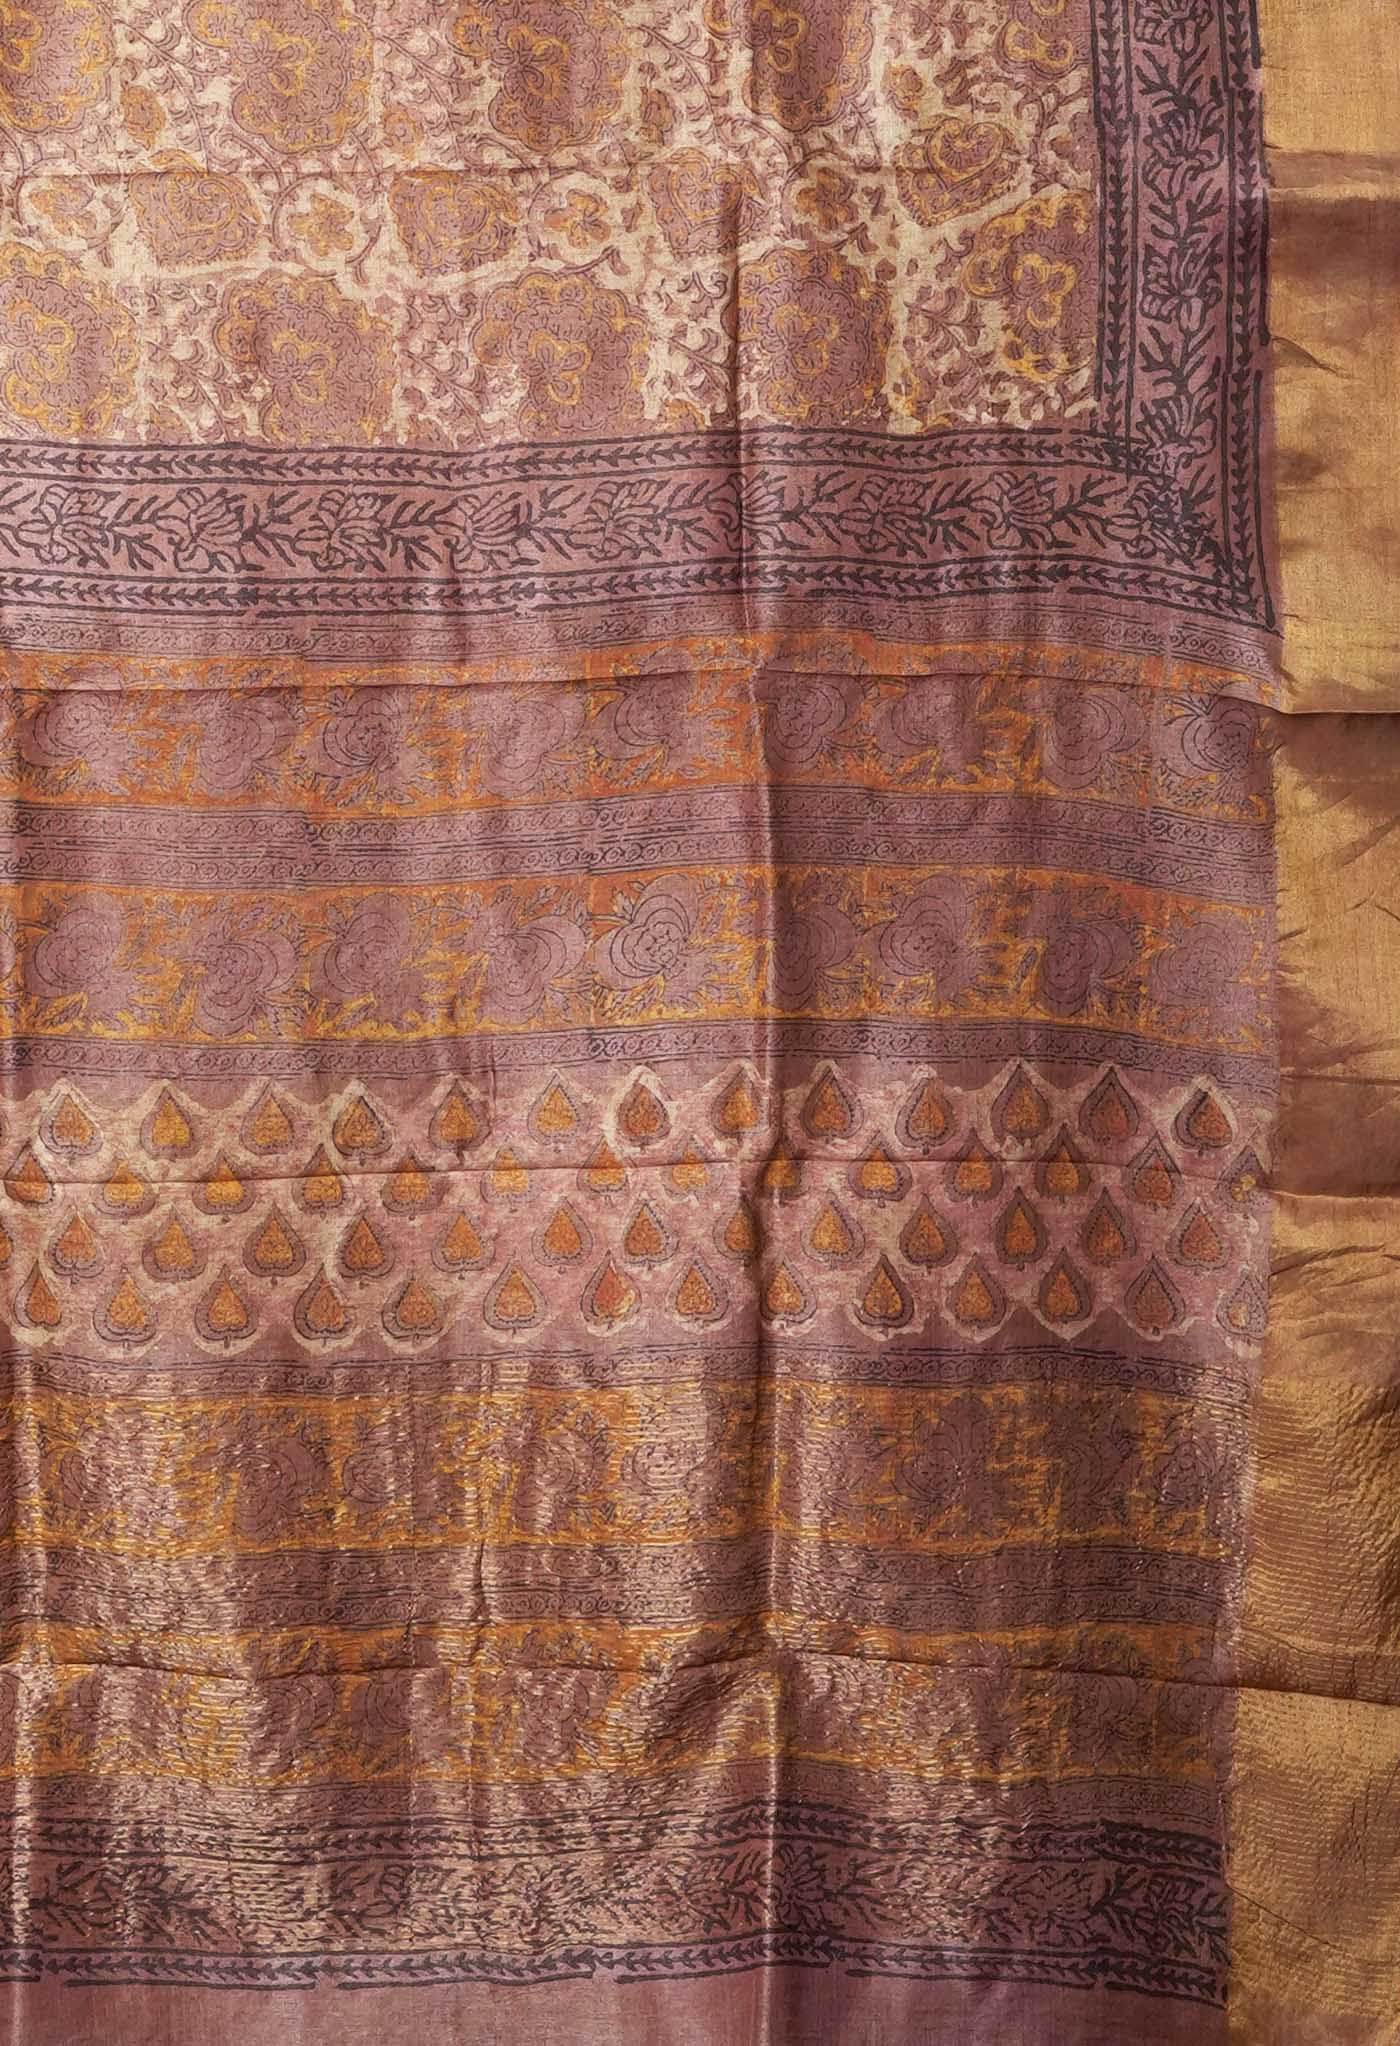
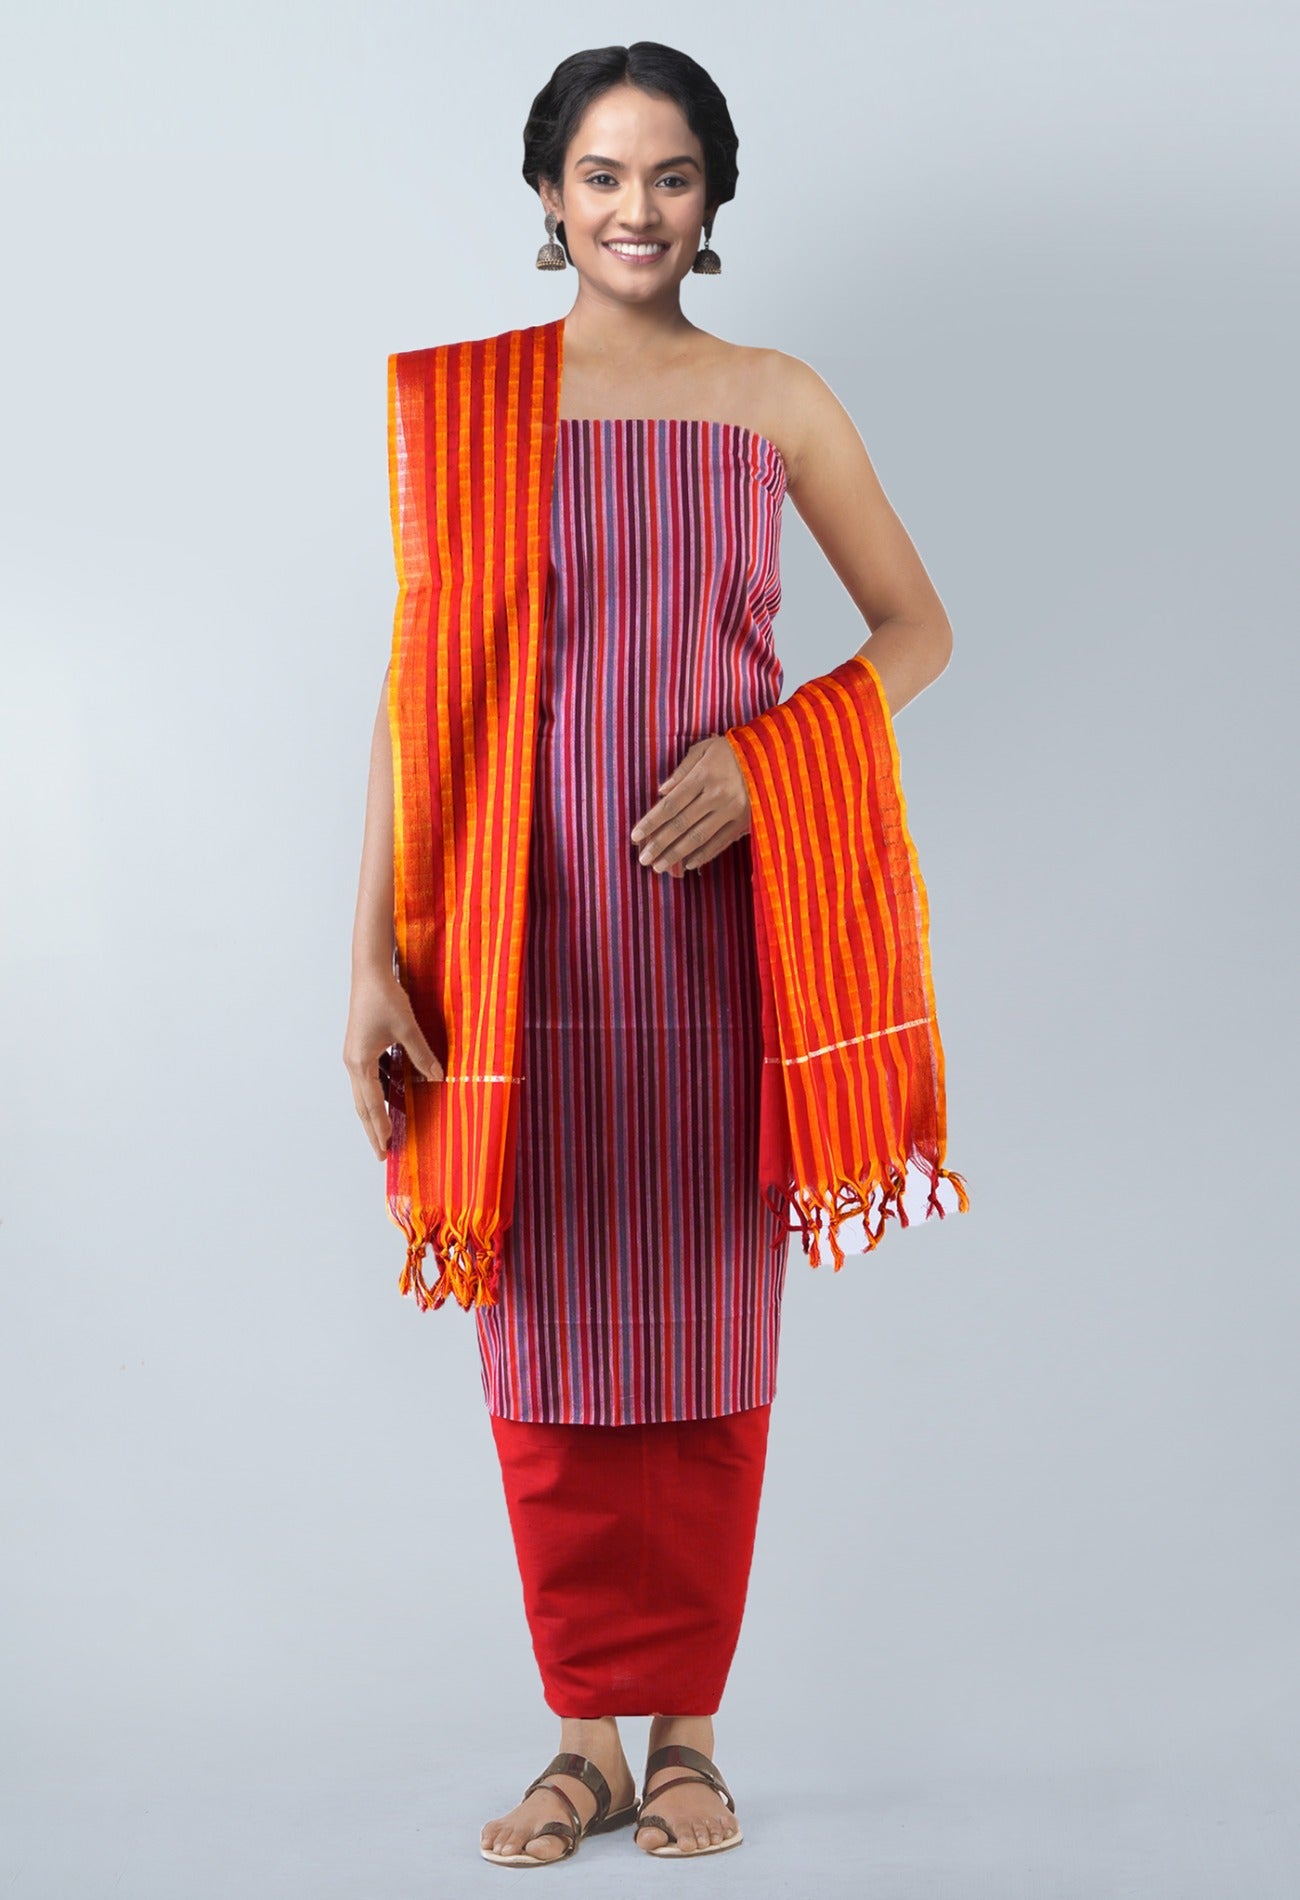
- One of the recent adorning additions in the saree manufacturing industry is the inclusion of tassels at the Pallu end. And truly they do. Both Sarees and other Indian clothing like dupattas make use of the tassel decoration quite frequently.
- Some silk sarees will have thread hanging down for making these tassels, you just need to tie them. You do not have to add extra tassels here. These tassel threads are made of warp threads of the sari fabric.
- But sometimes you may need to add extra sari tassels. You can make them with simple hand embroidery threads or machine embroidery threads.
 Adding those extra tassels to saree pallus
One can finish the hem of the saree in the usual manner with a rolled hem or a picot edge or a zigzag stitch.
Cut out 10 strands of thread (machine embroidery thread would be best) of about 6 inches length ( or more if you want longer tassels or layers of tassels). More number of strands will result in thicker tassel. Fold them by half.
Make a series of small holes in the hem at regular intervals. Draw the folded thread through one such hole half way through. (not fully)
Insert the other loose thread end through this loop so that a knot is formed.
Tie the neck of the tassel with a piece of thread, to secure it. Cut off the tails of this thread.
You can now trim the tassel threads now or continue tying the tassels.
The long length of tassels can be tied again for layers of tassels. The first tassel is parted into half. One part is tied together with a part of nearby tassel.
Basically you part the tassel threads into sections and tie them to each other. Use beads stringed onto the tassel threads for a very beautiful and ornate look to your sari.
Trim the loose threads evenly after all the ties have been done.
 [/vc_column_text][vc_btn title="Shop Online Indian Beautiful Handloom Sarees" color="warning" align="center" link="url:https%3A%2F%2Fwww.unnatisilks.com%2Fsarees-online.html||target:%20_blank"][/vc_column][/vc_row]

