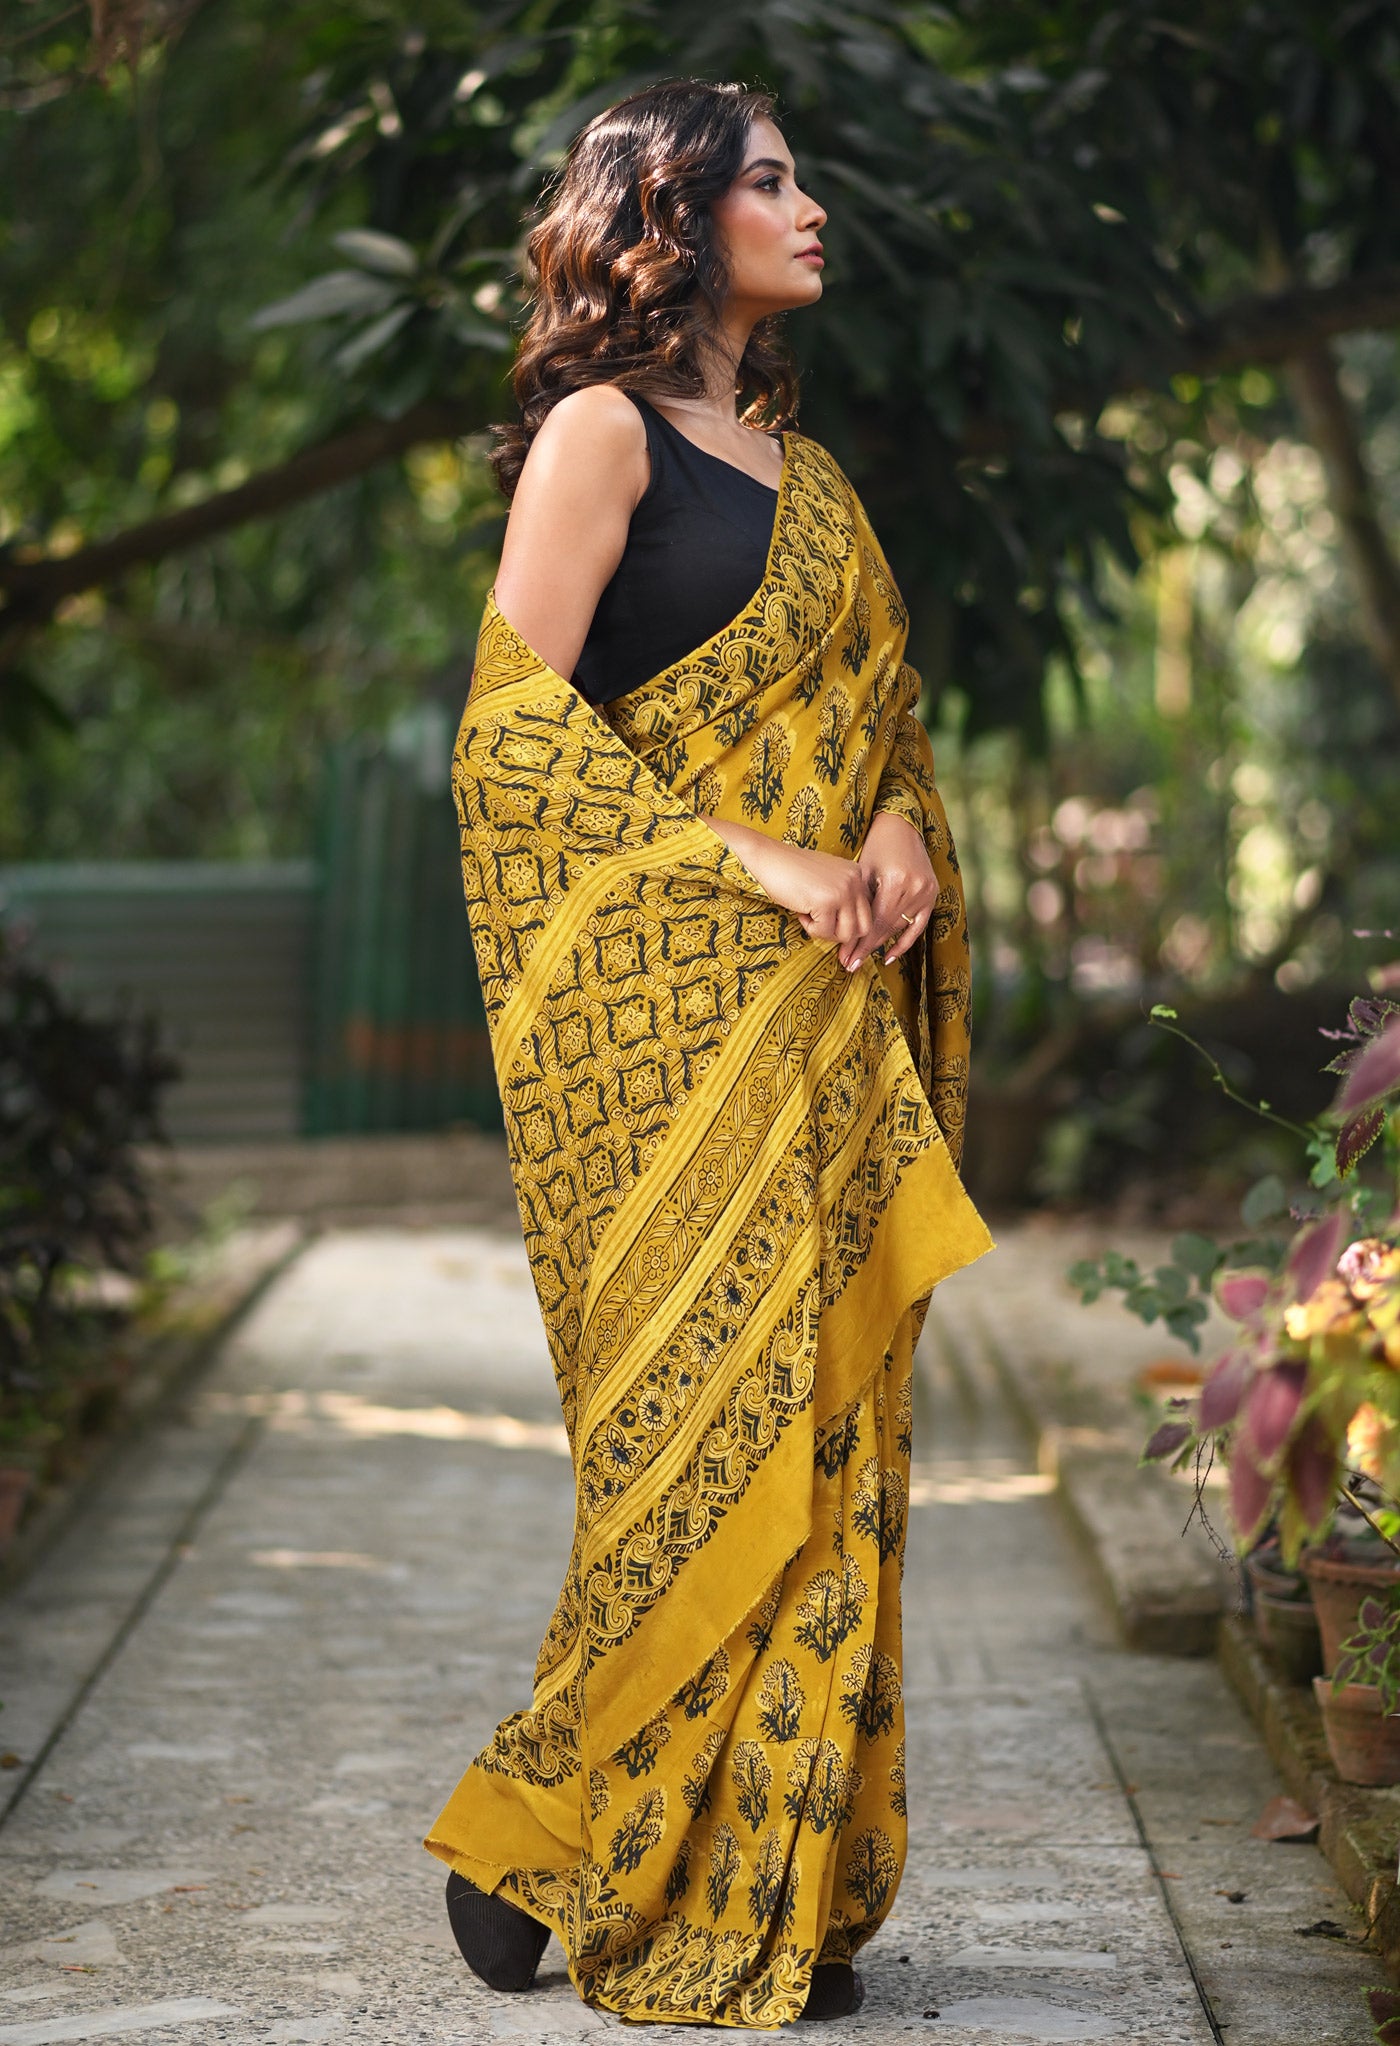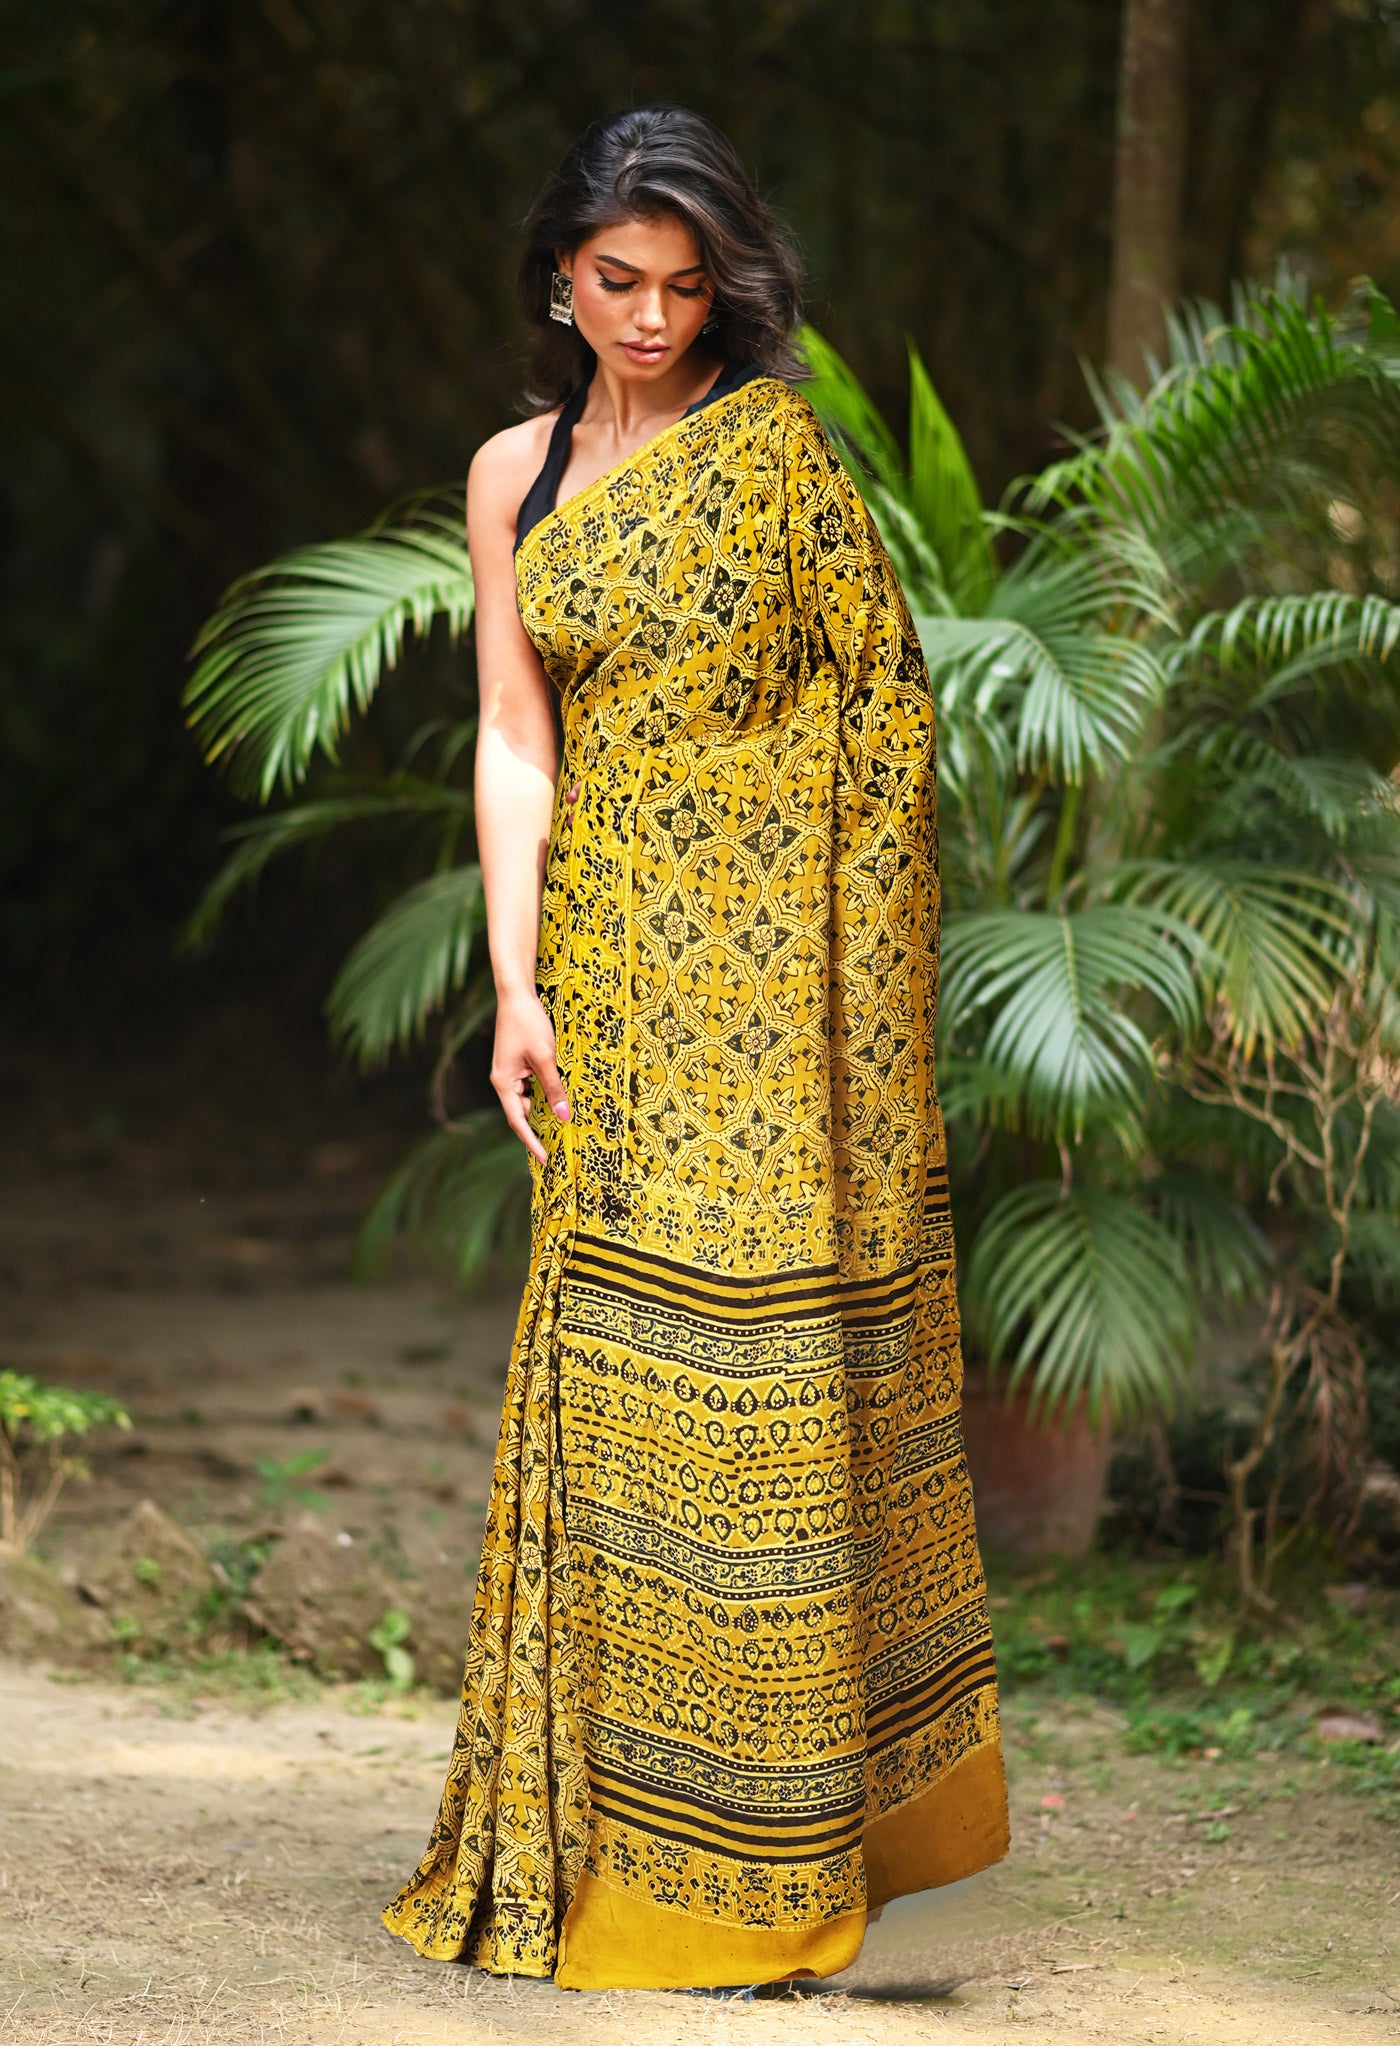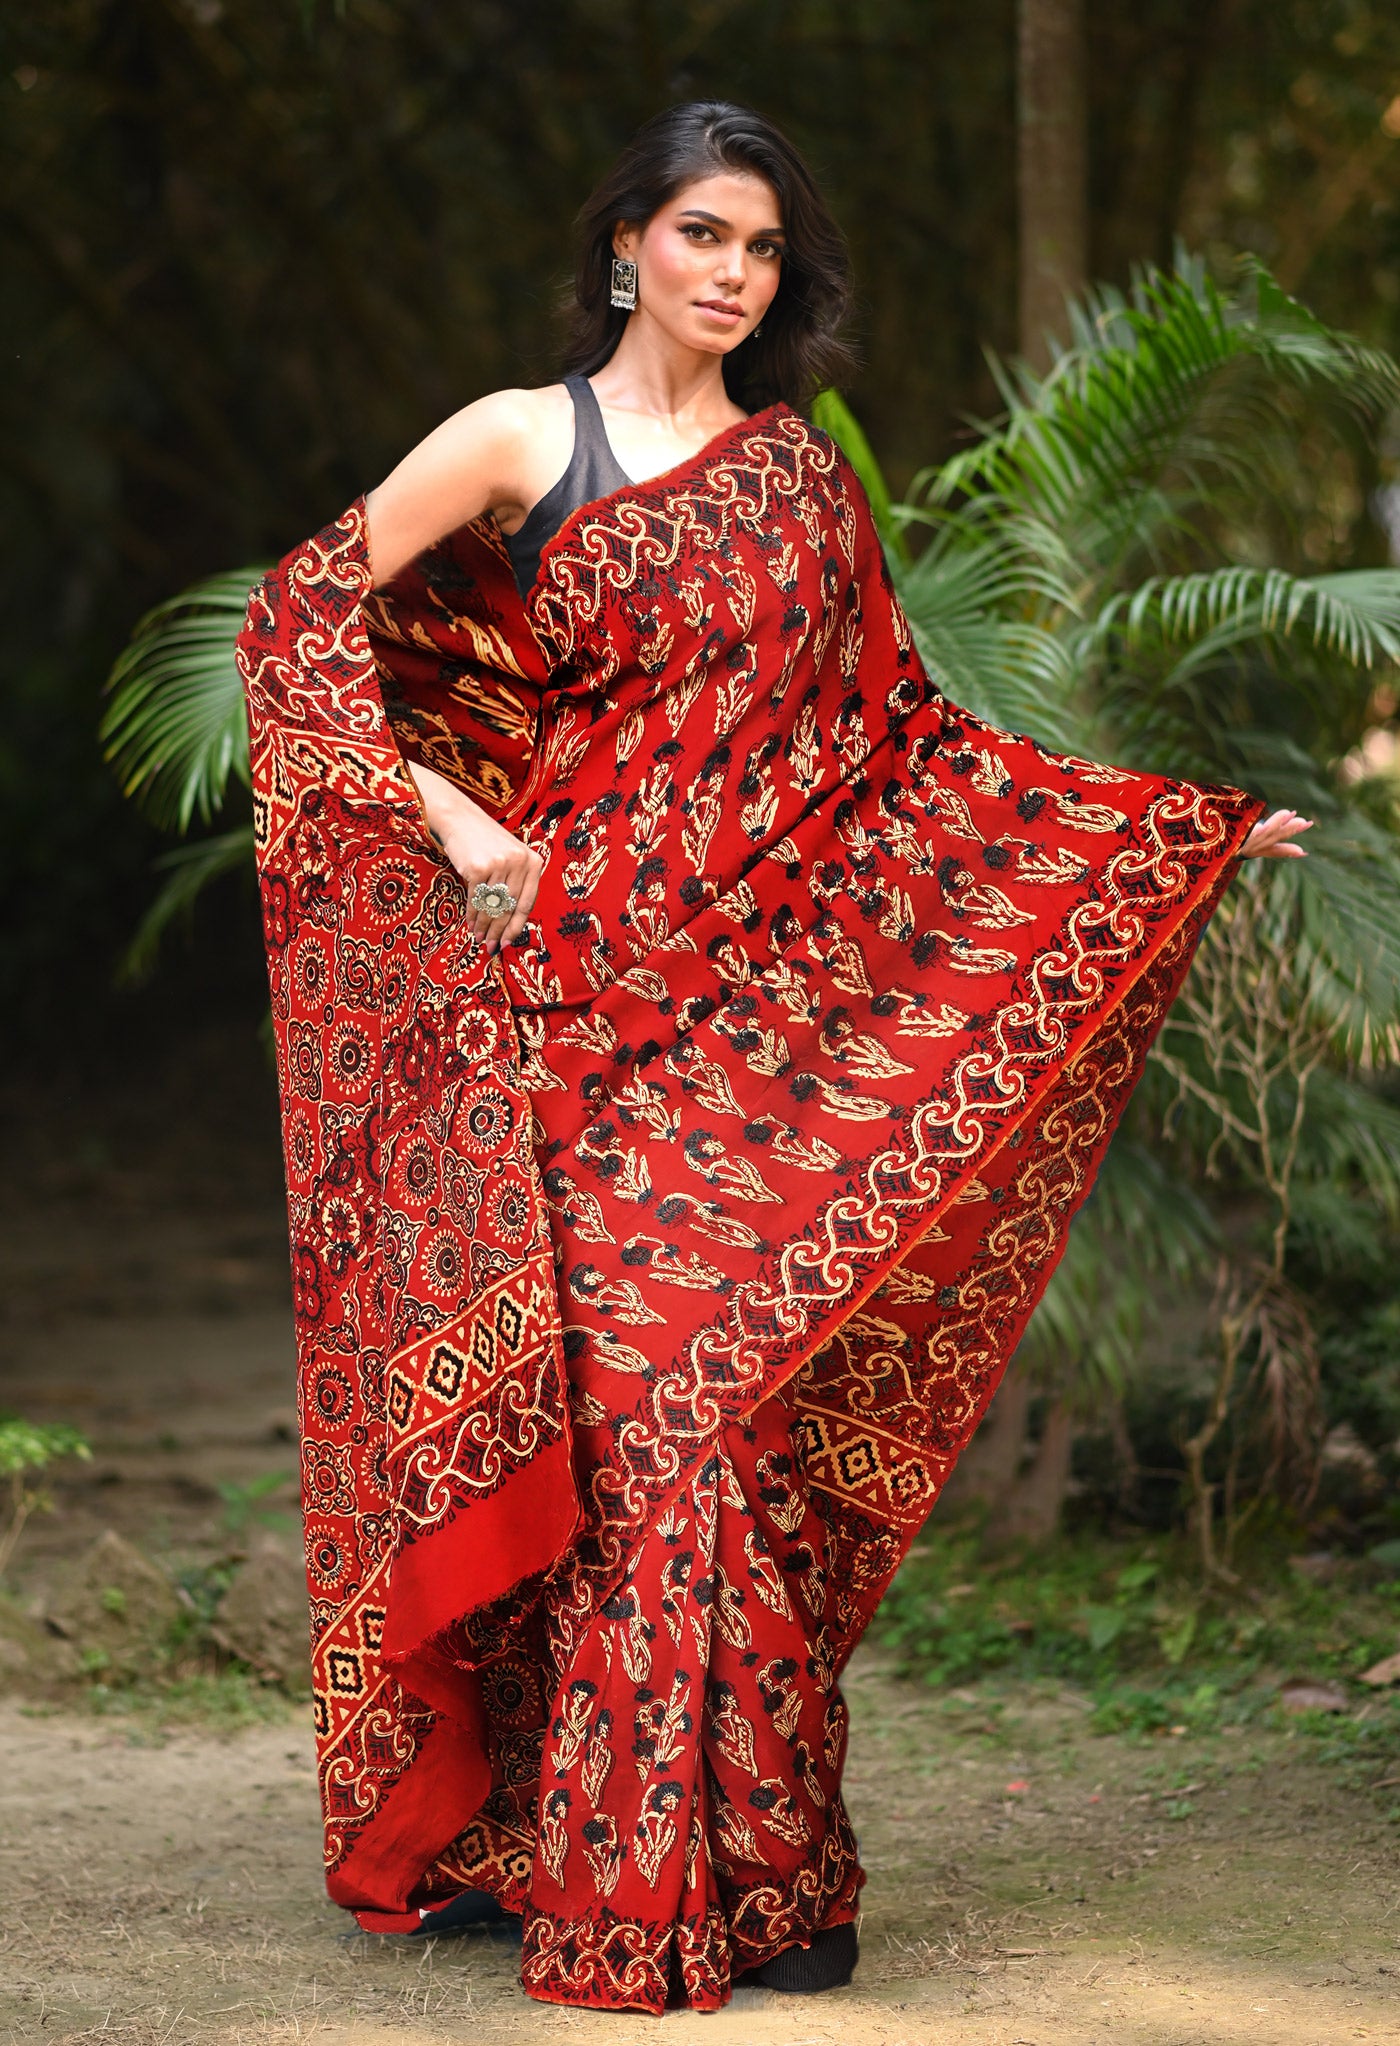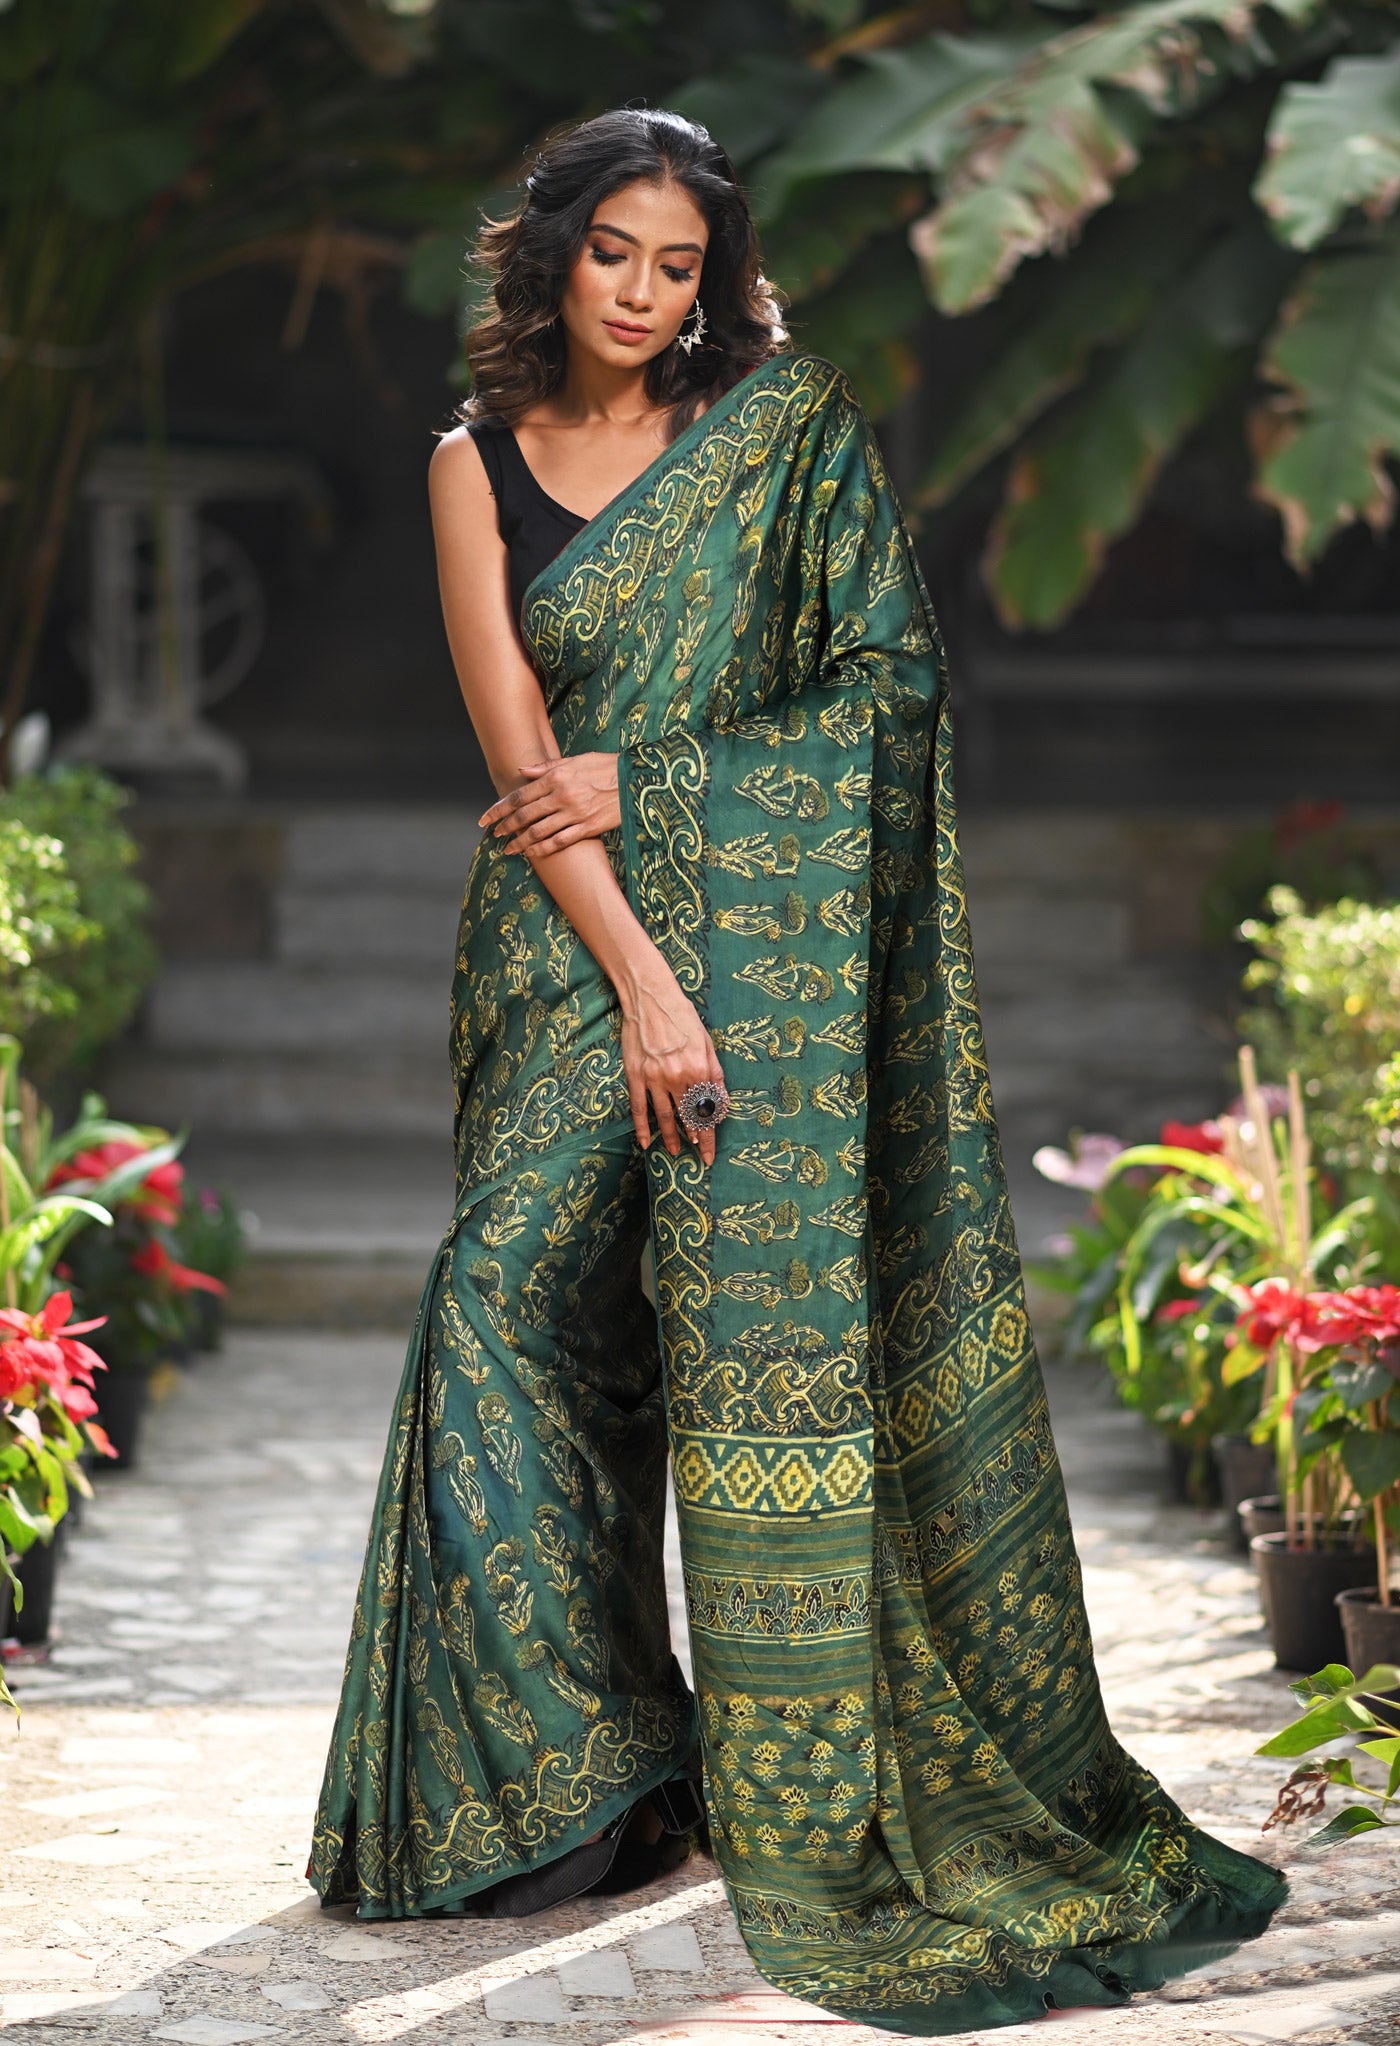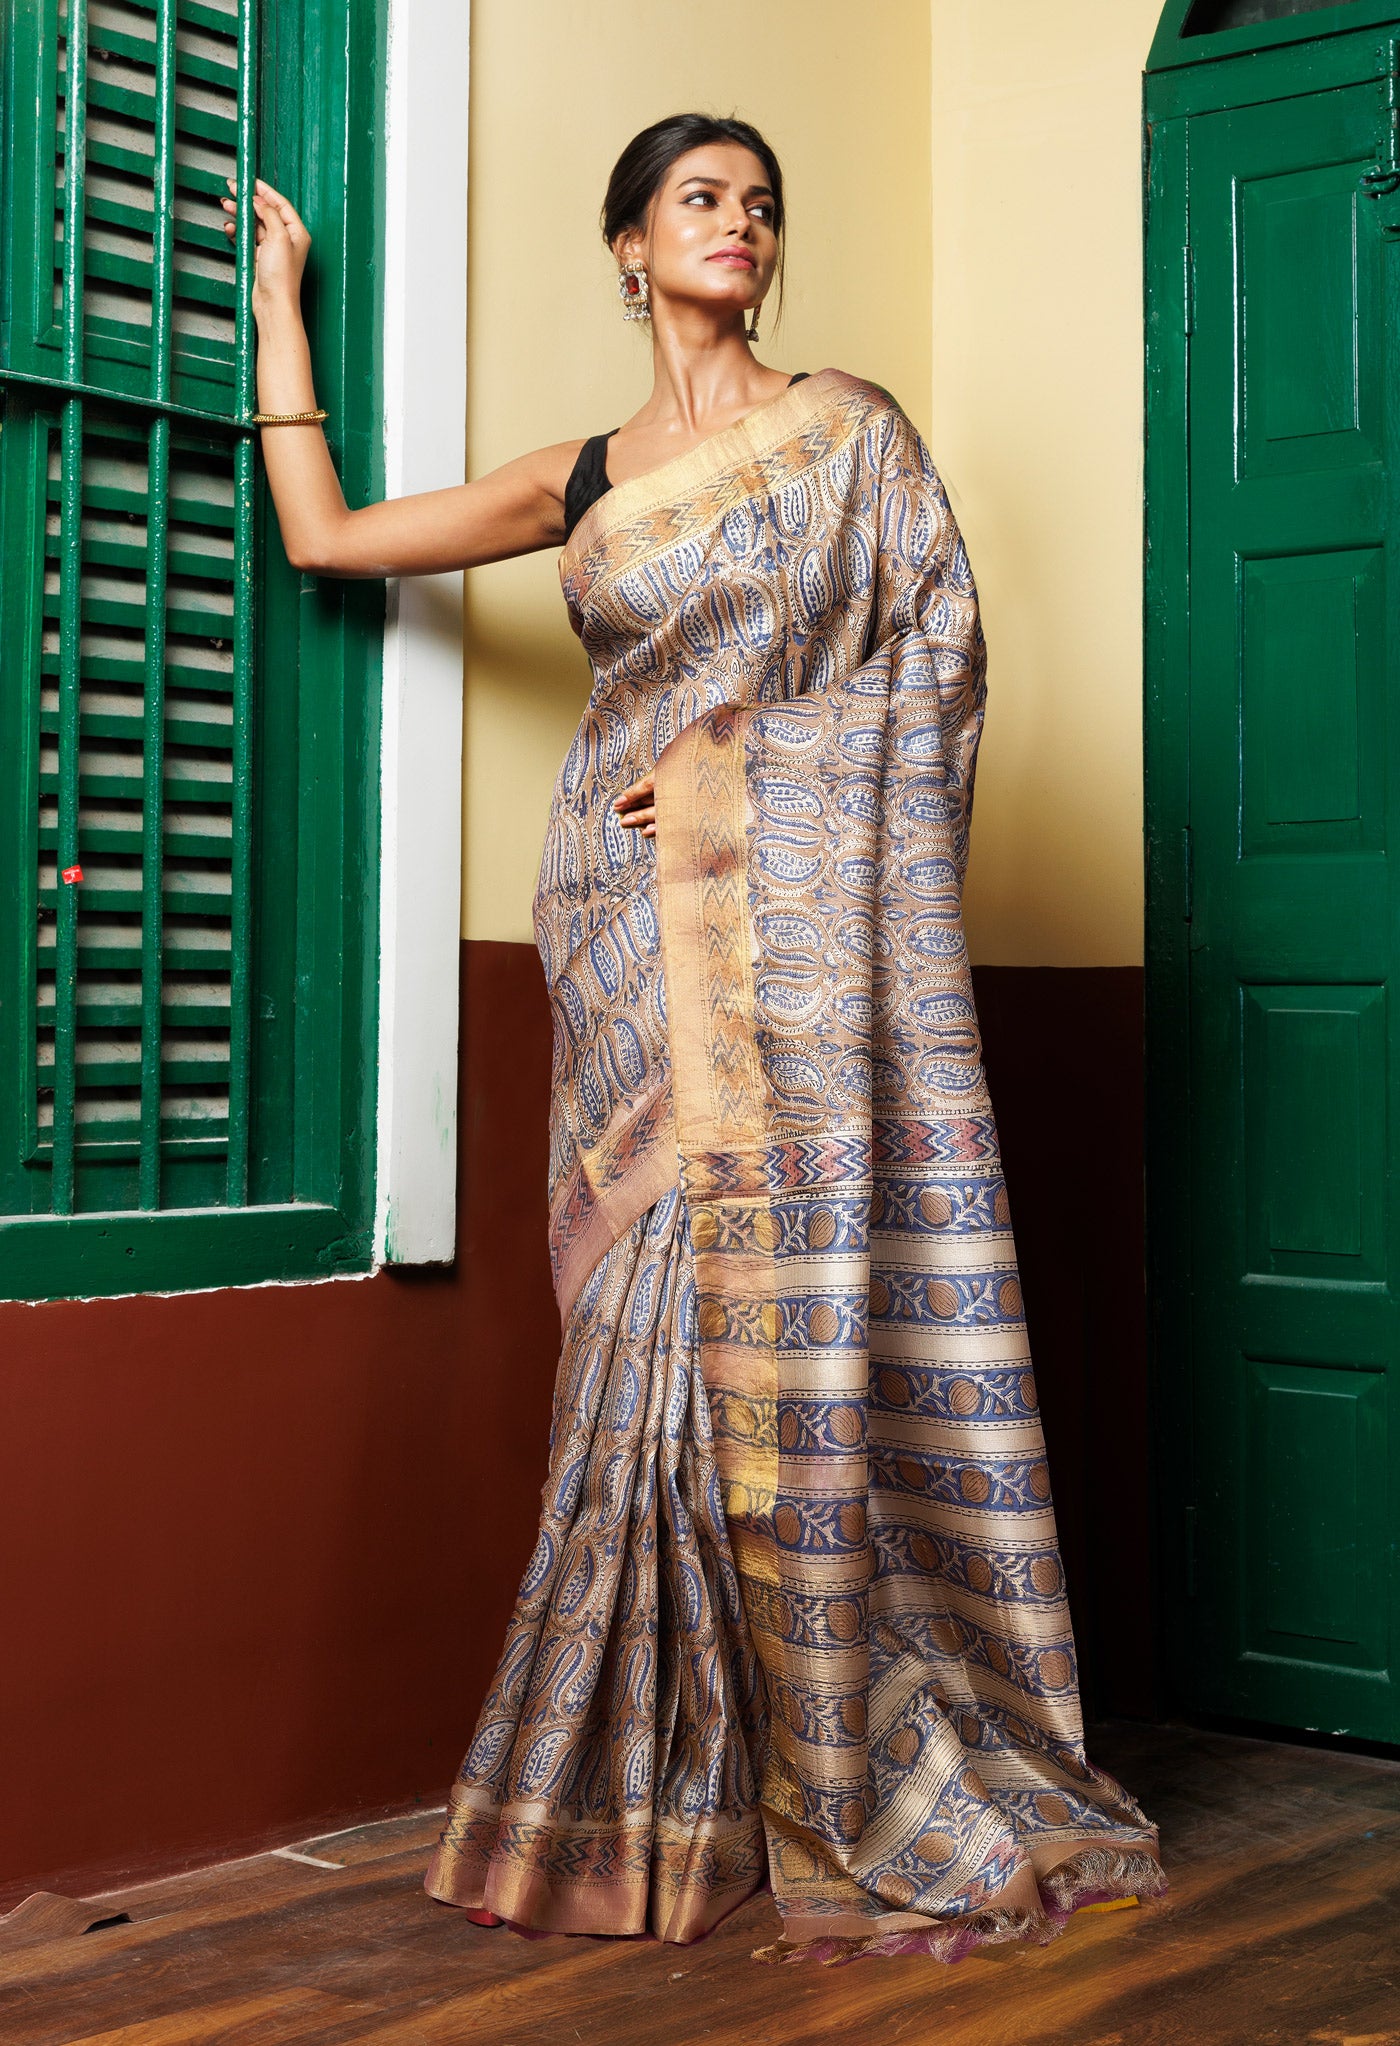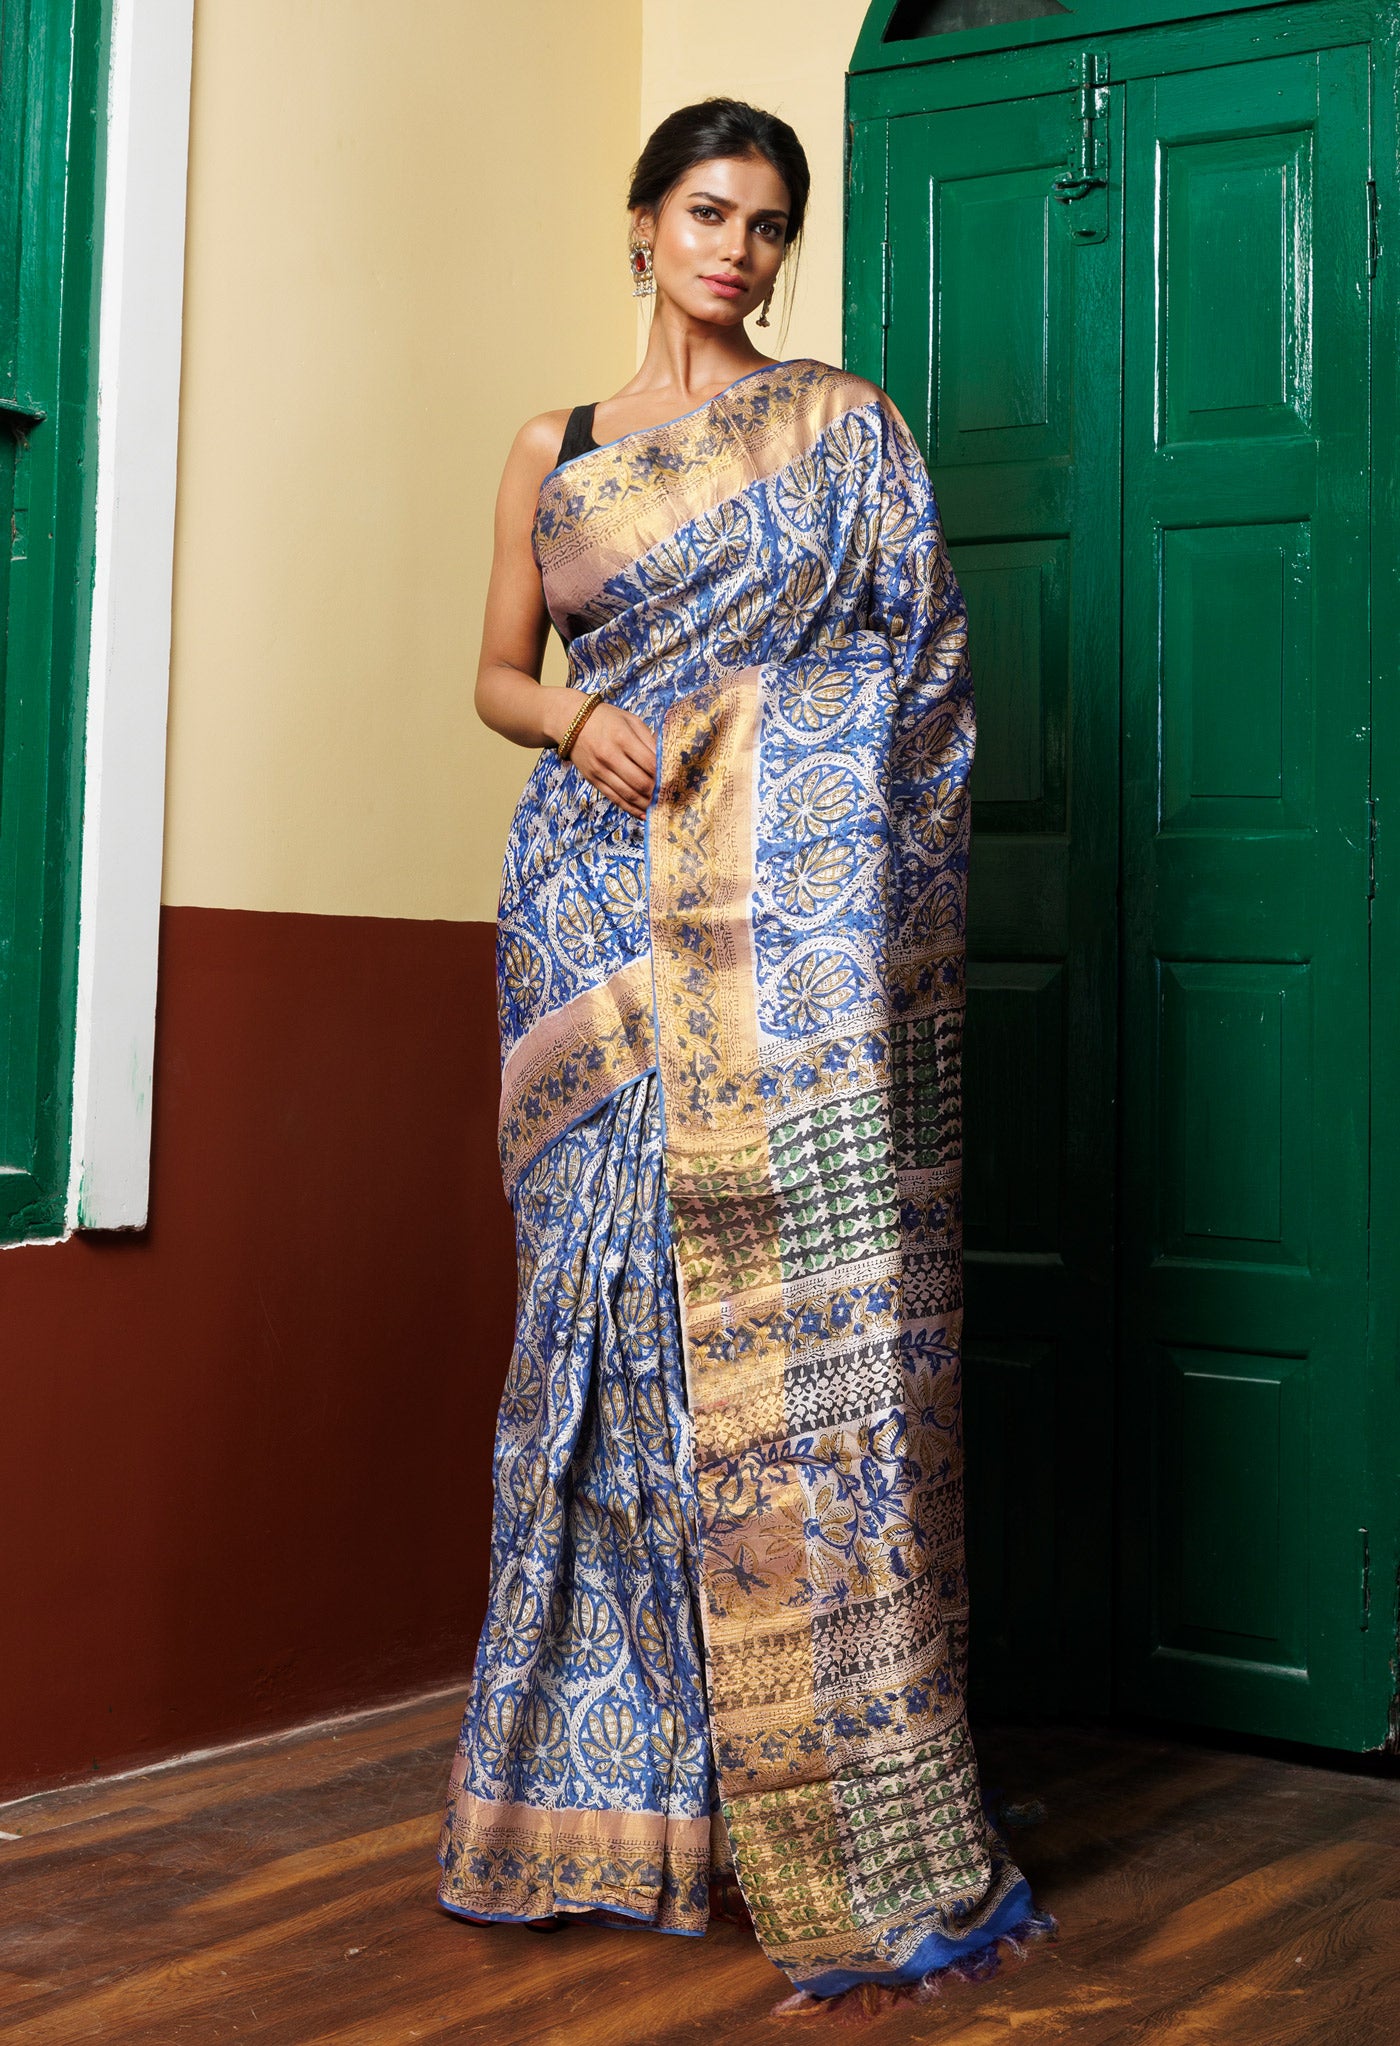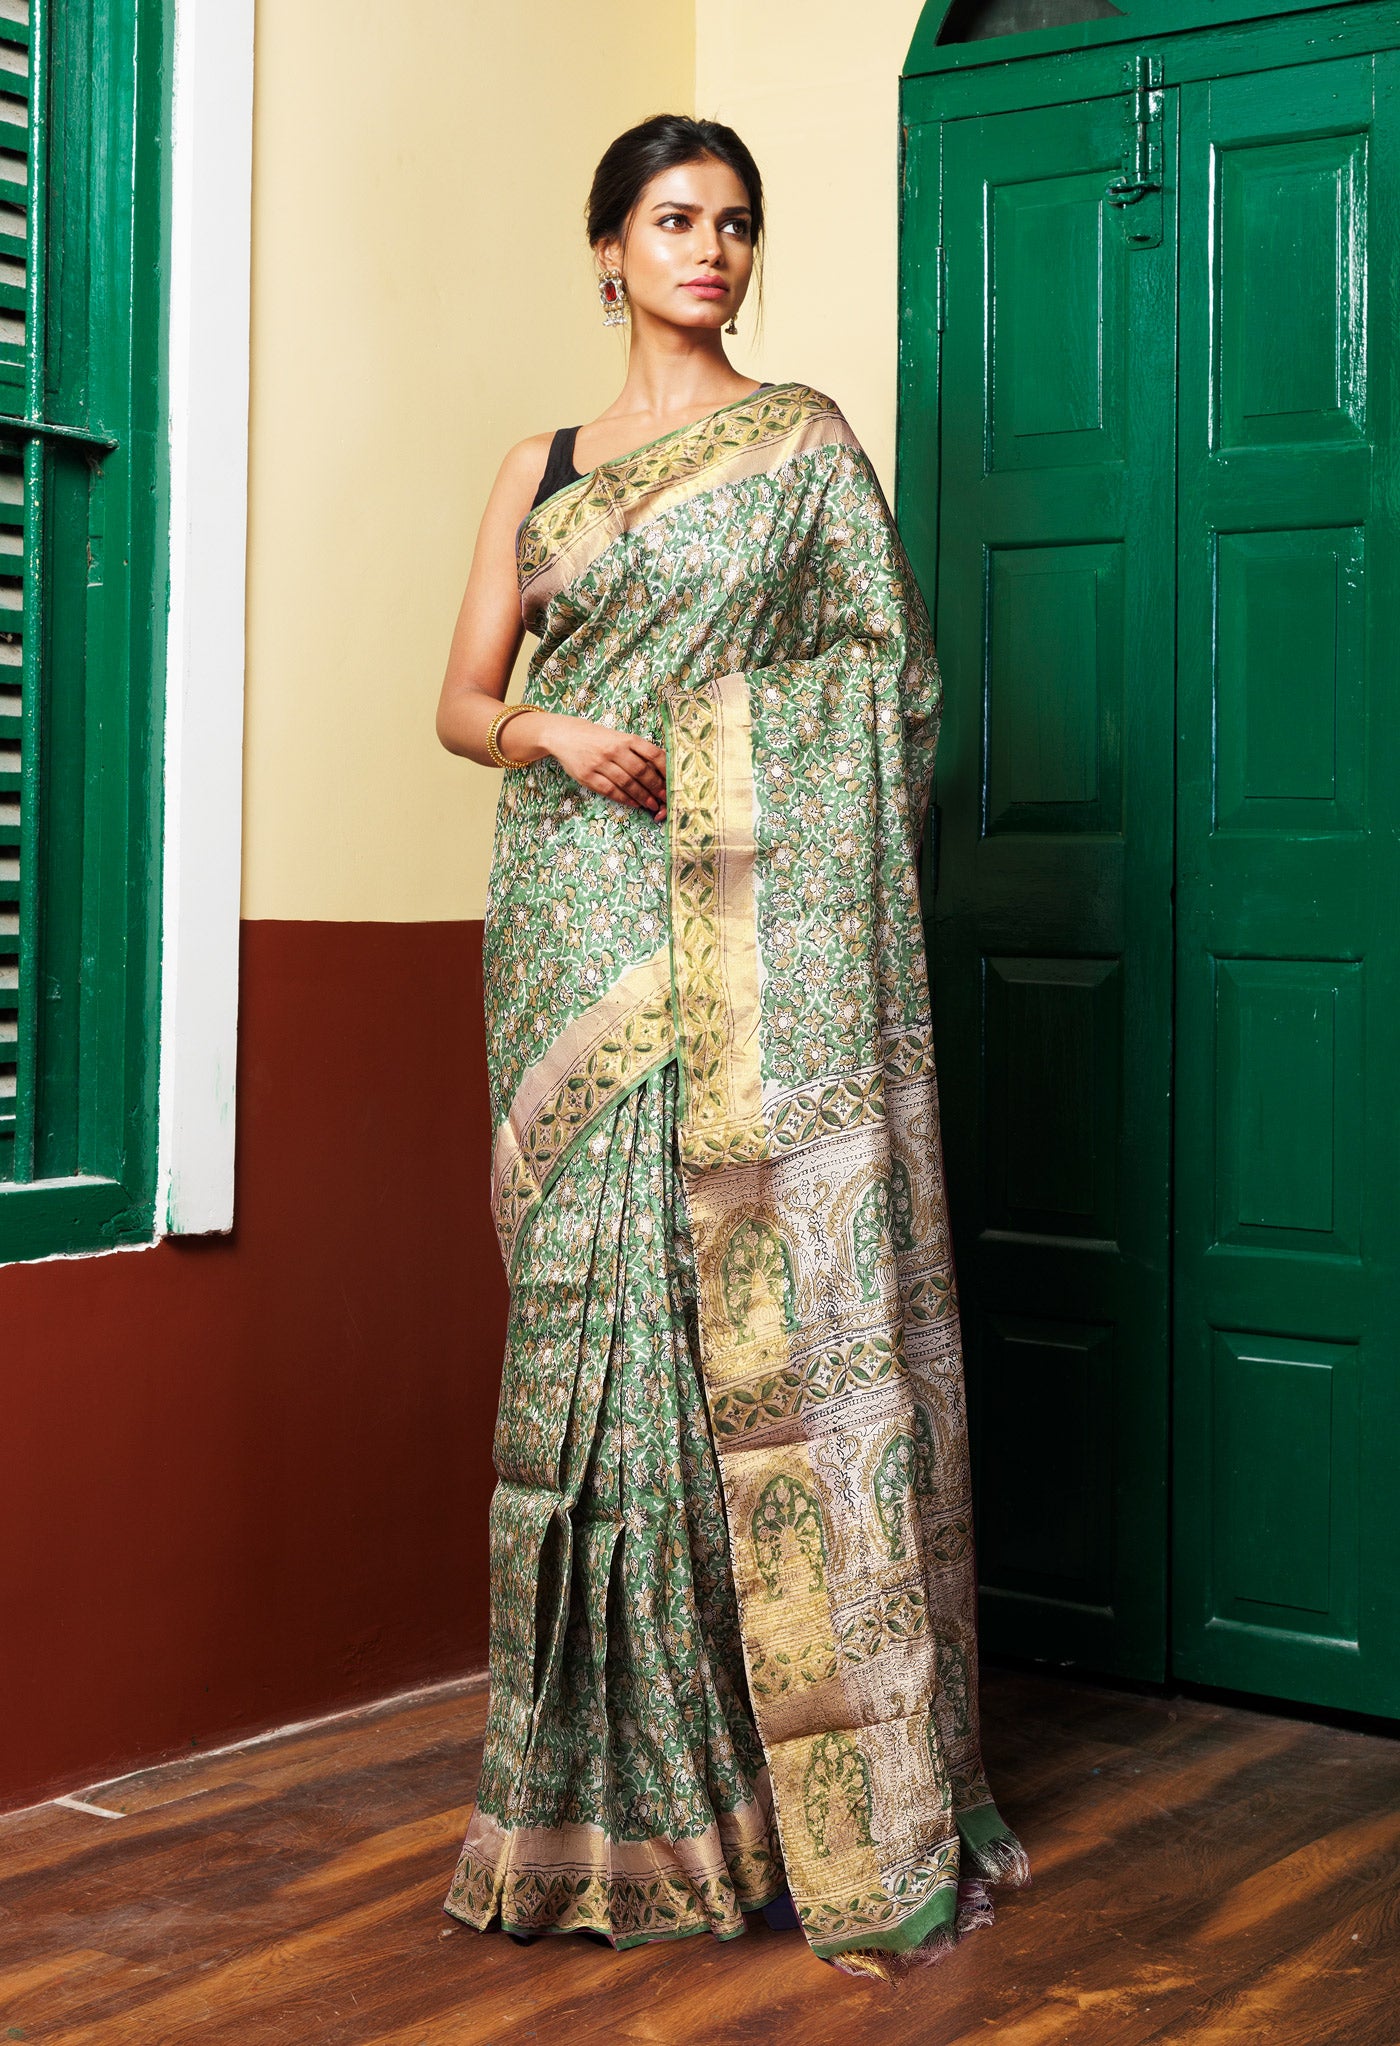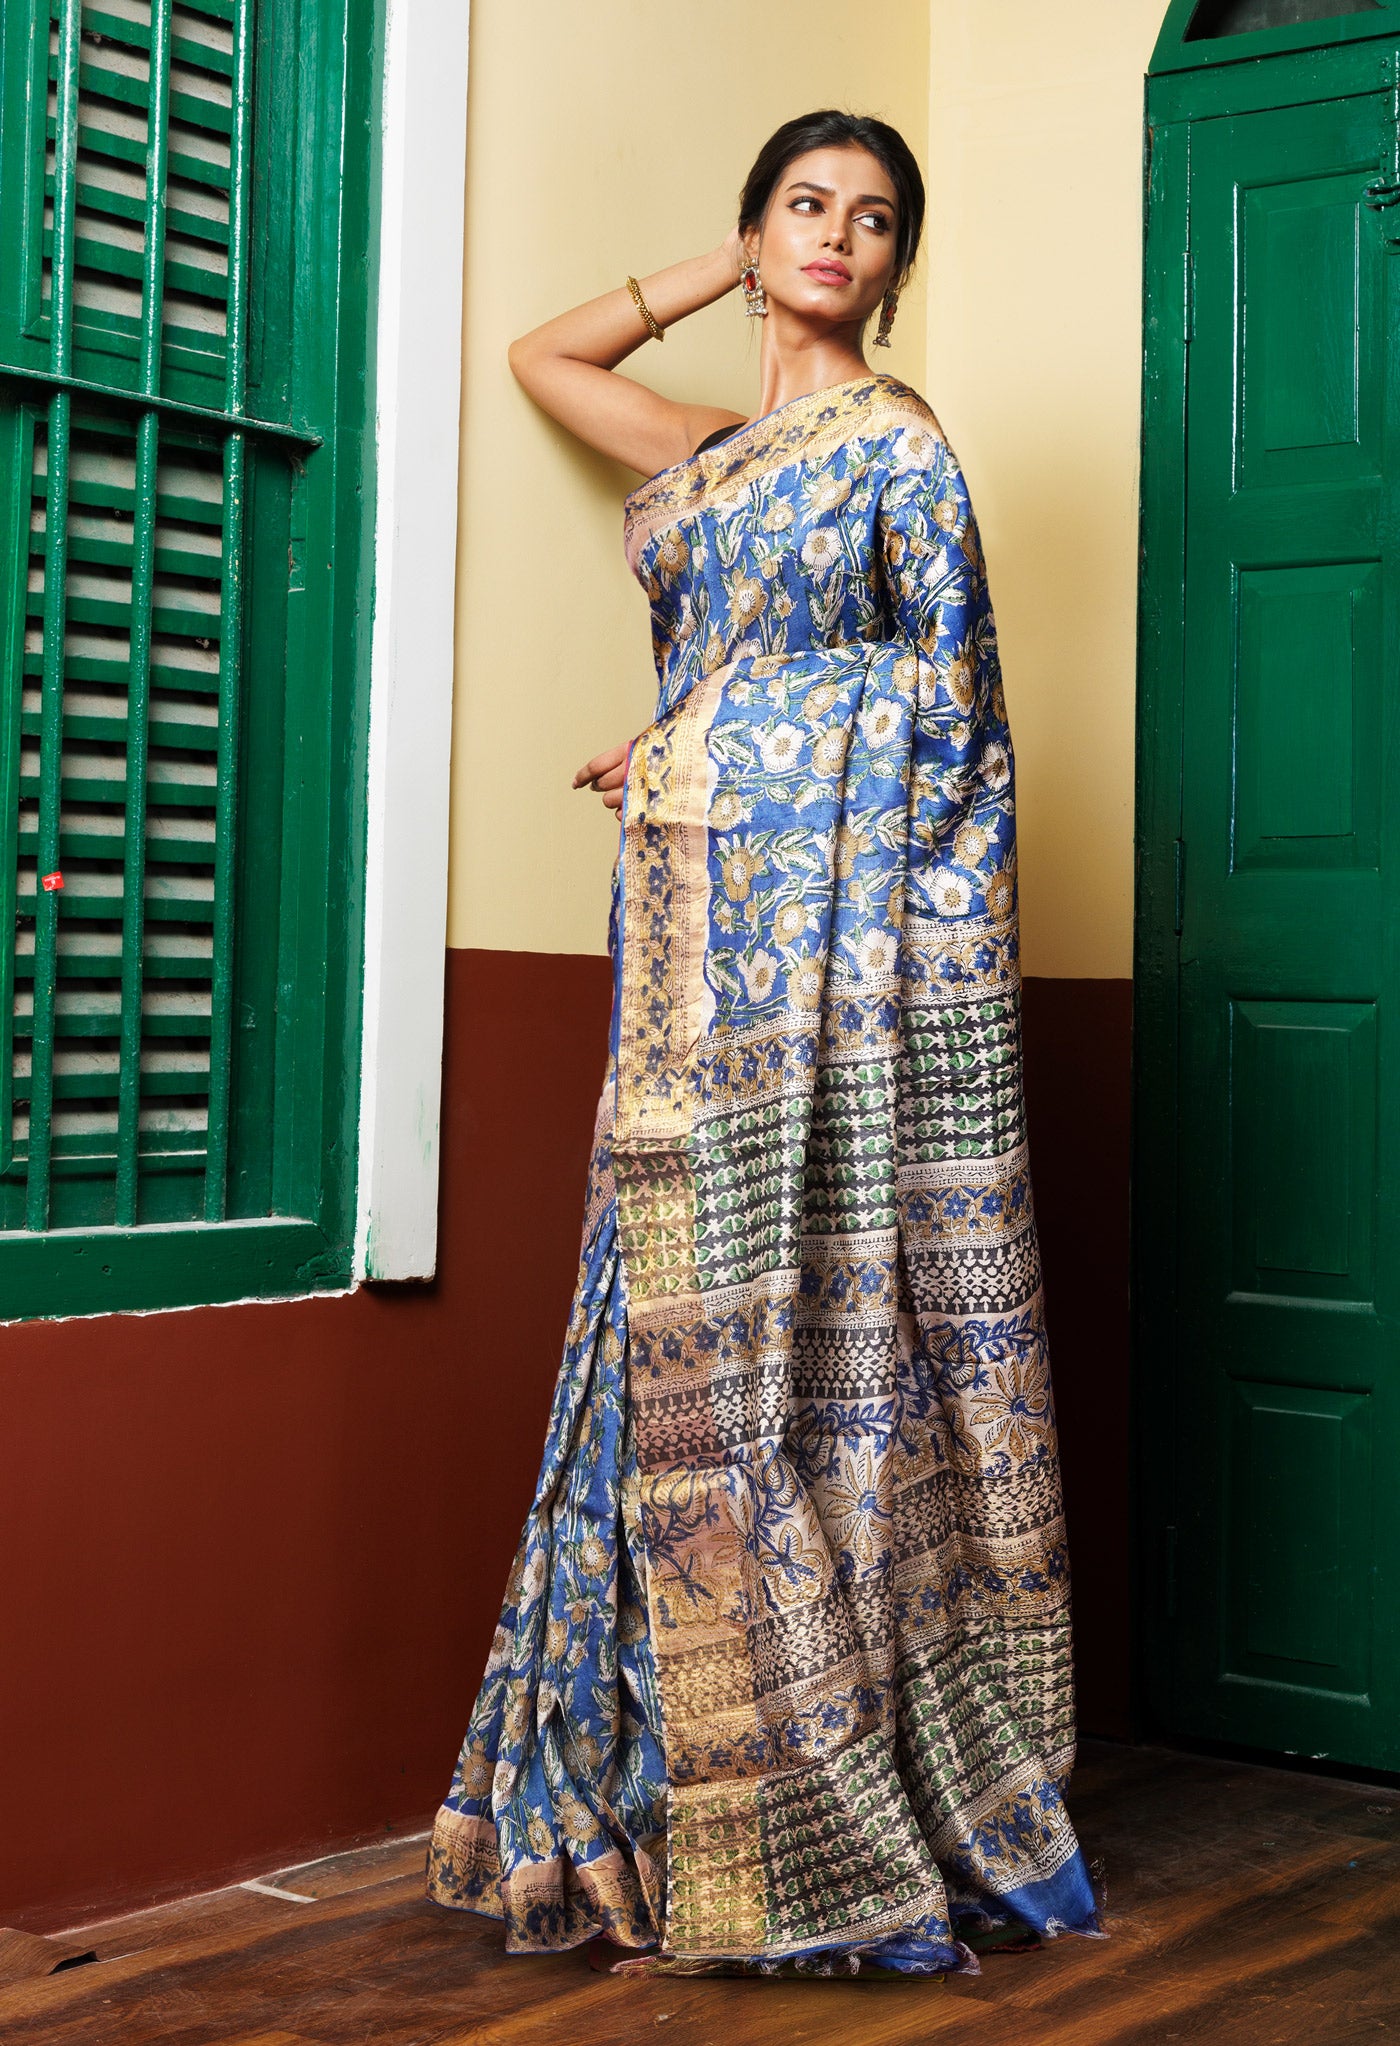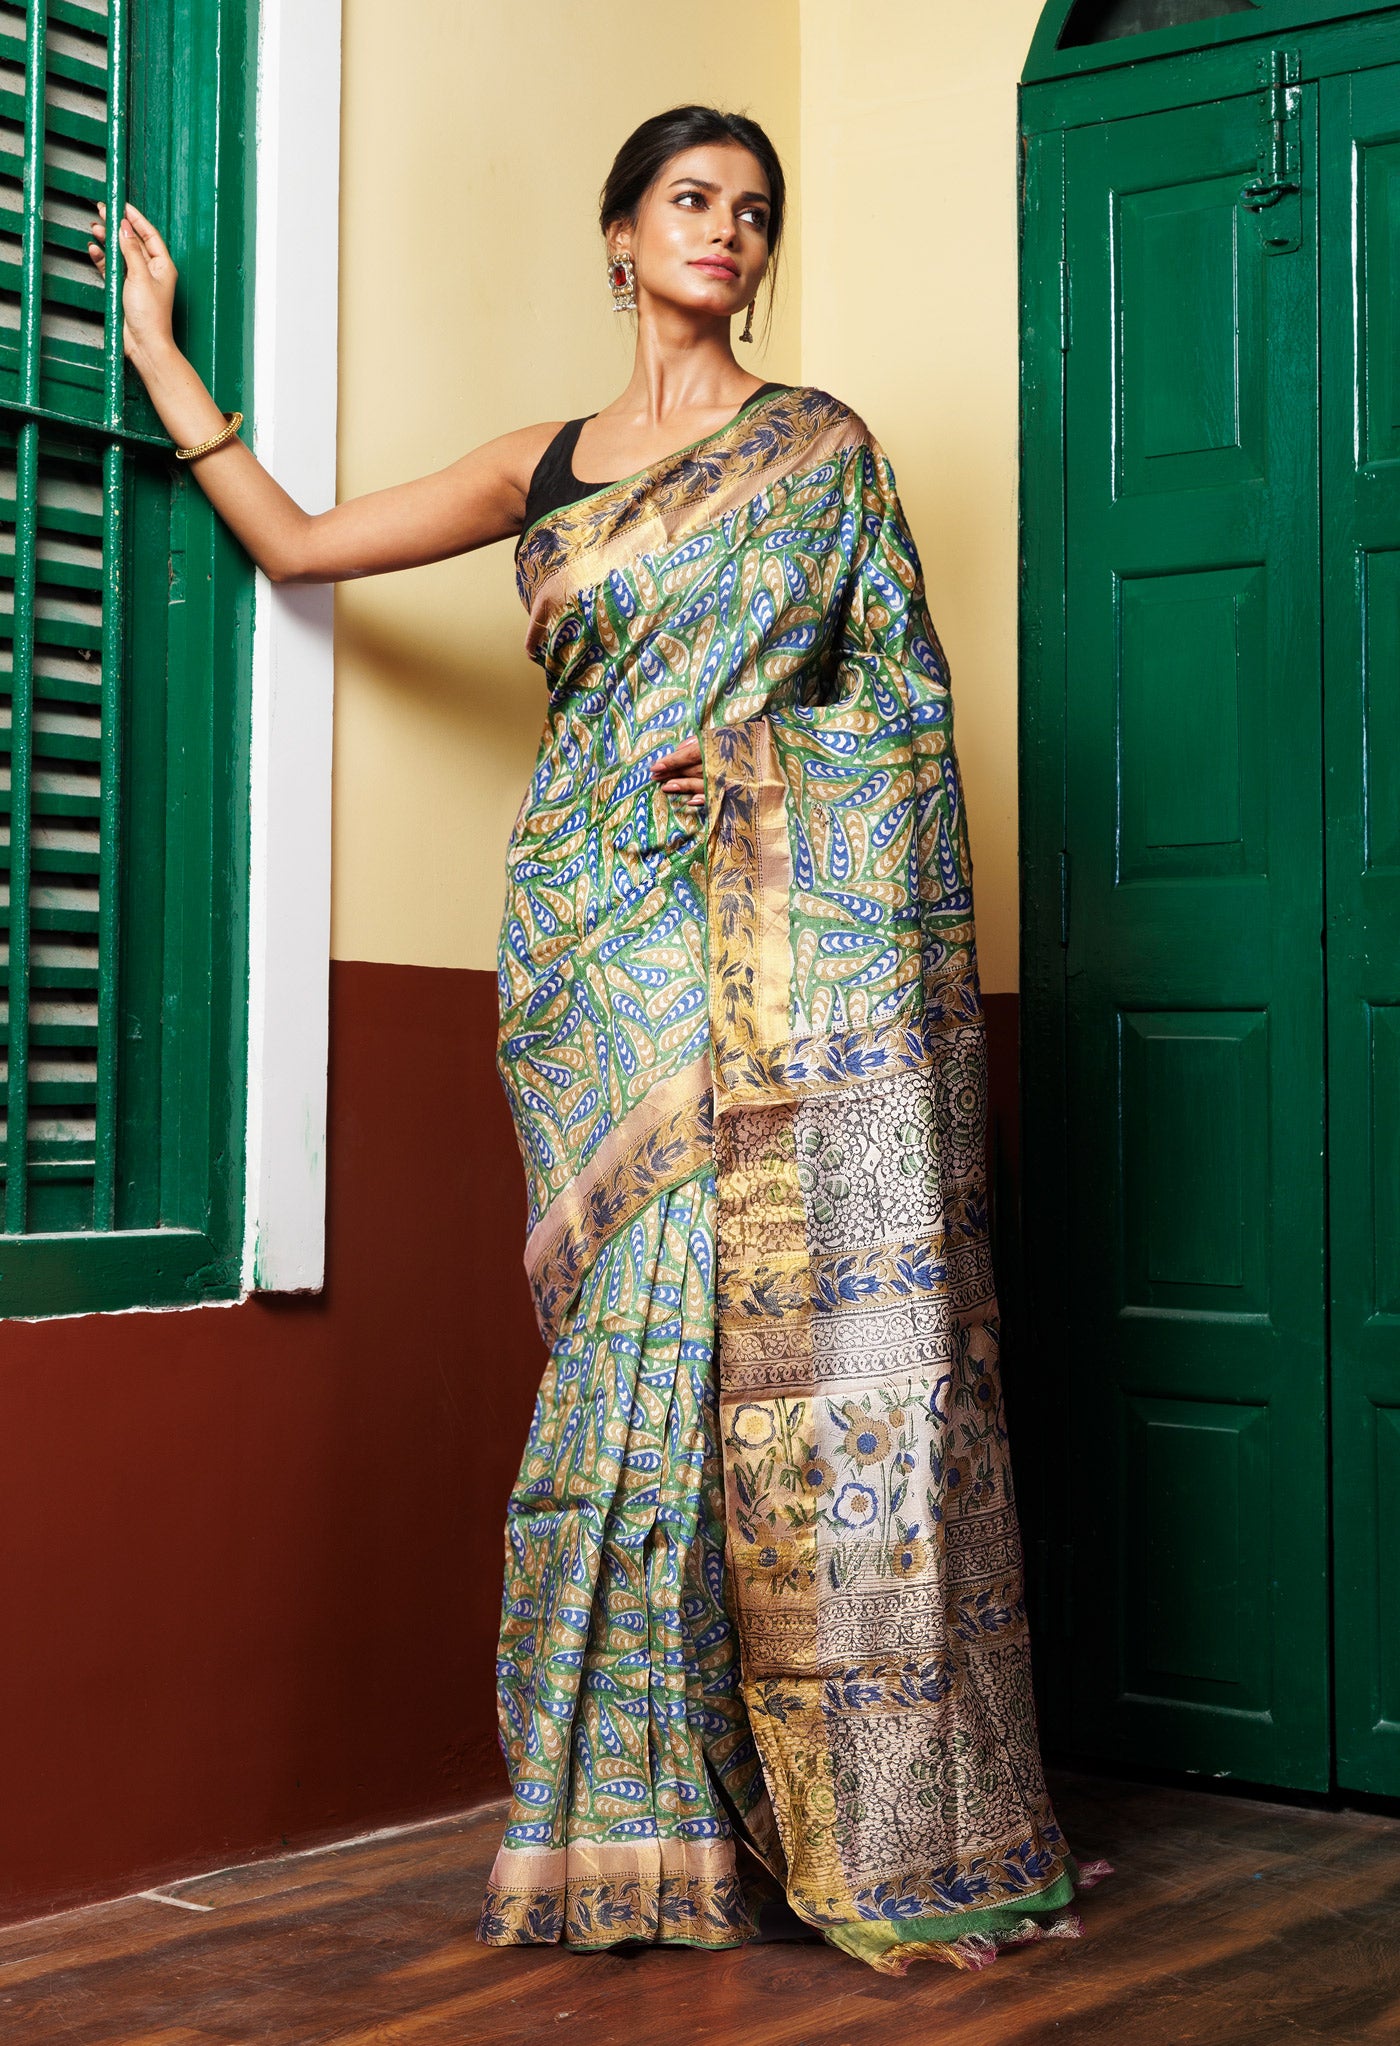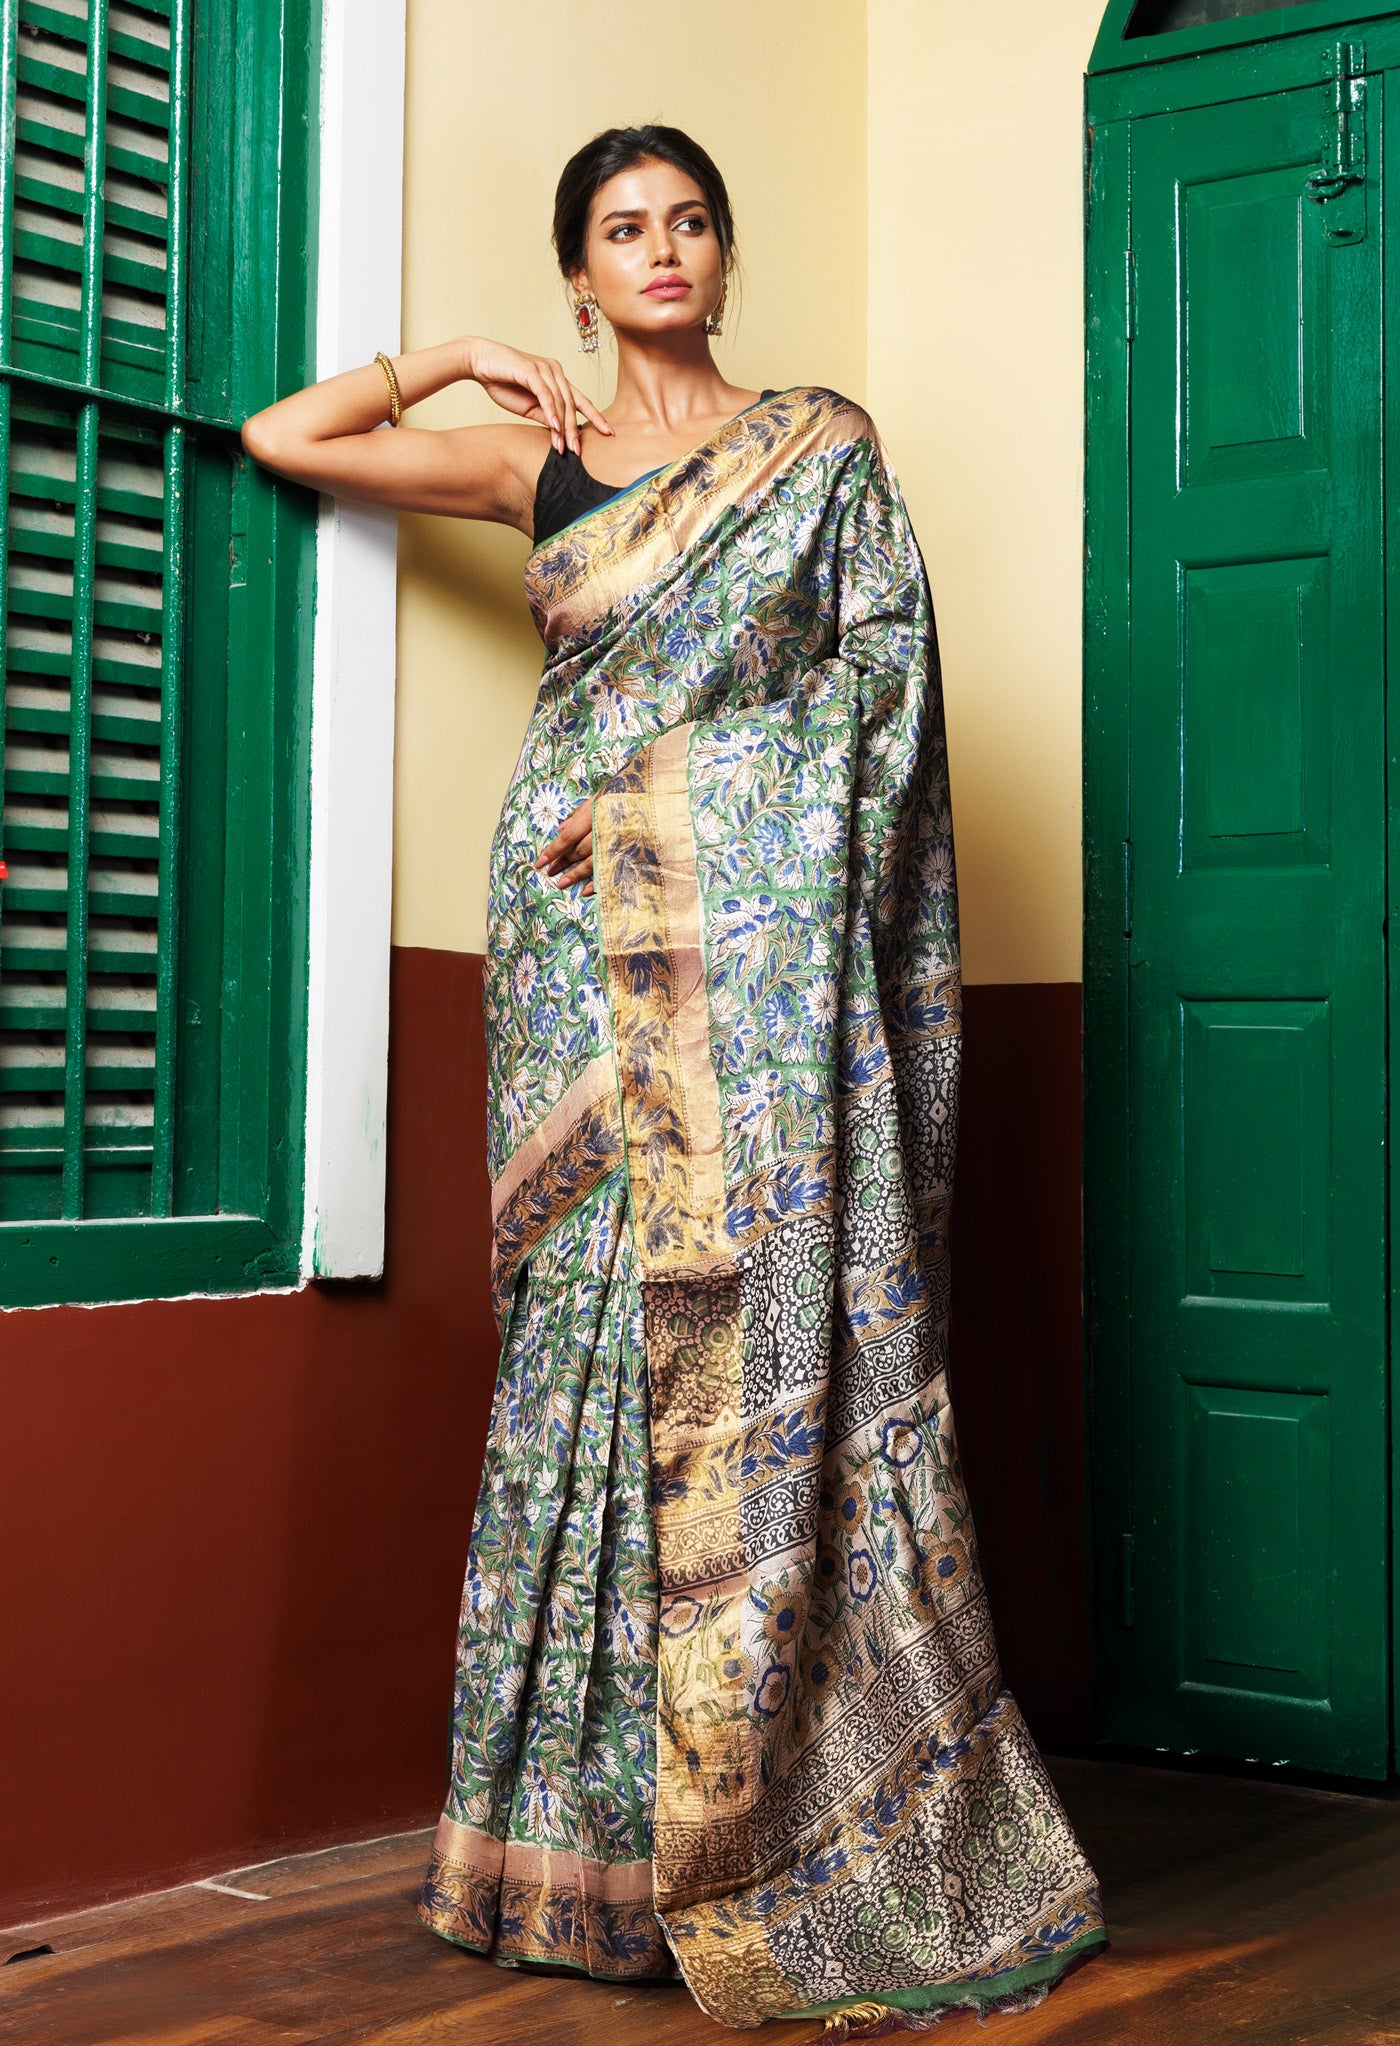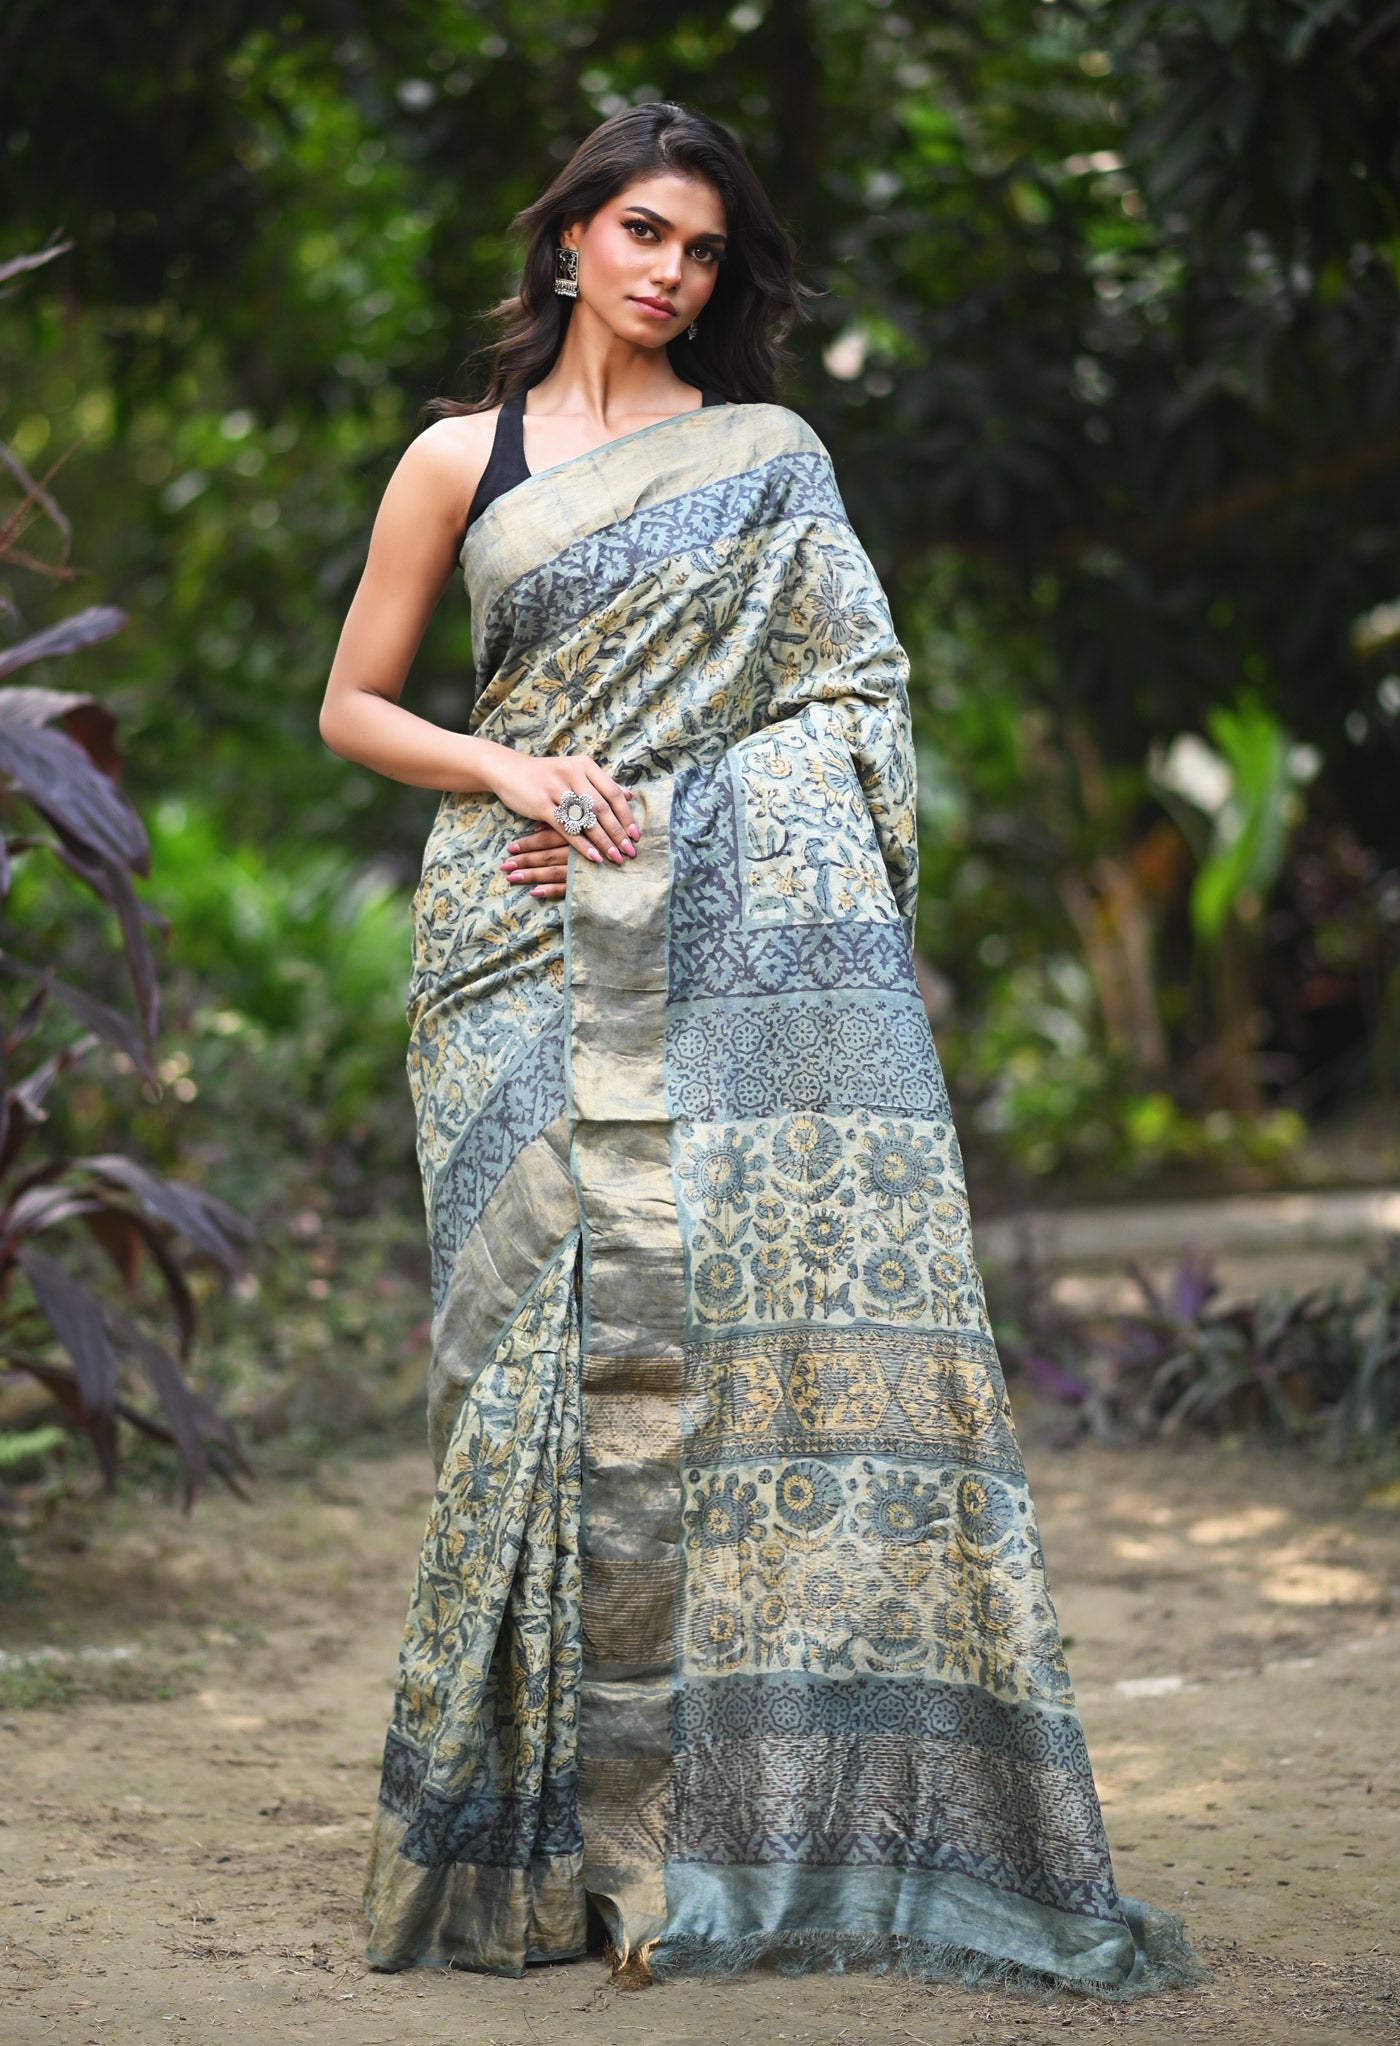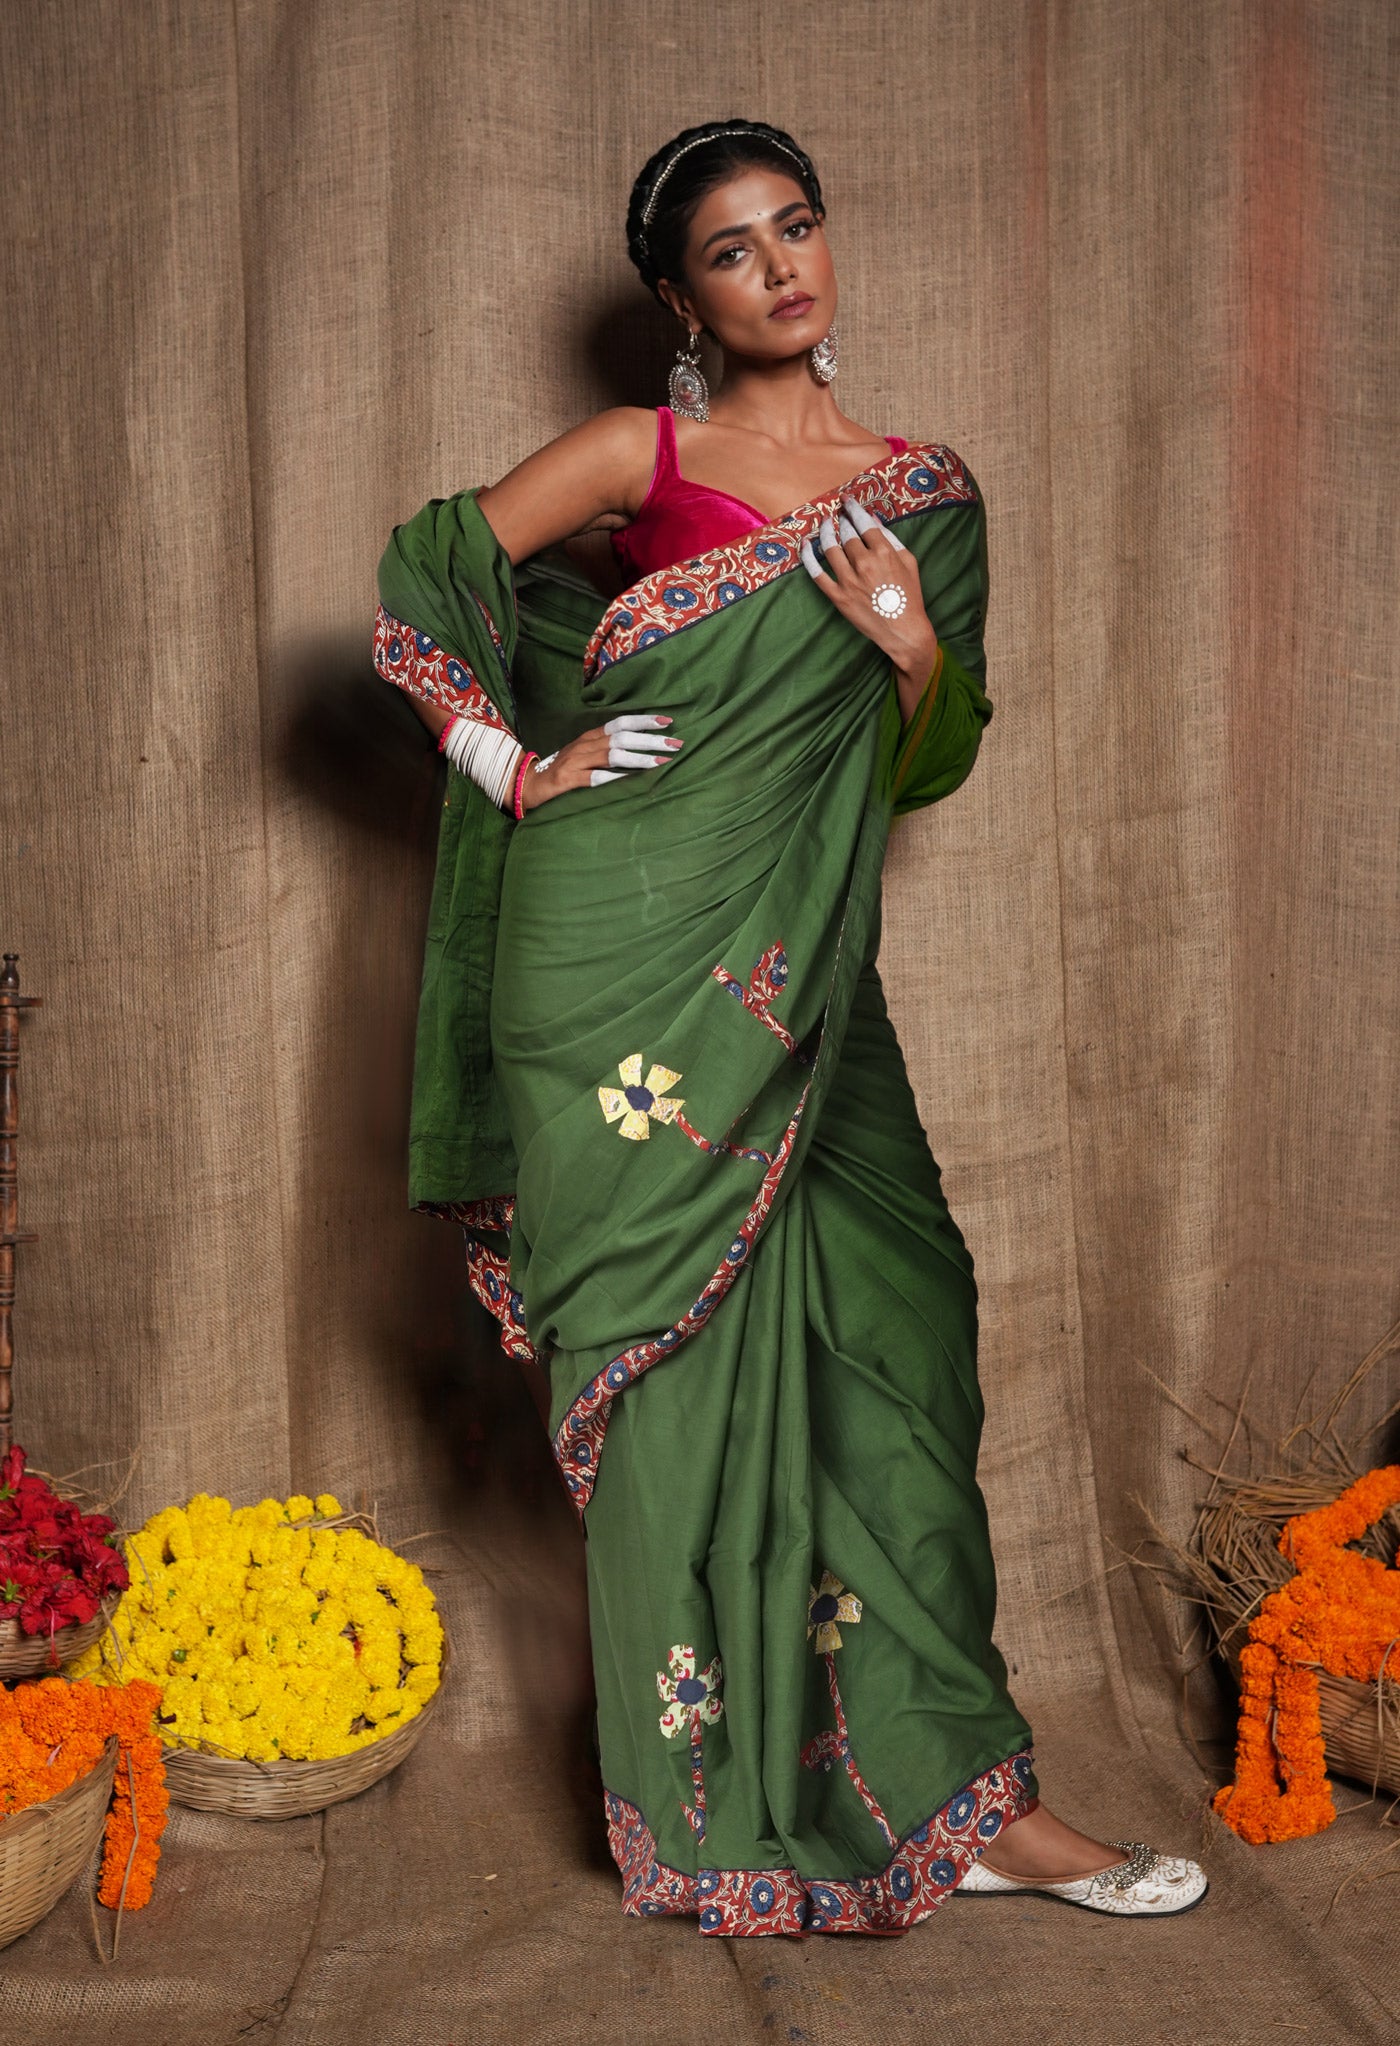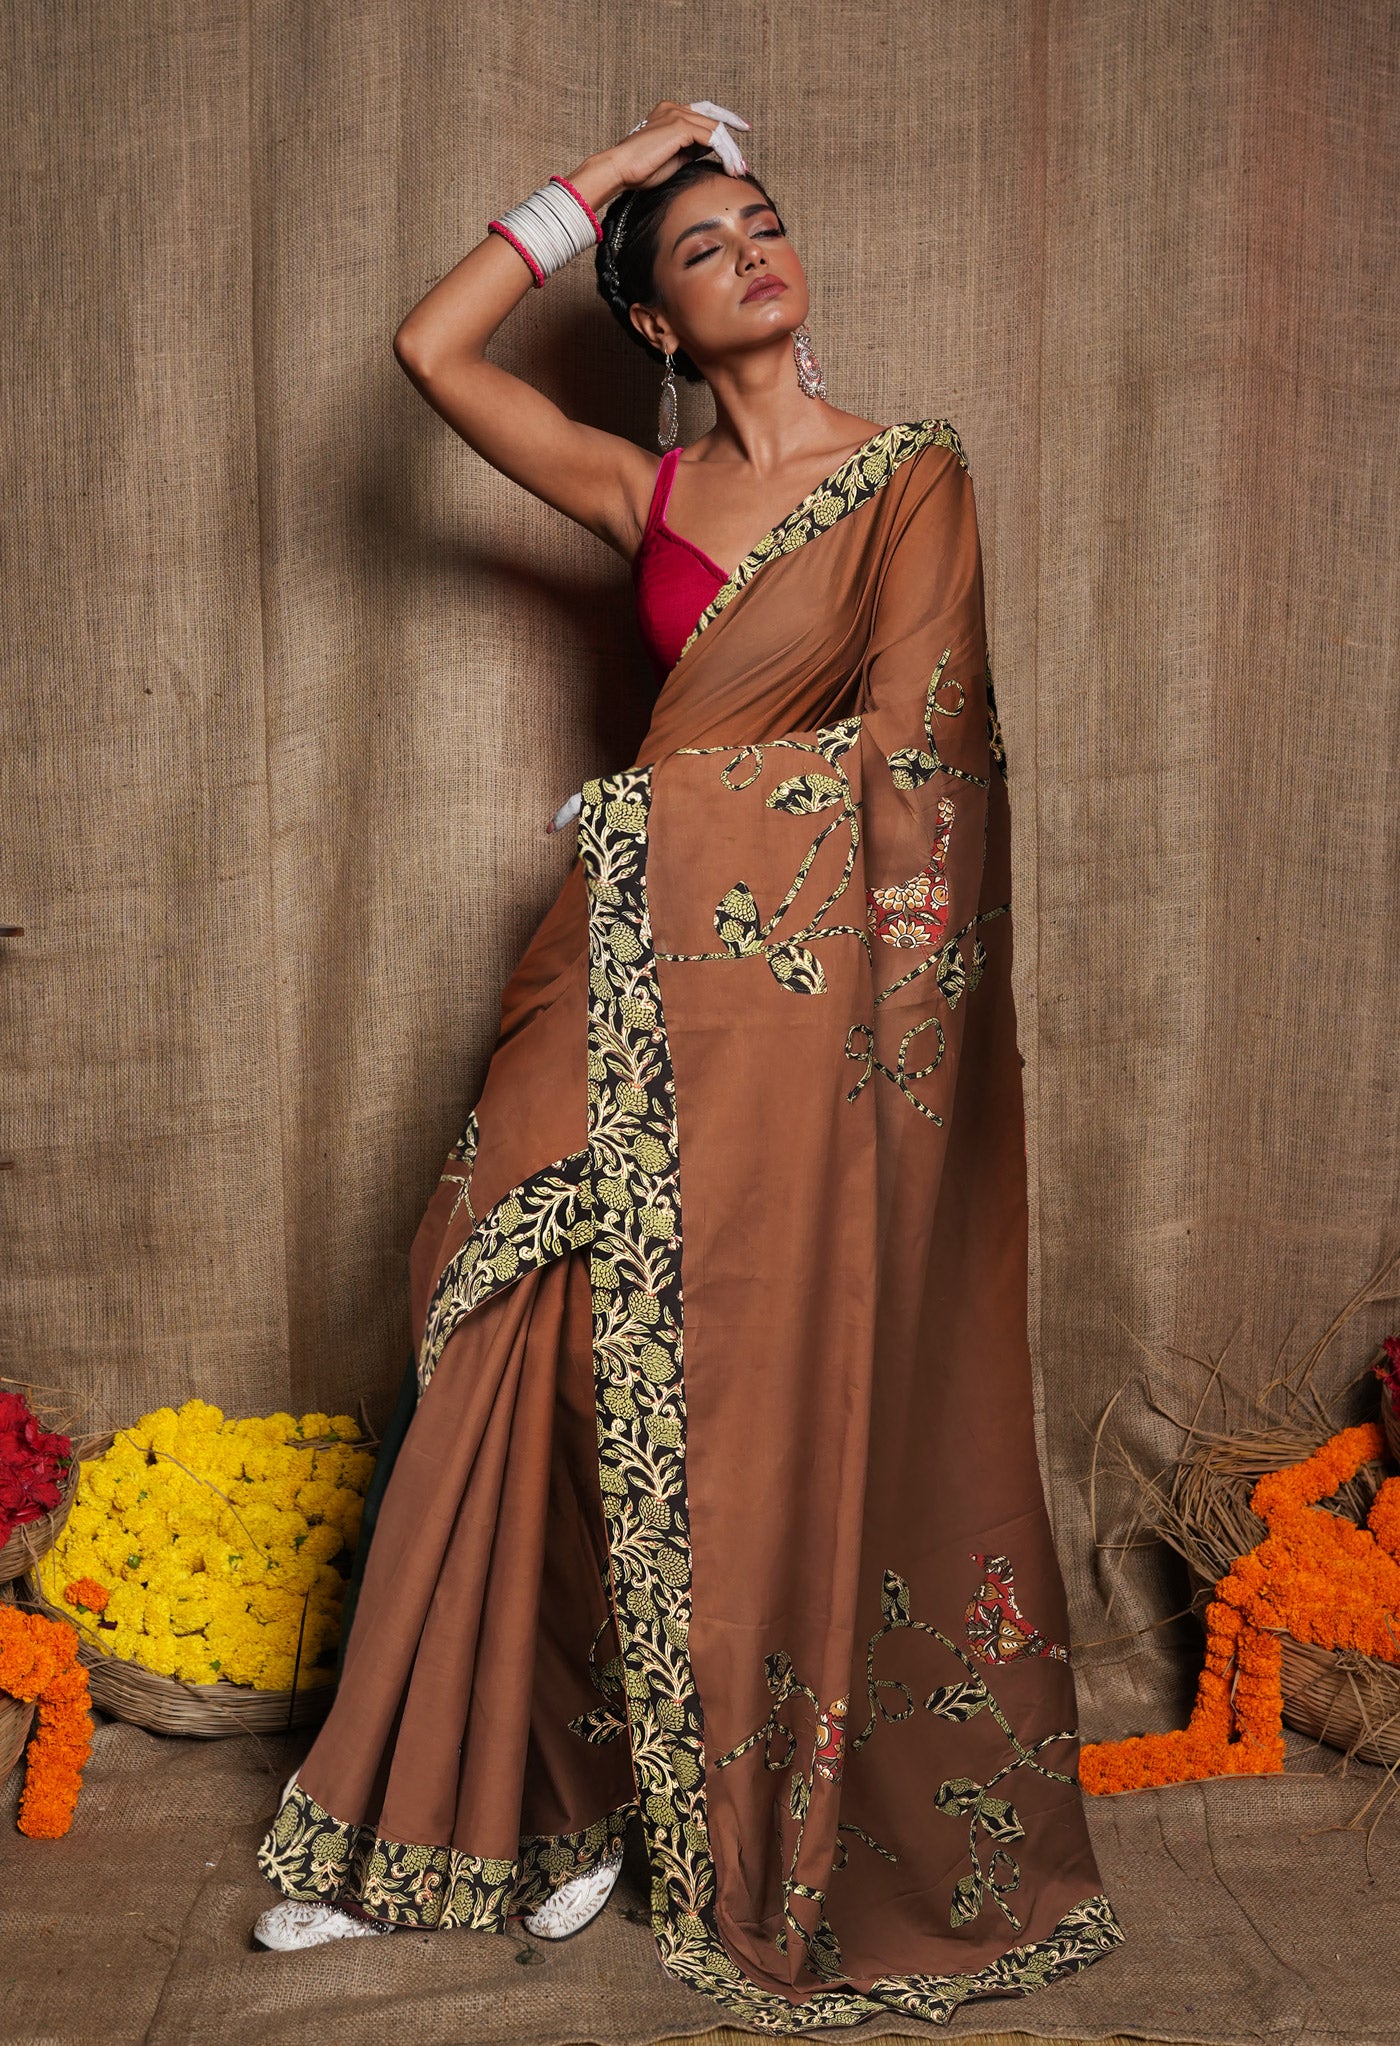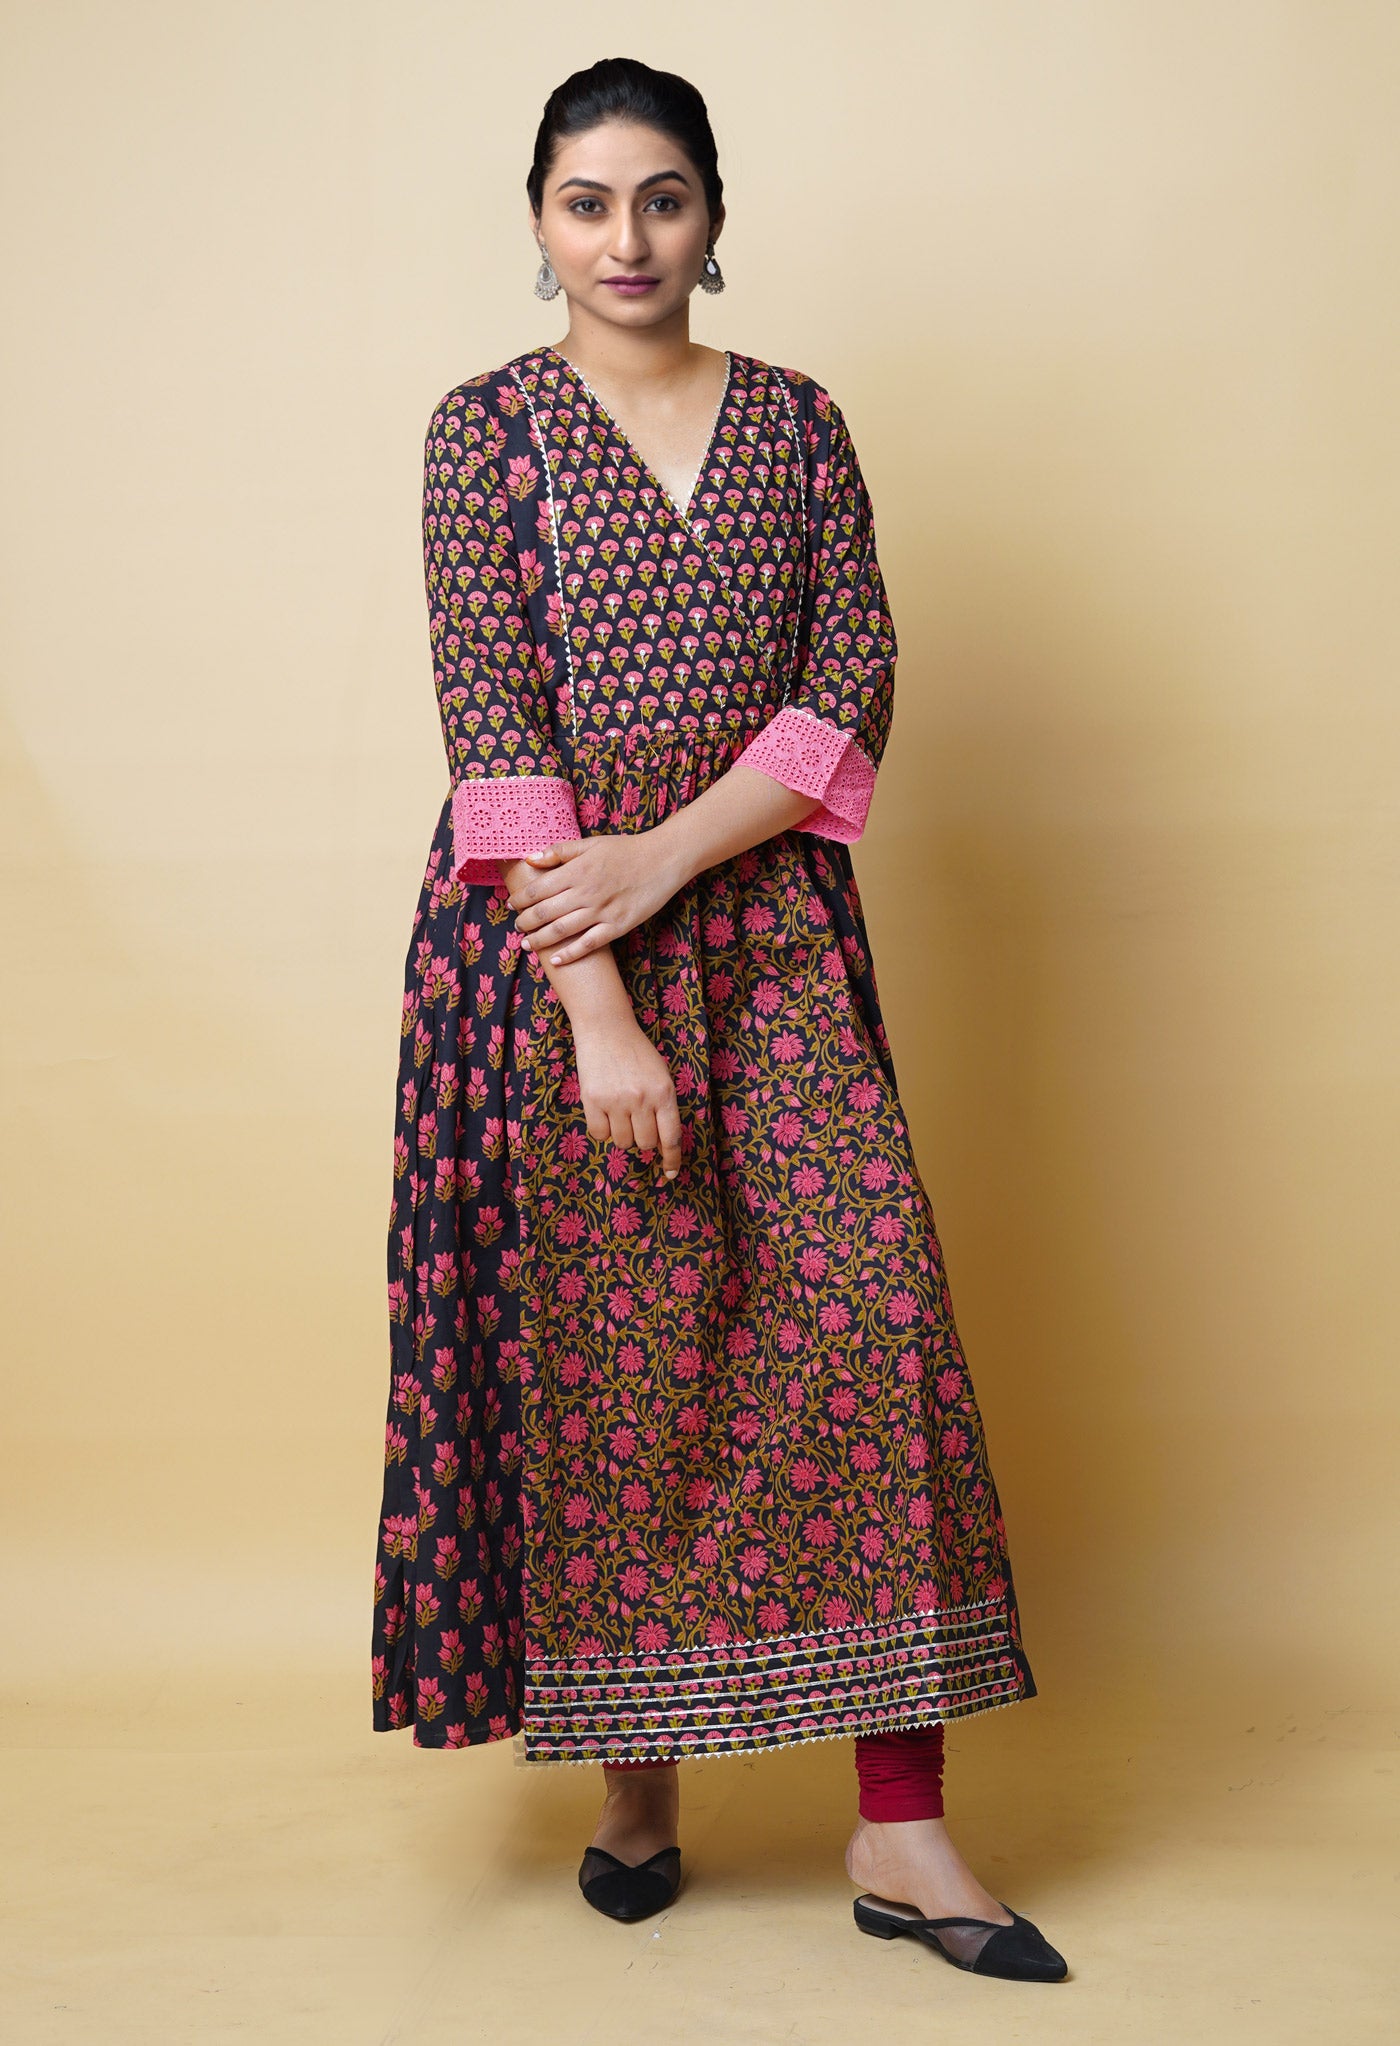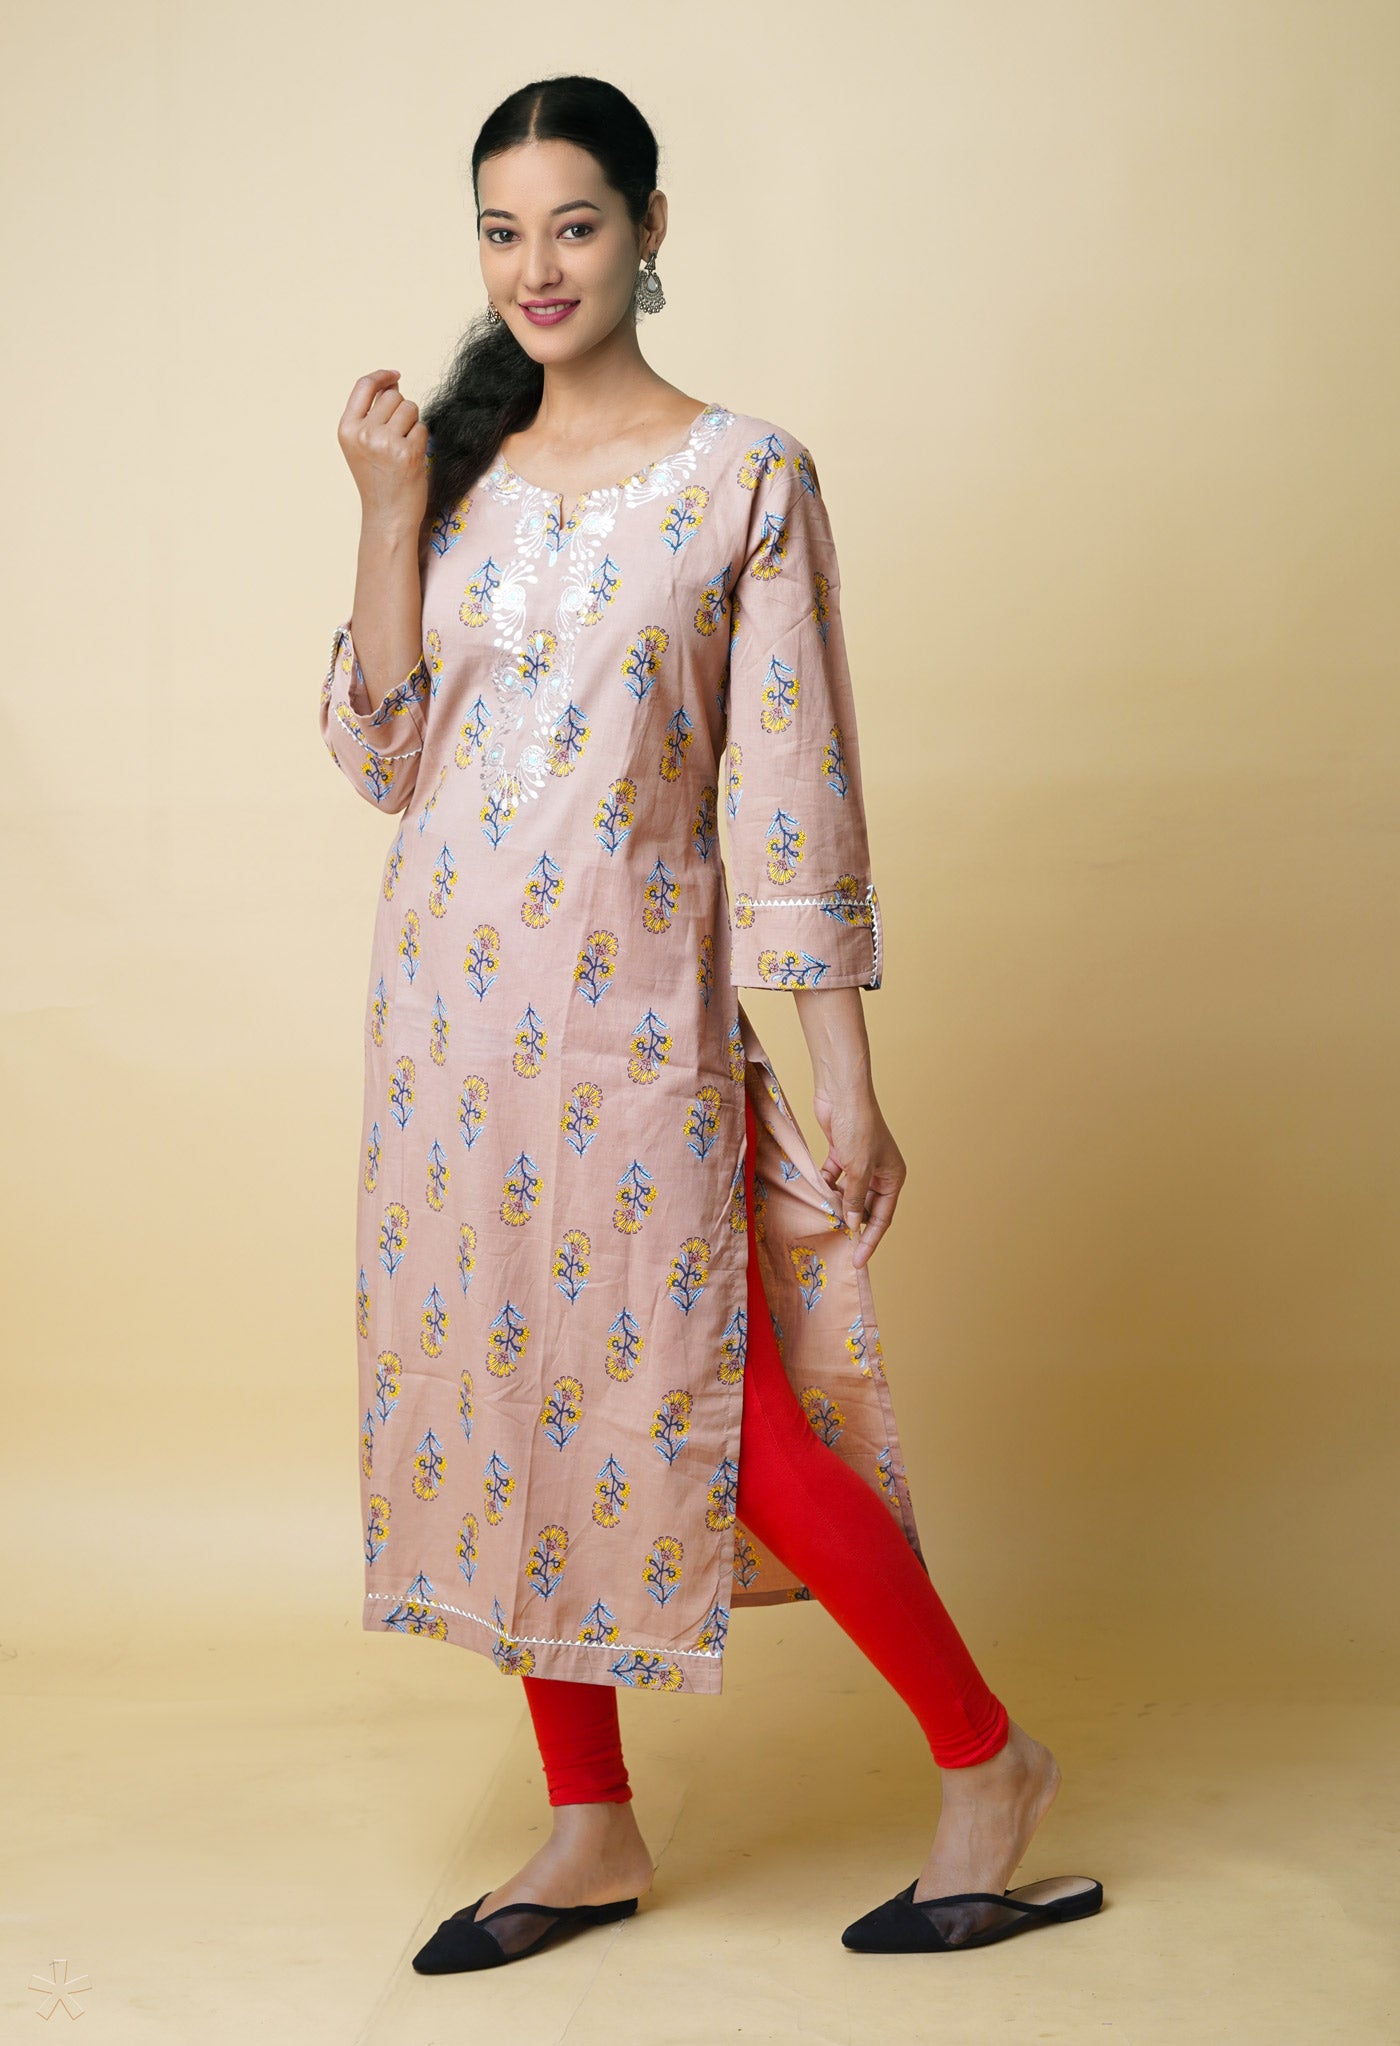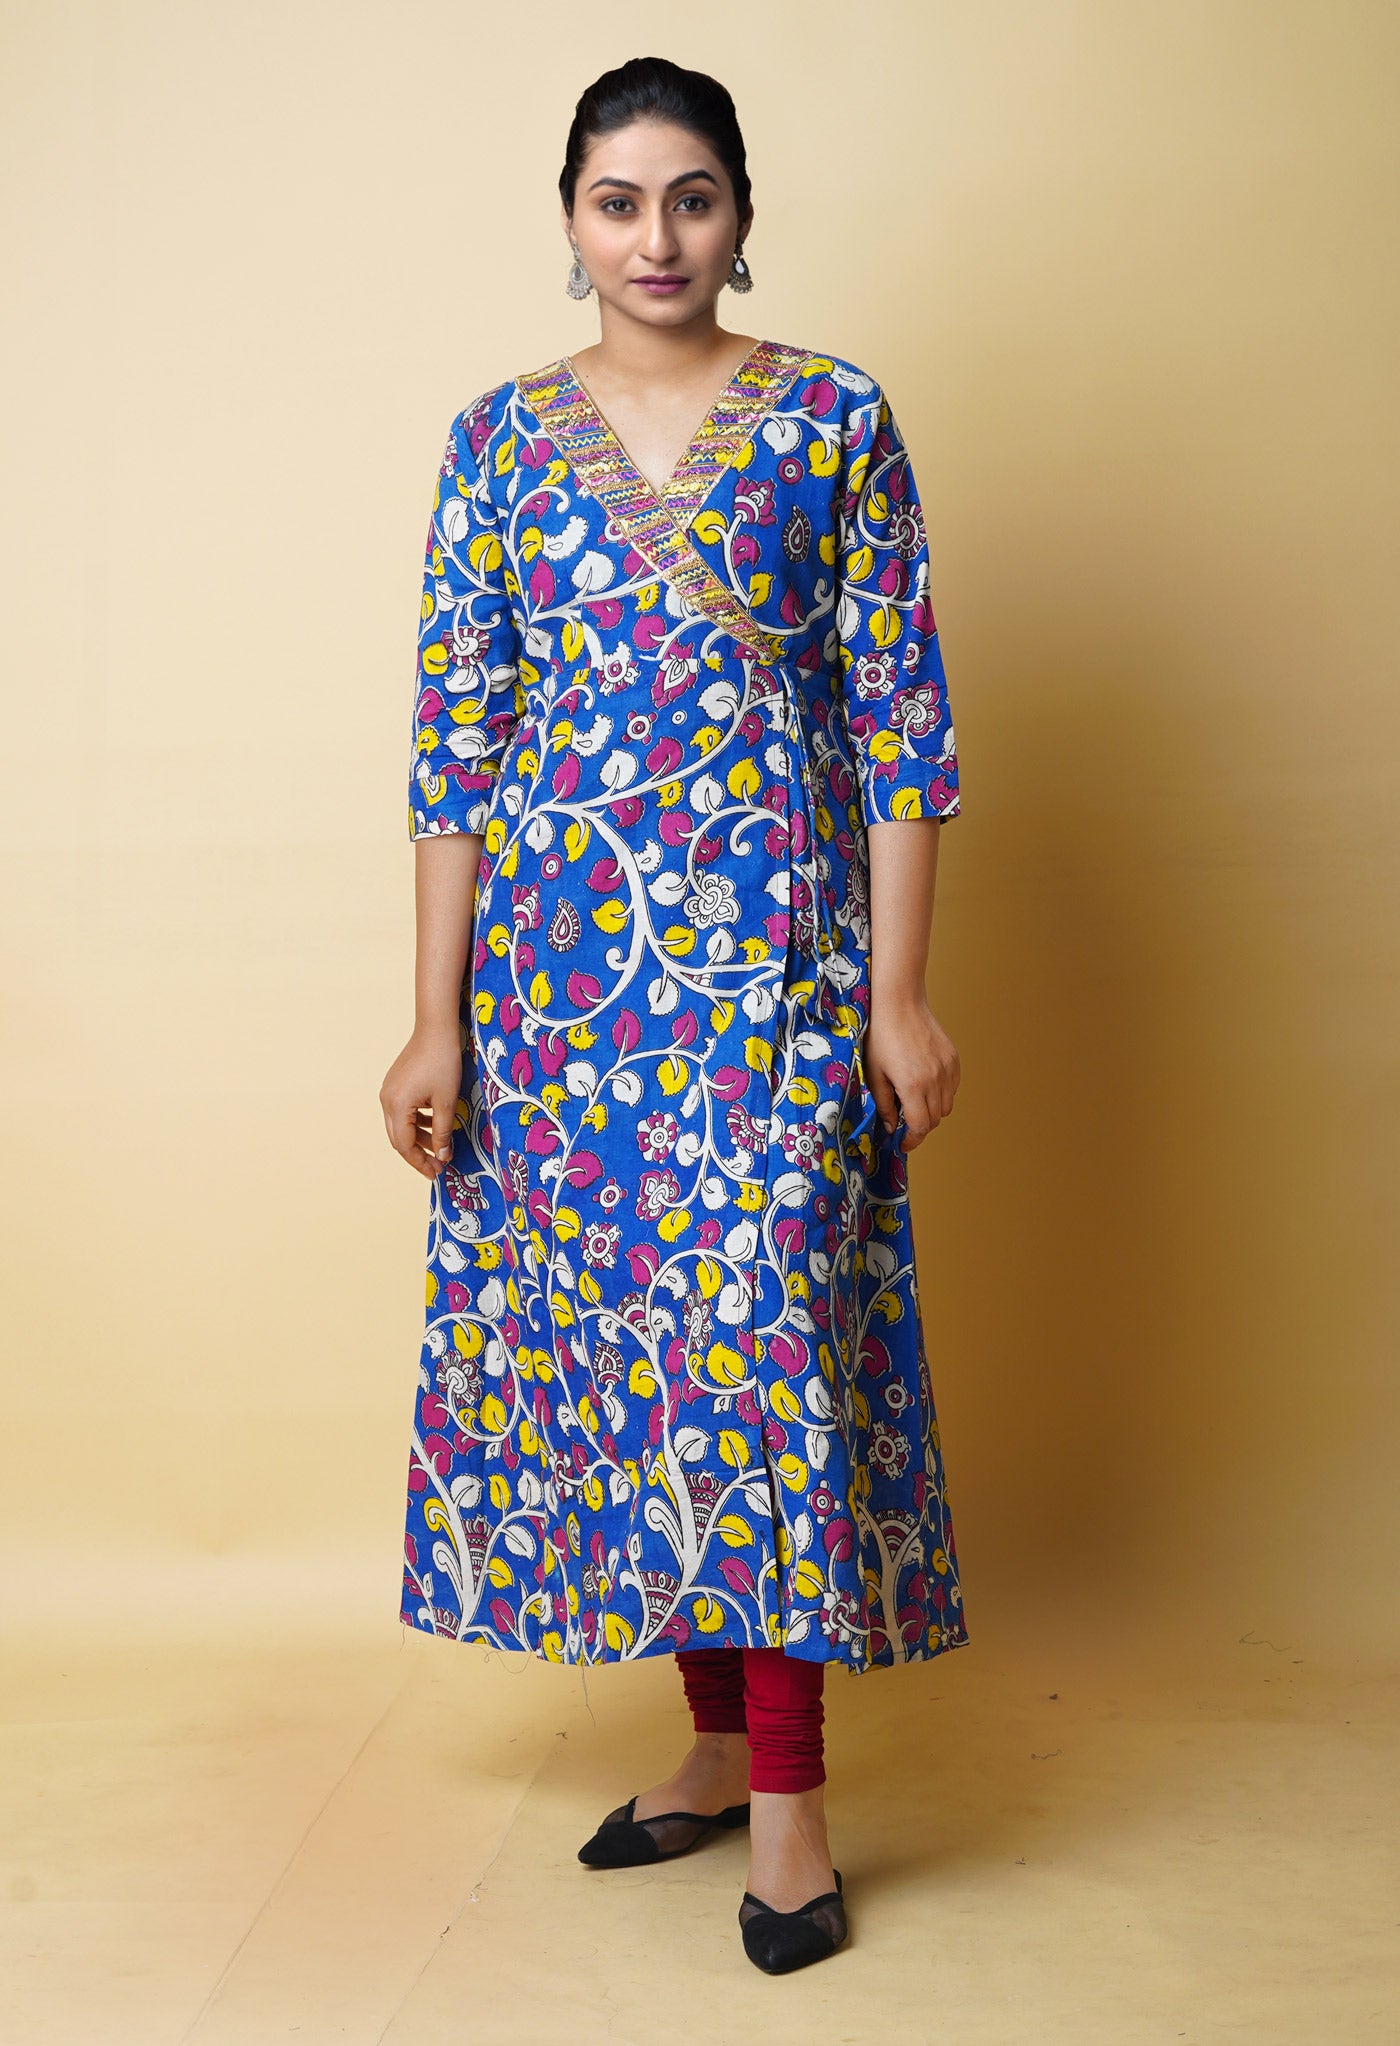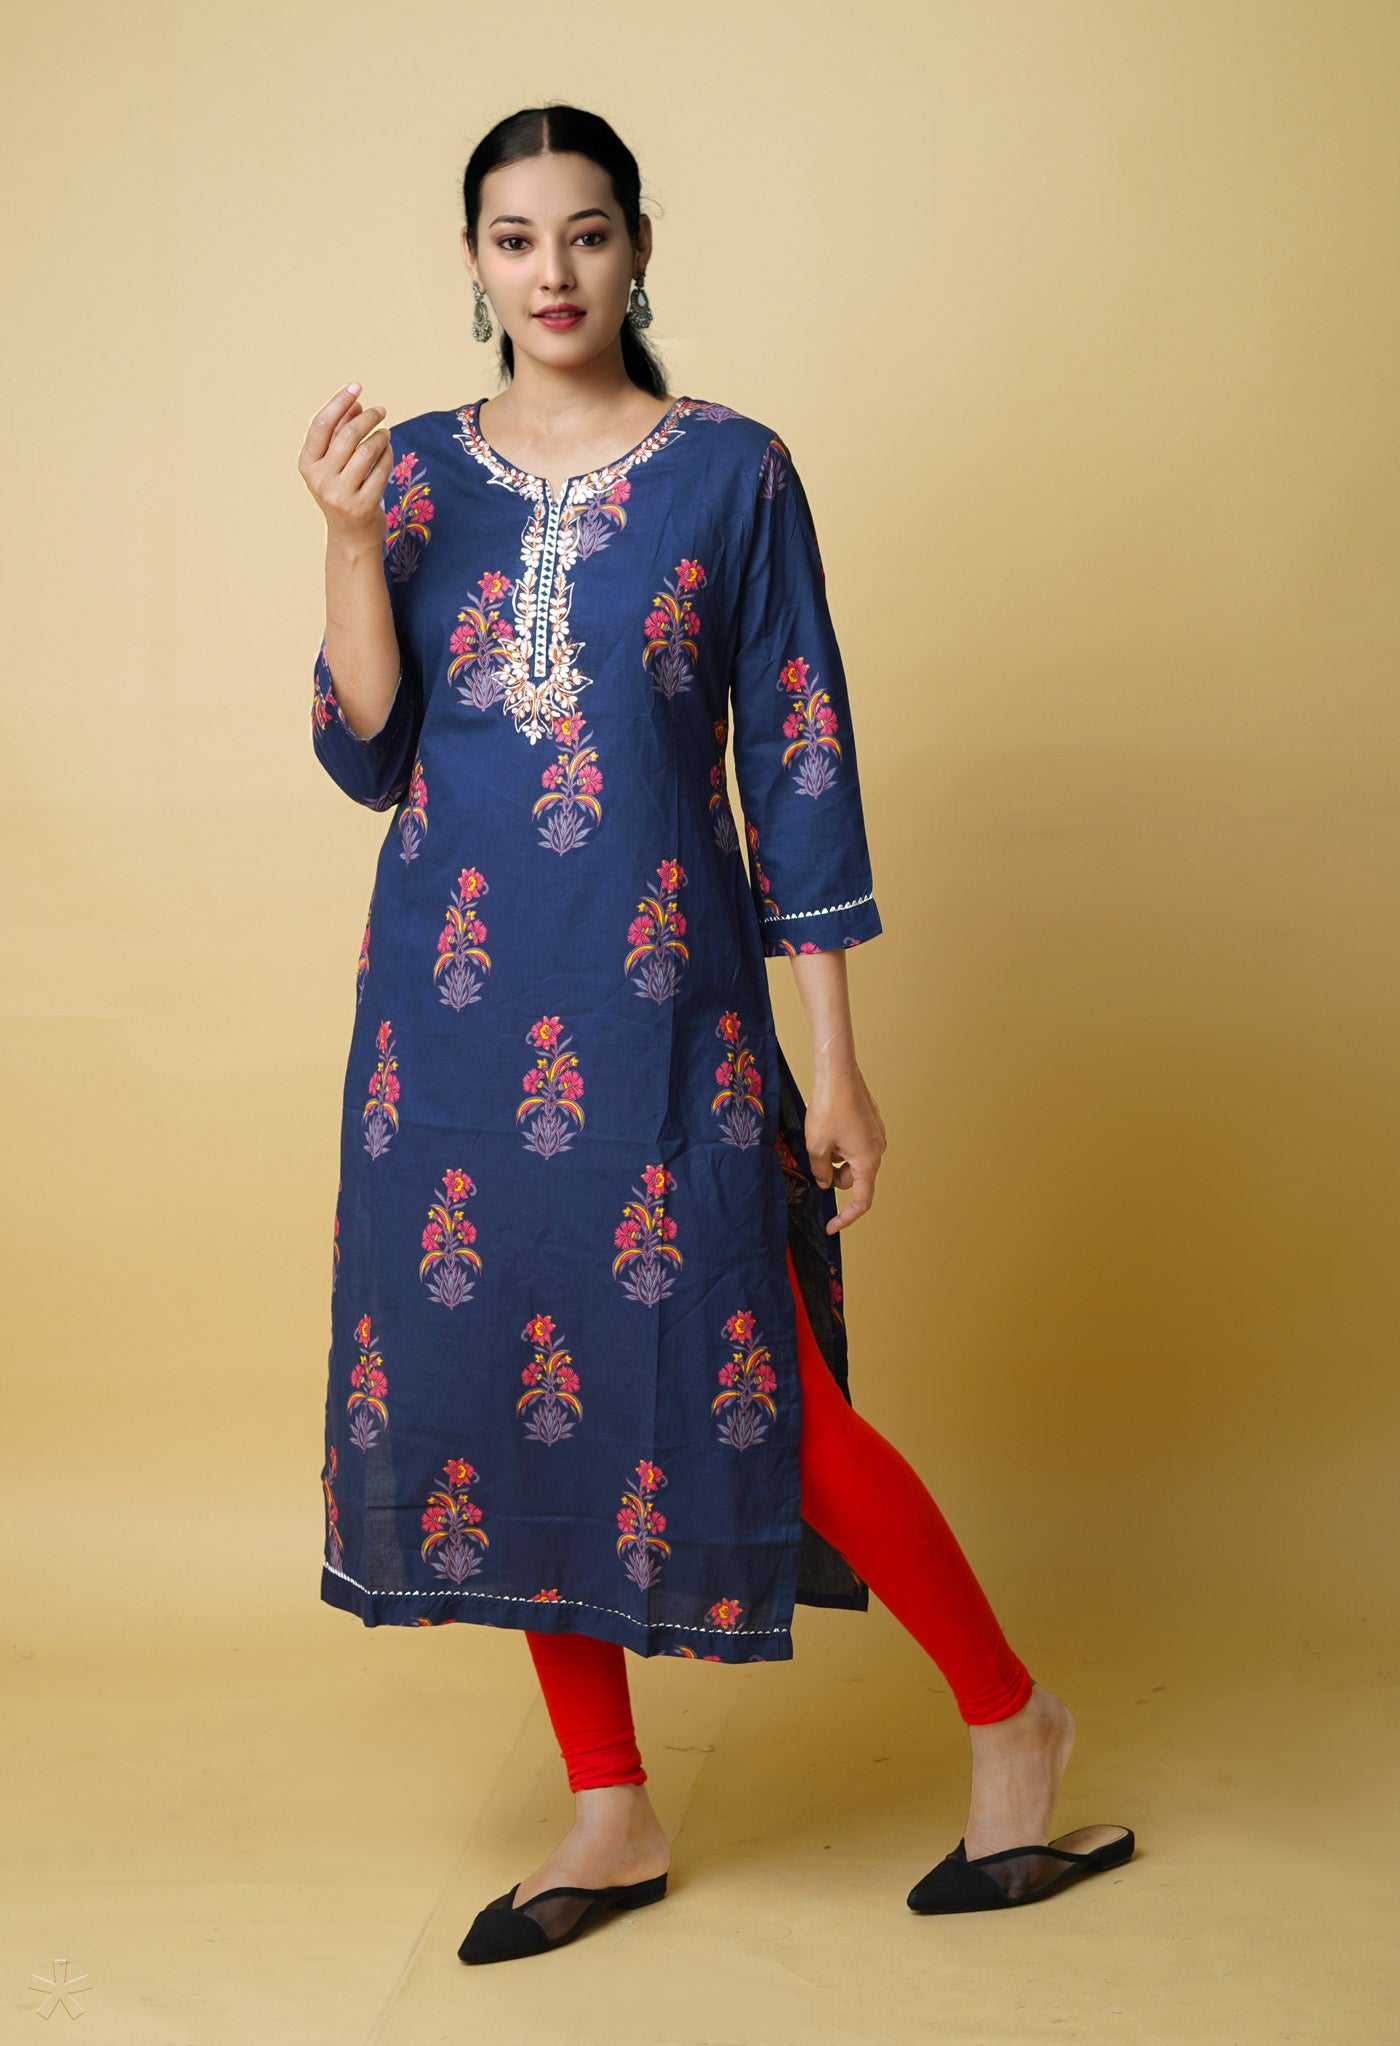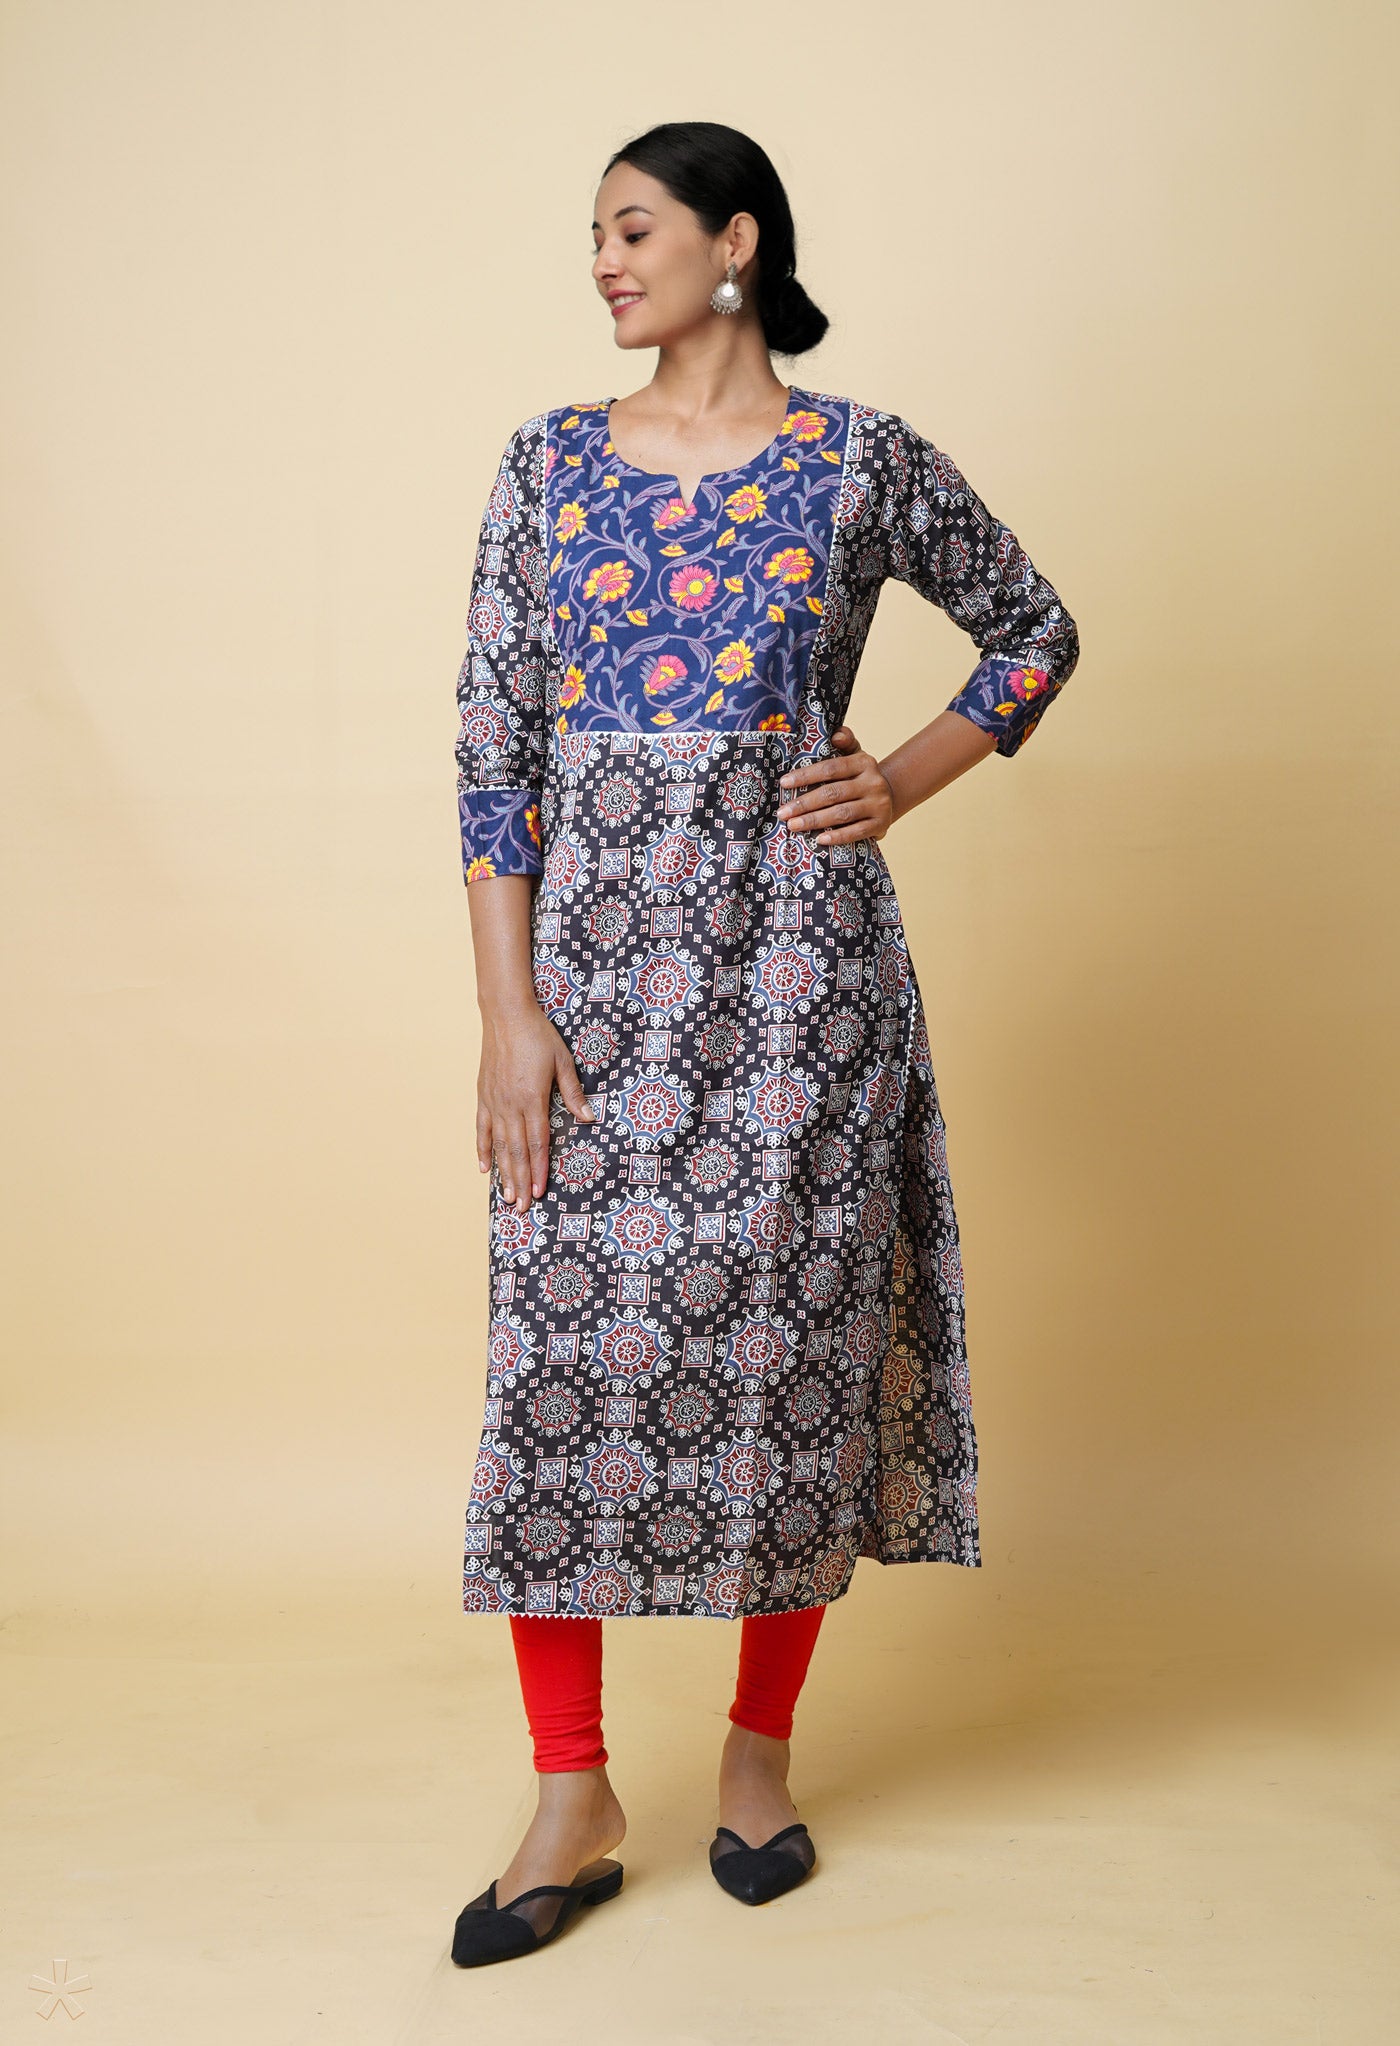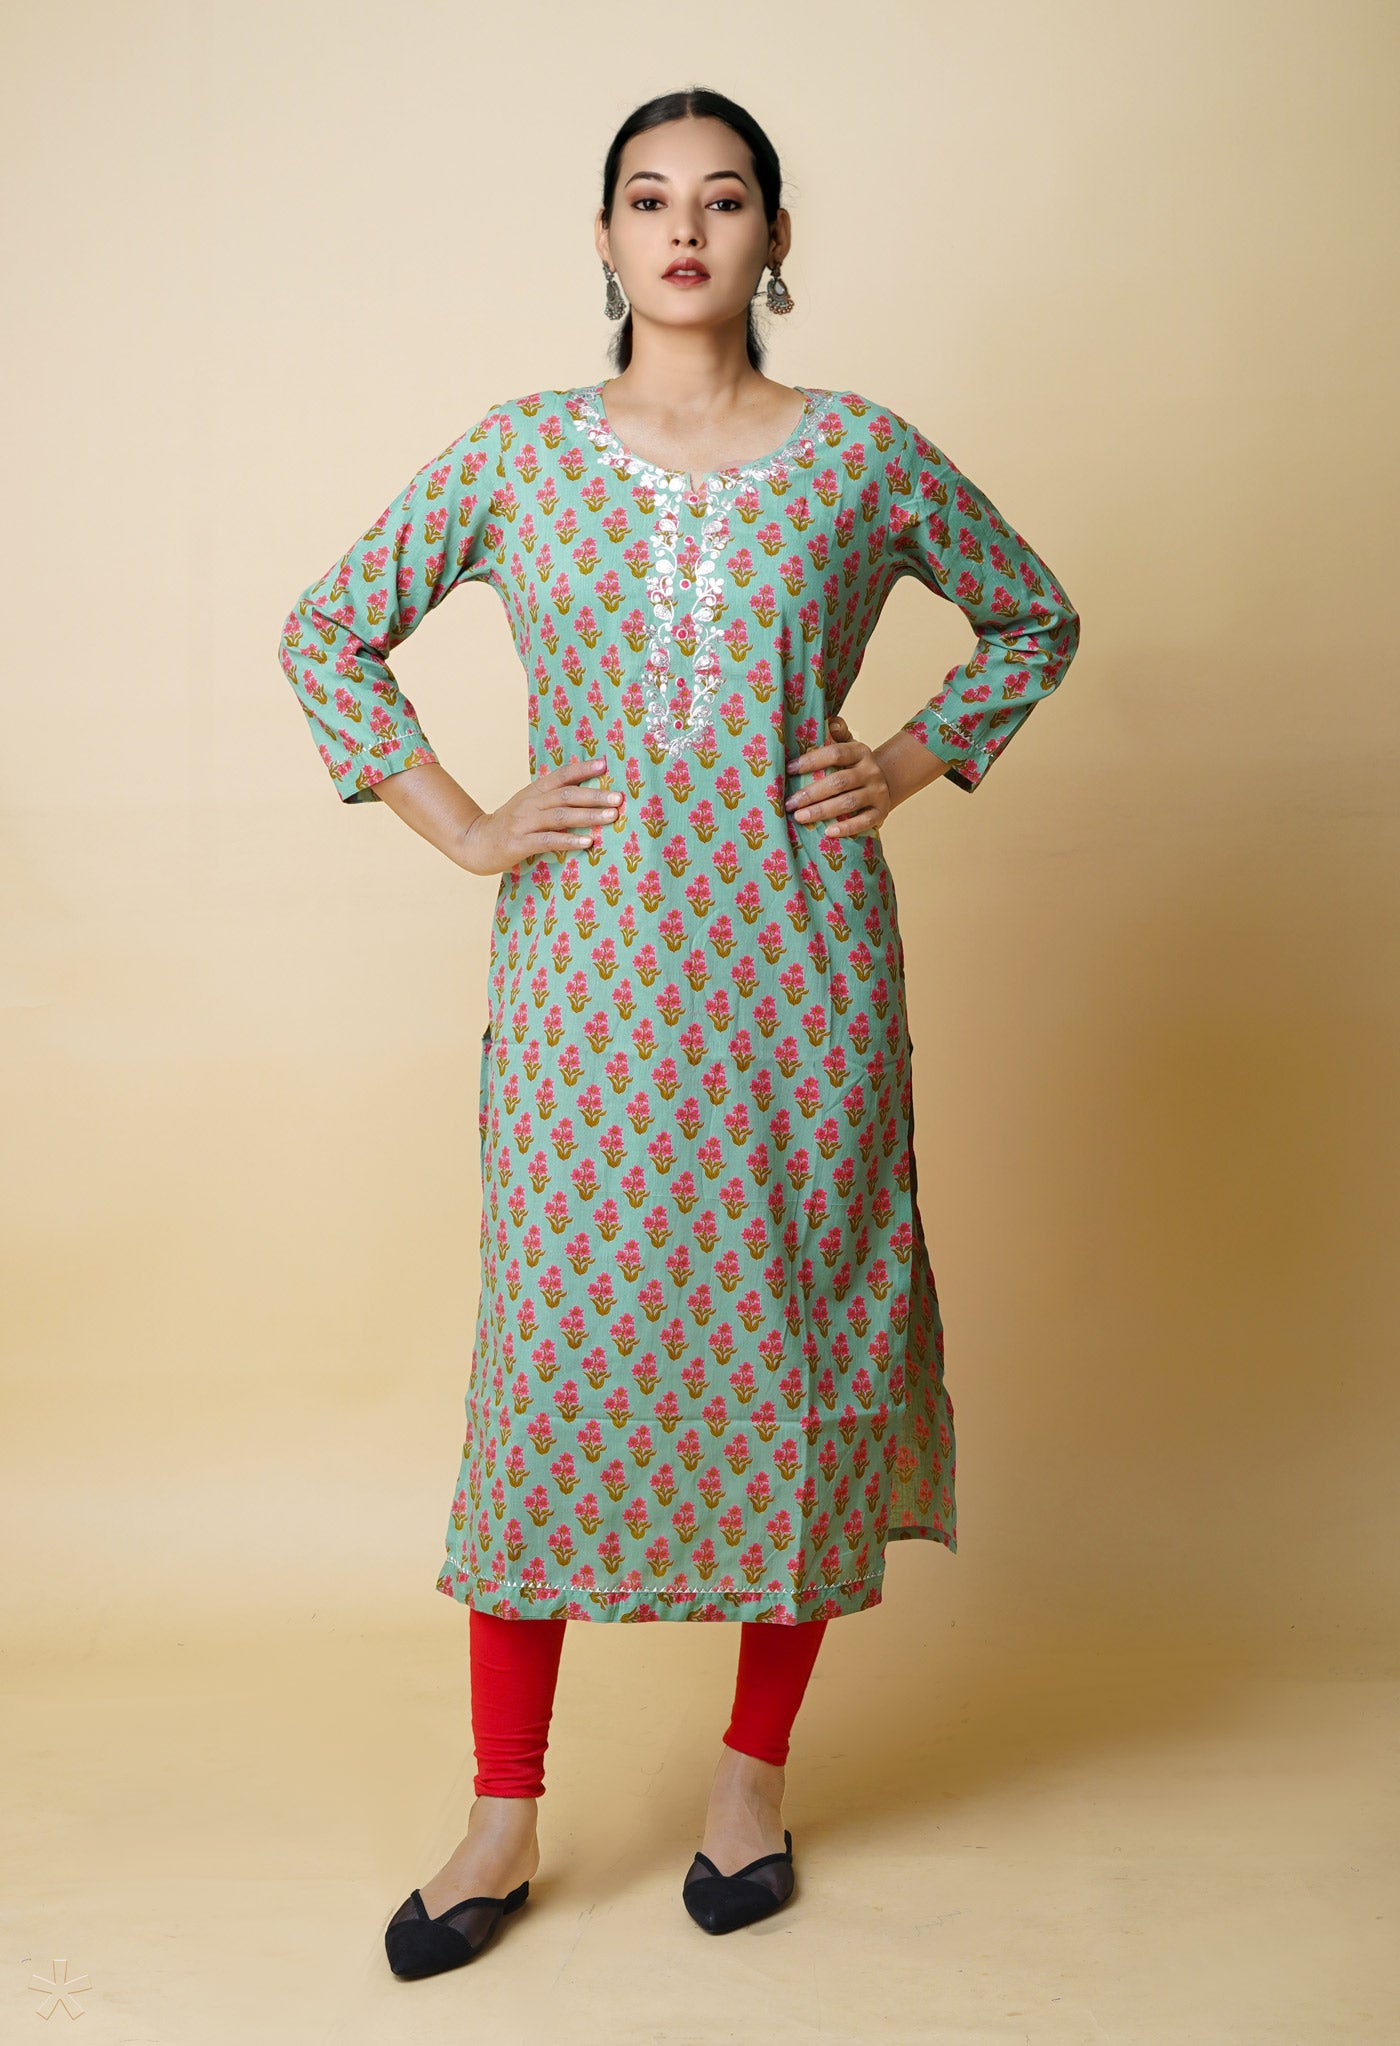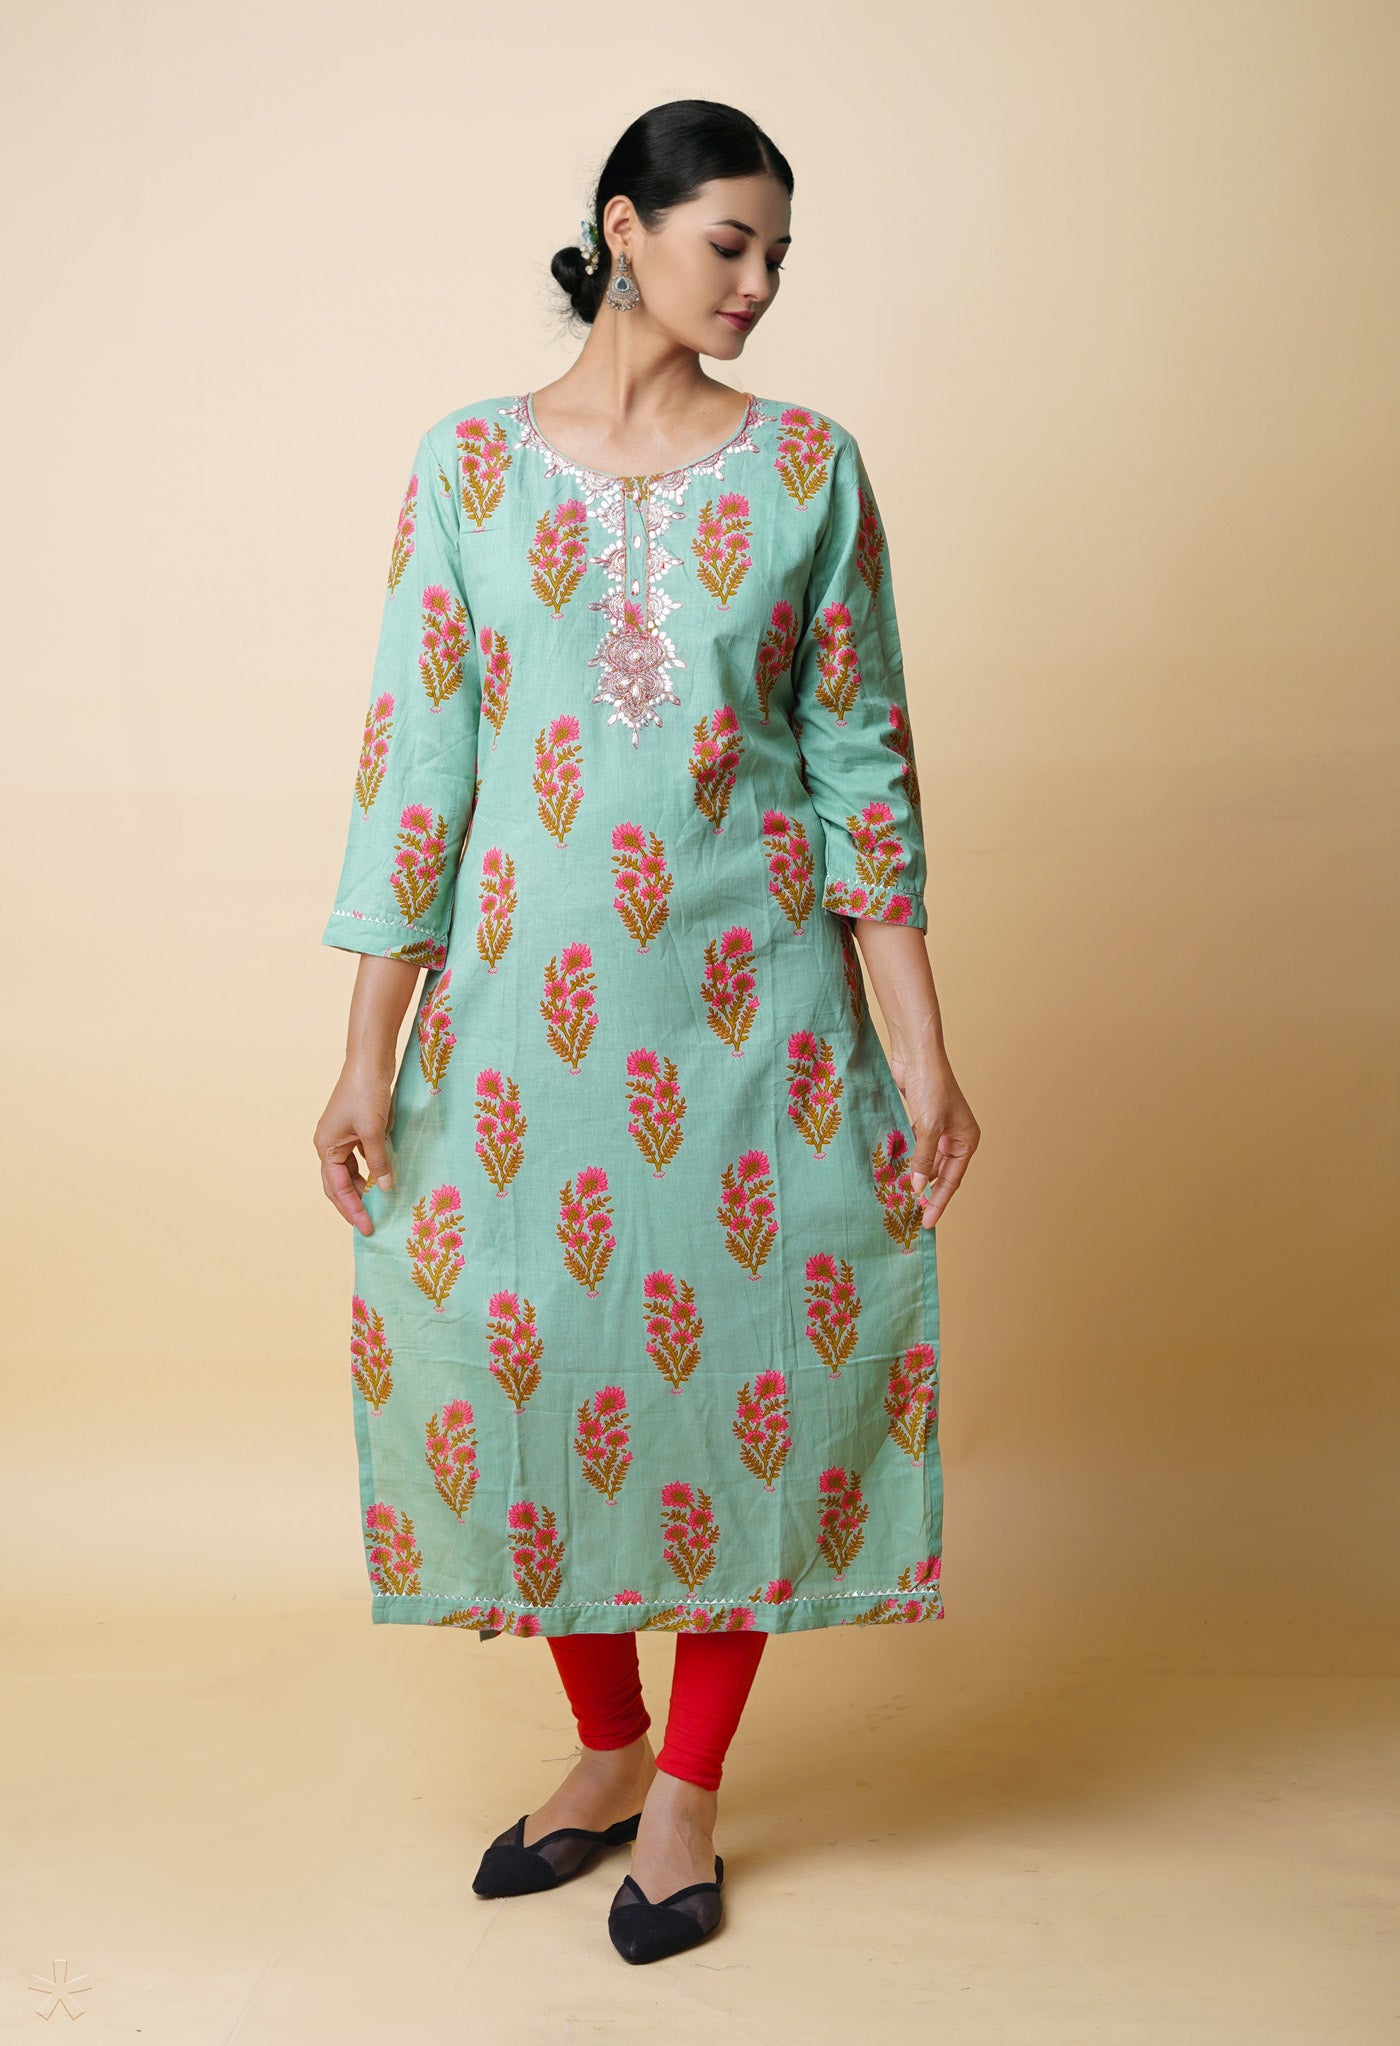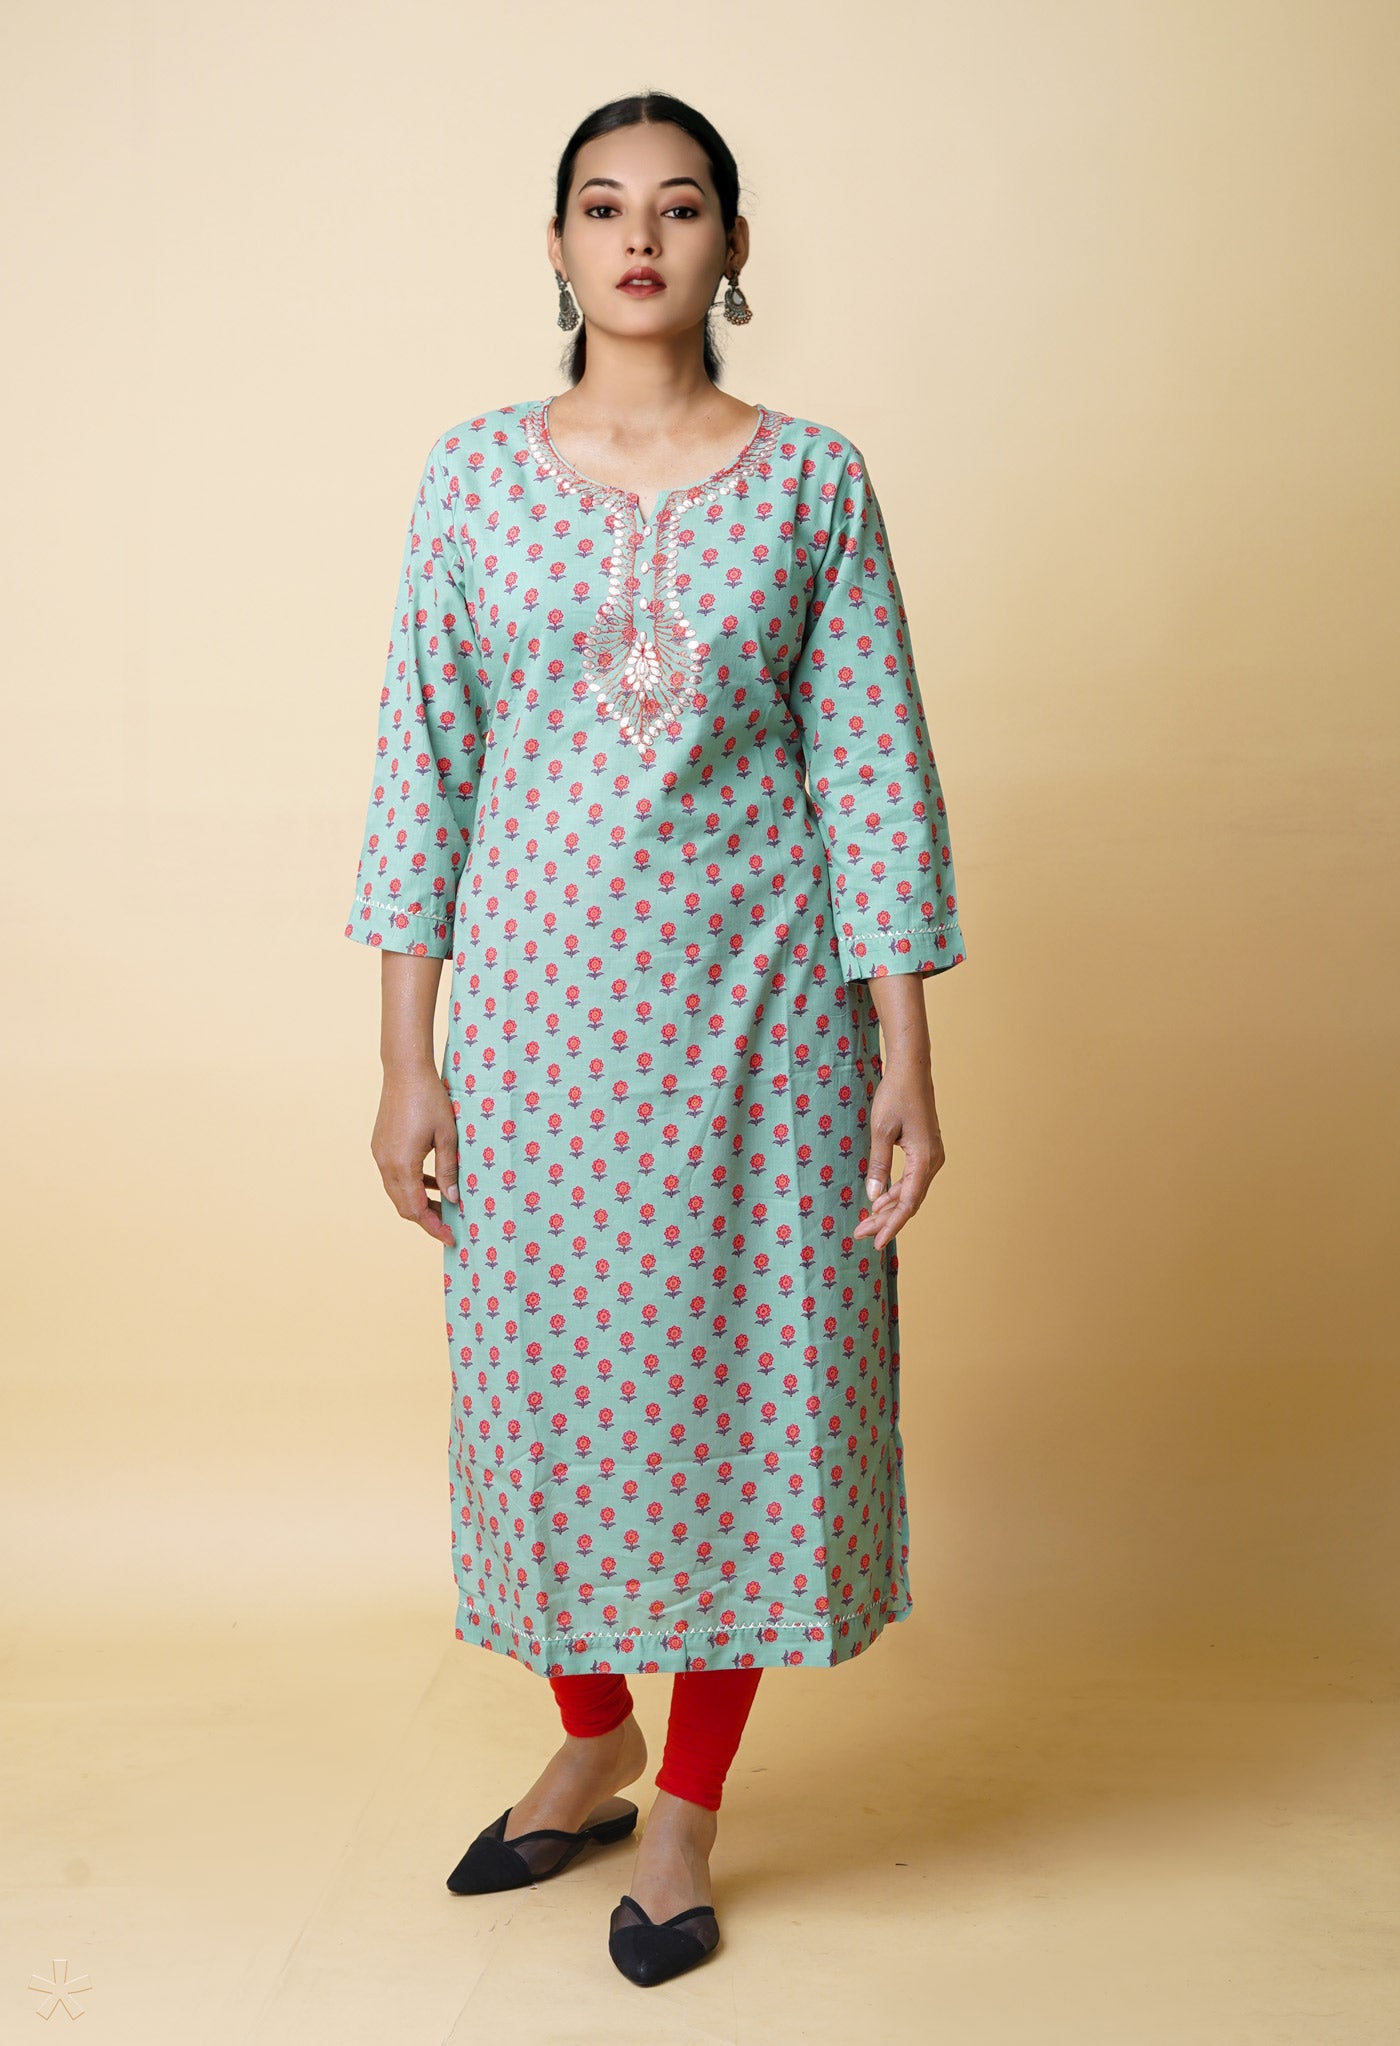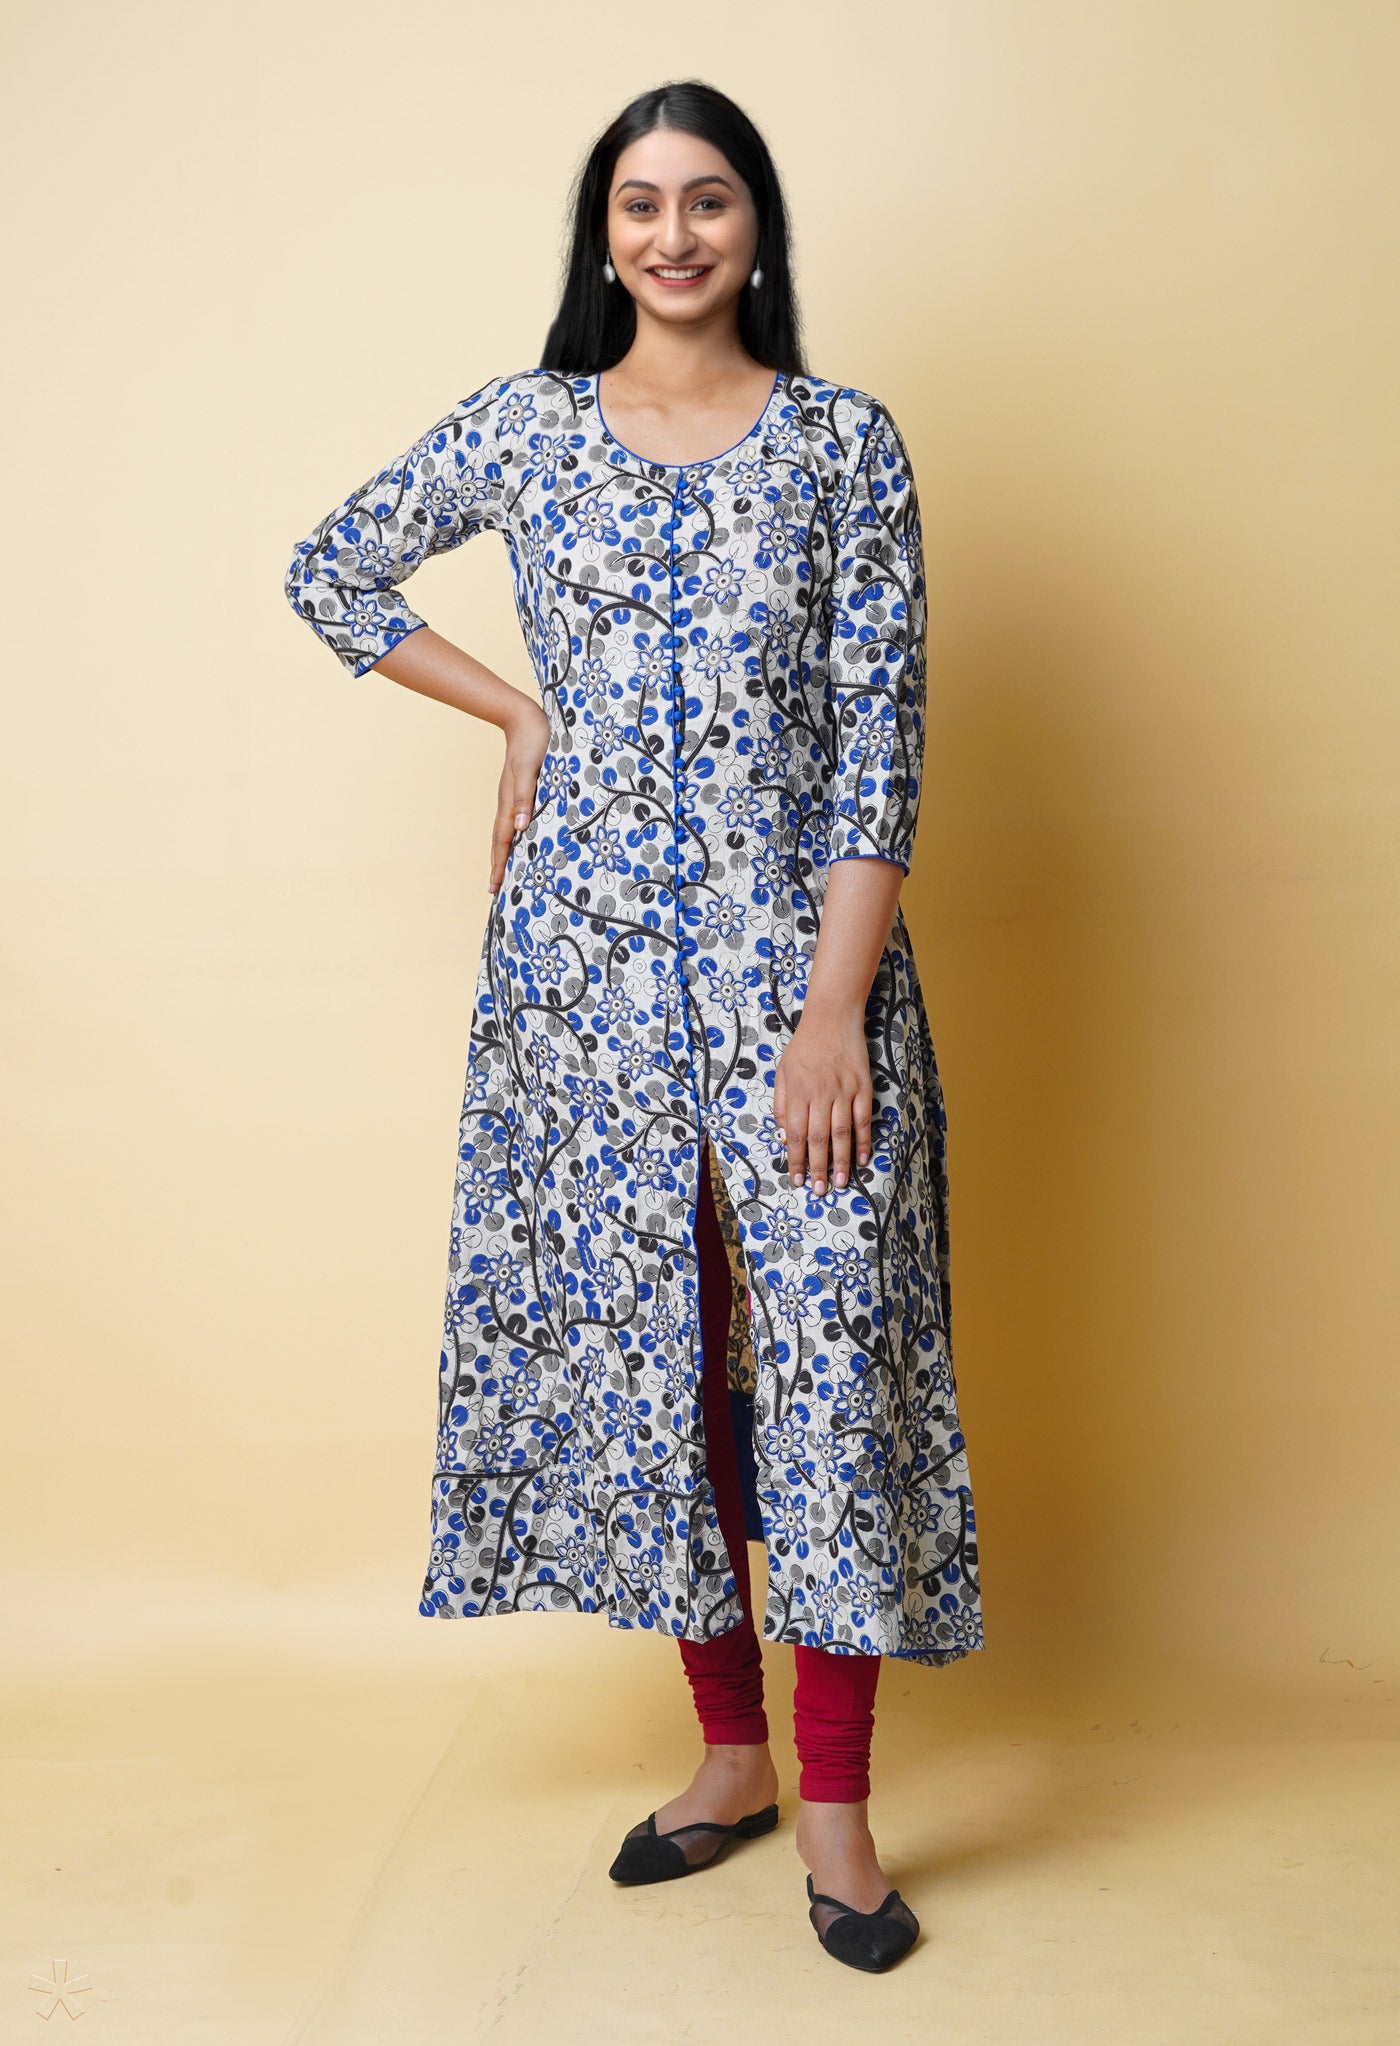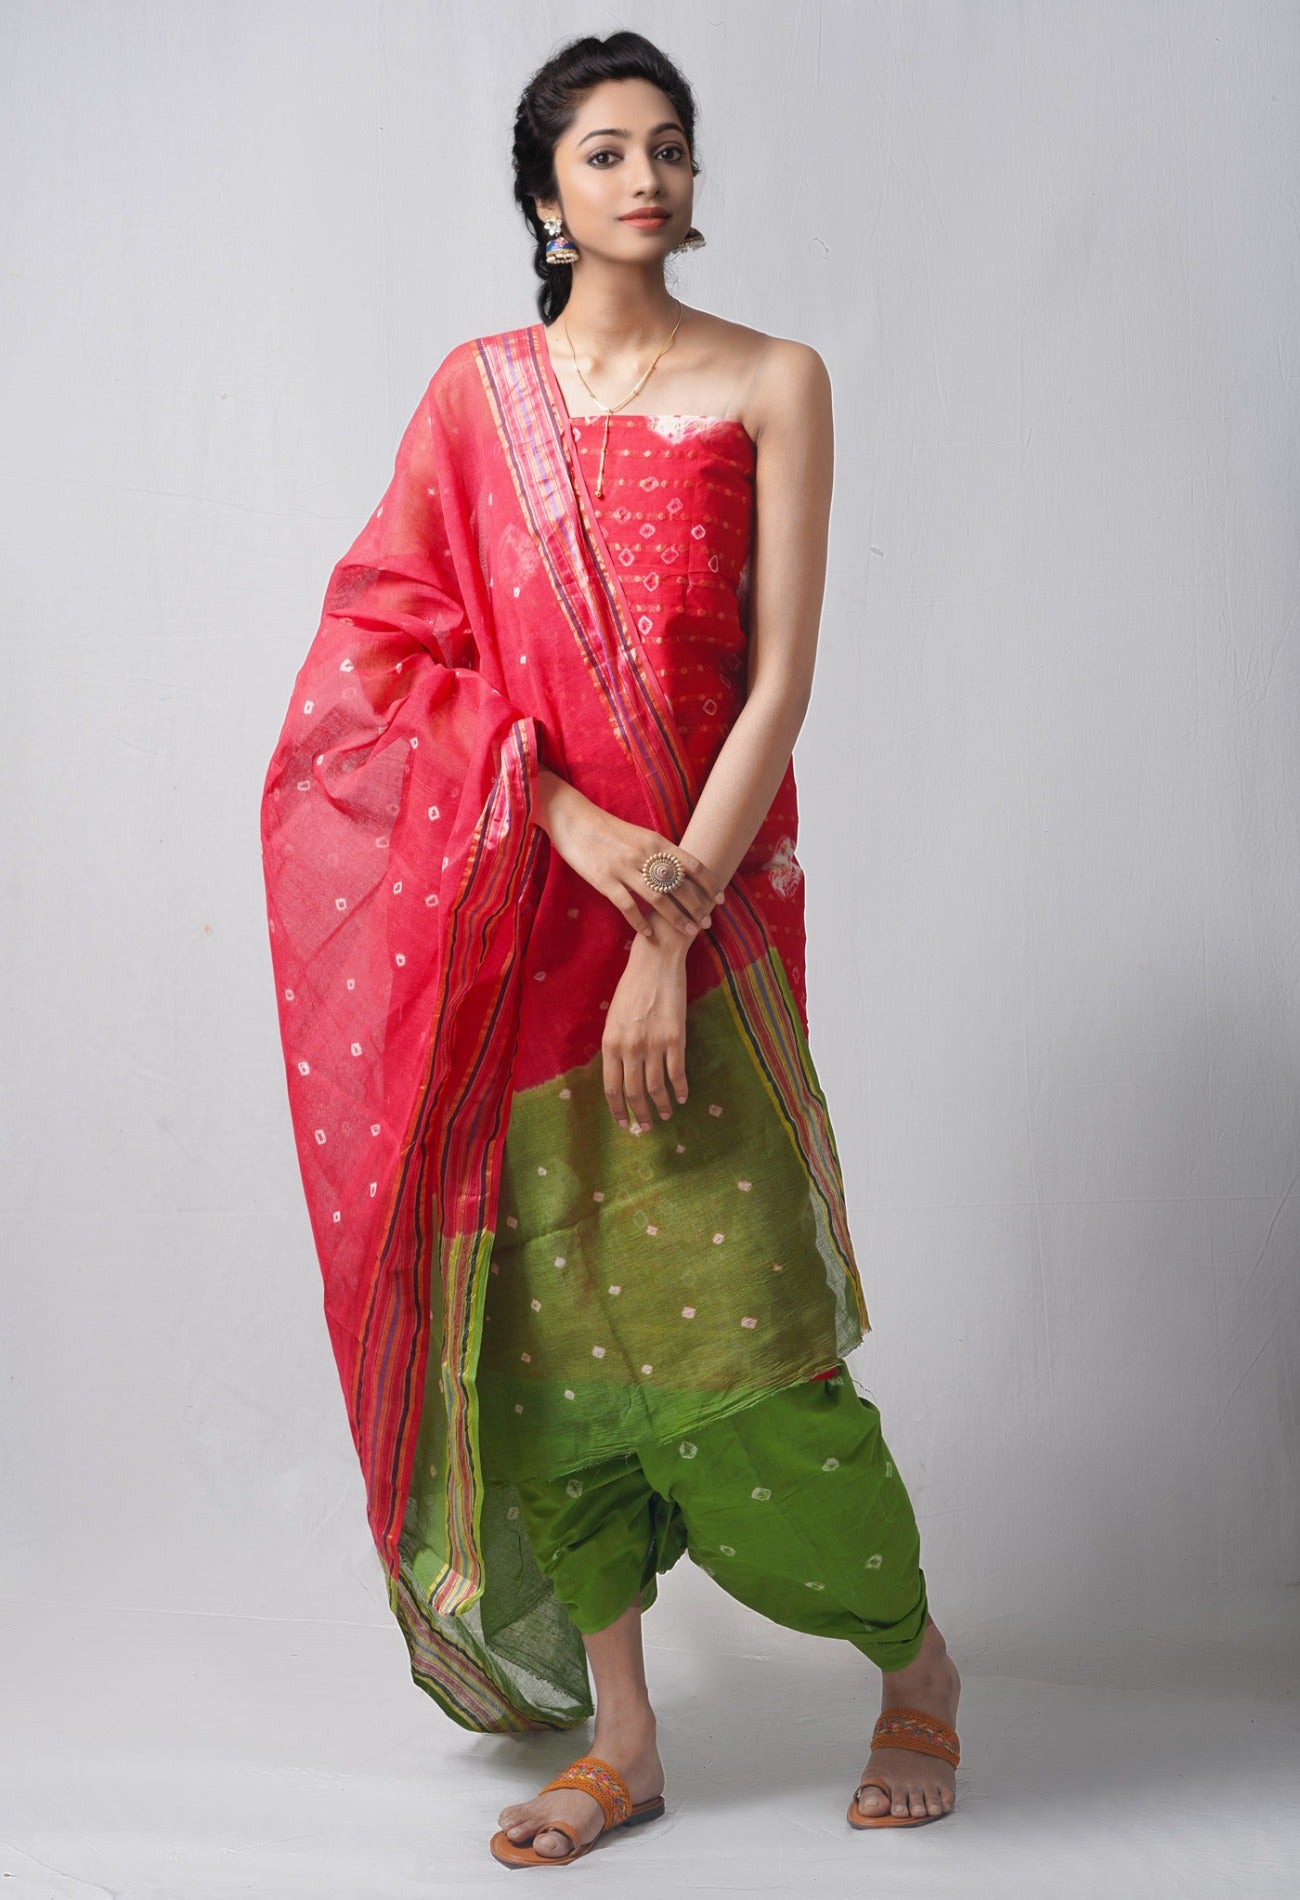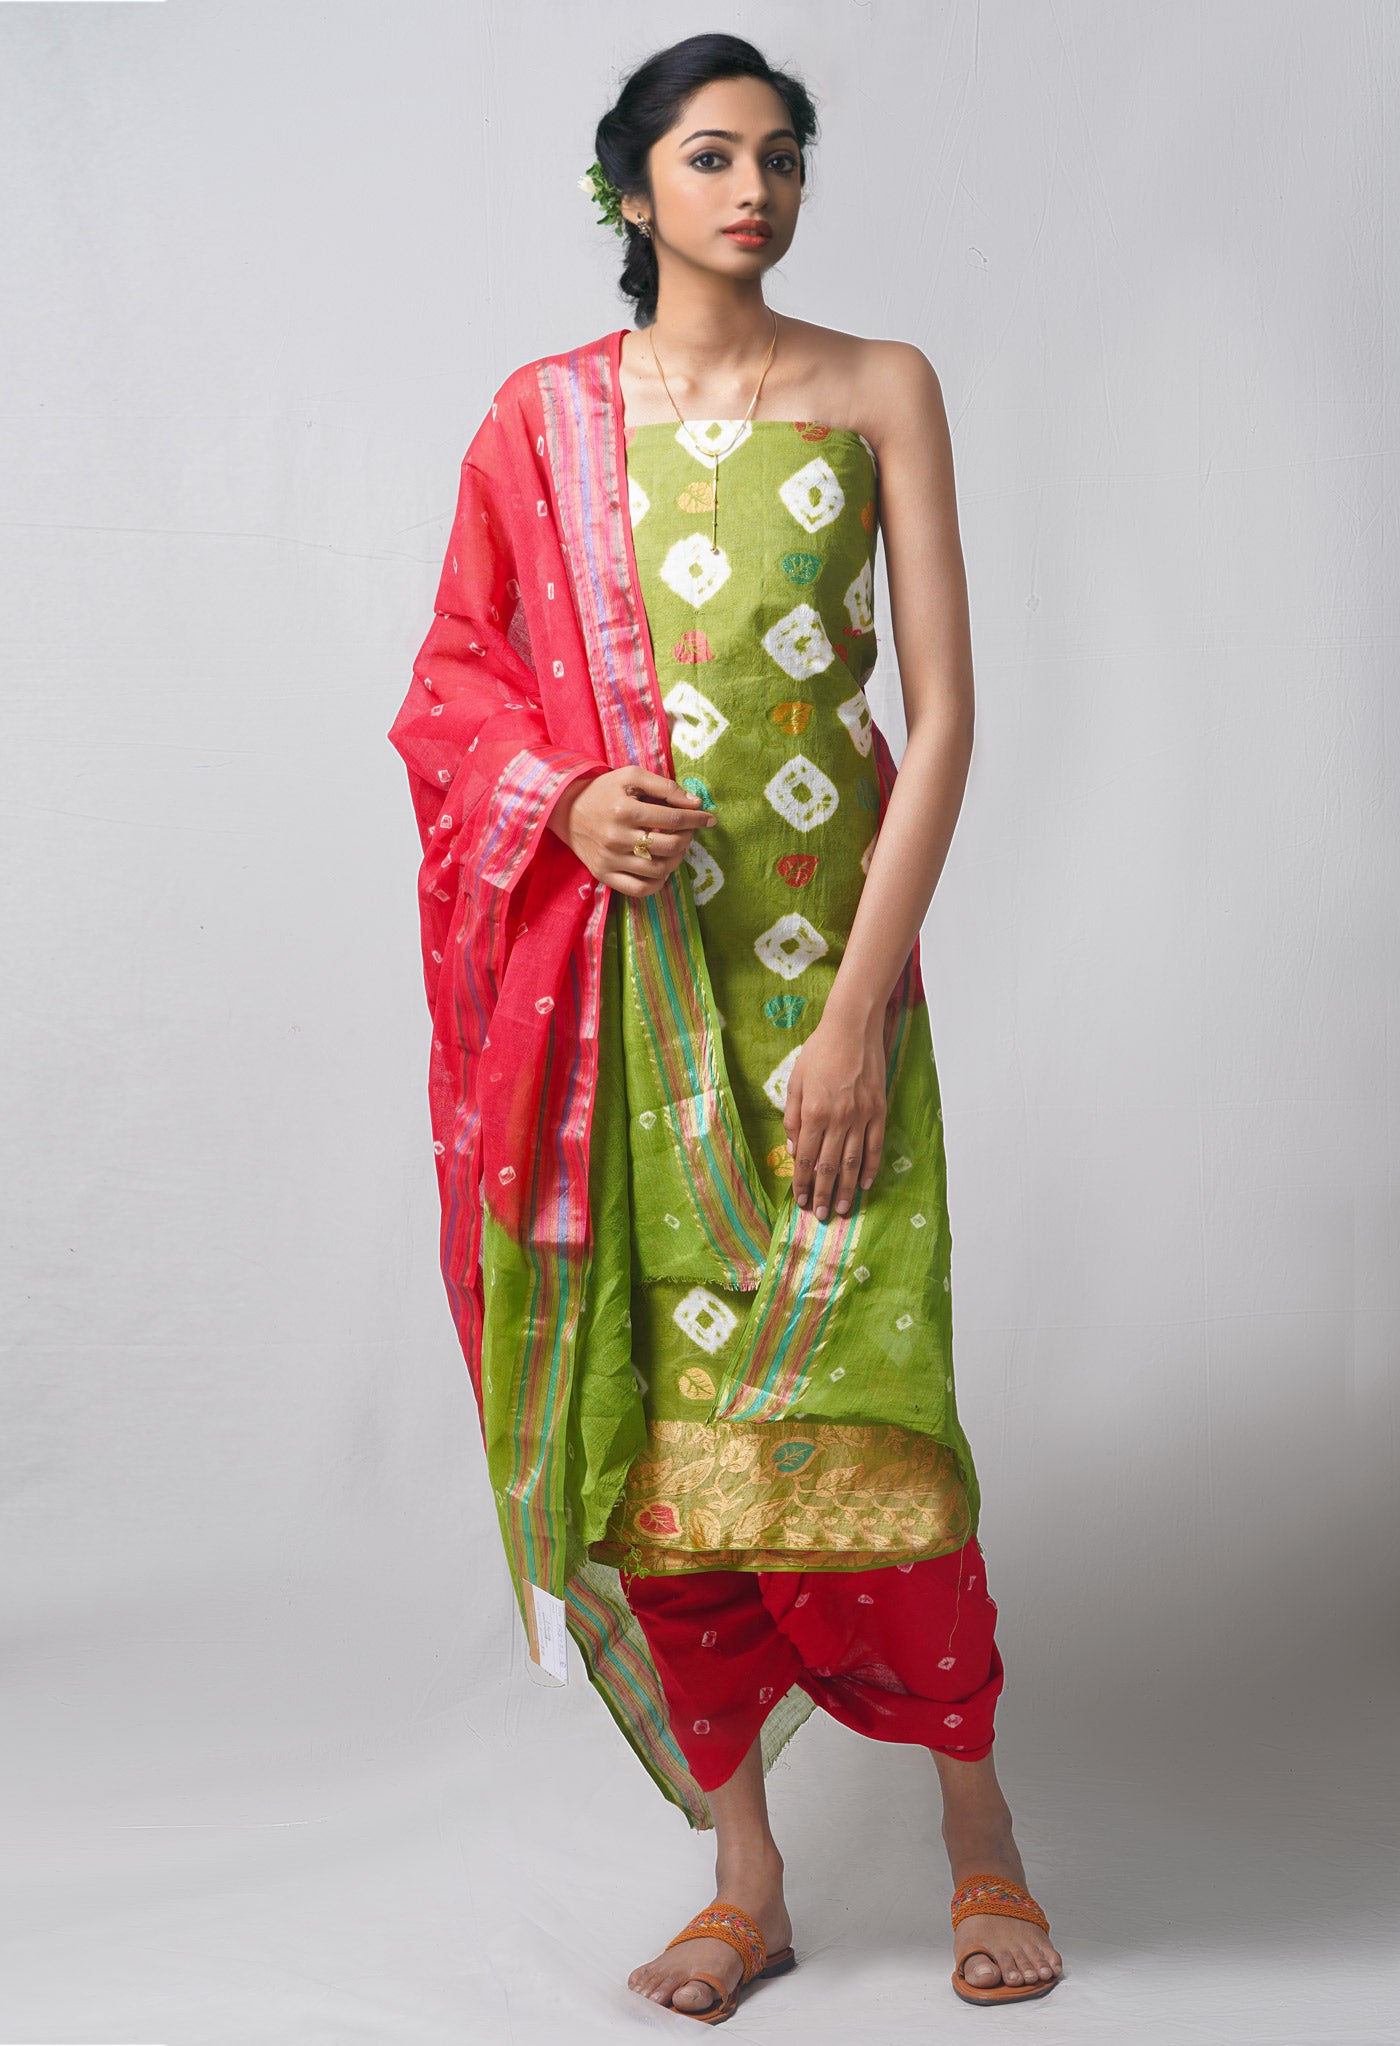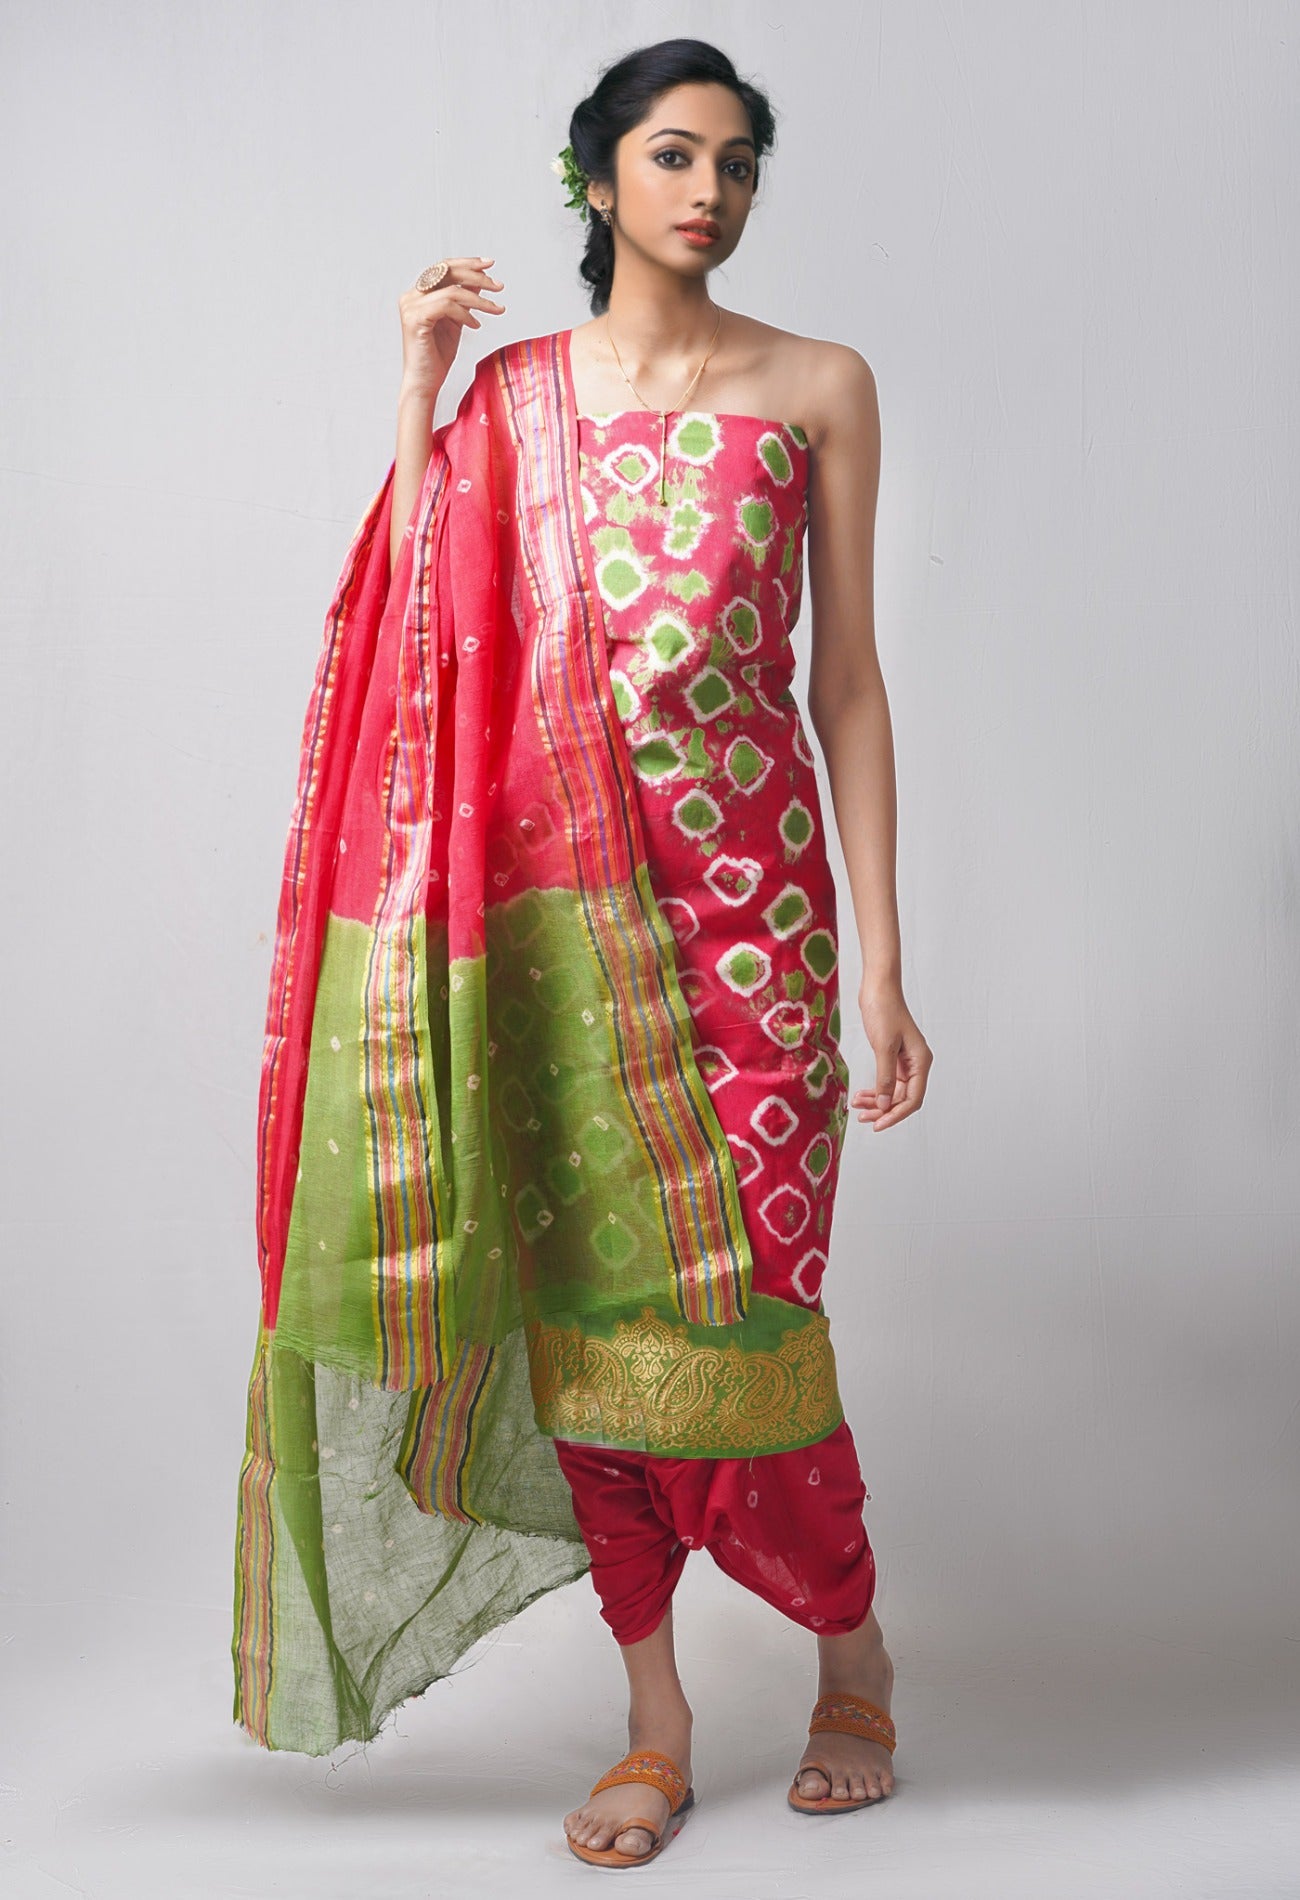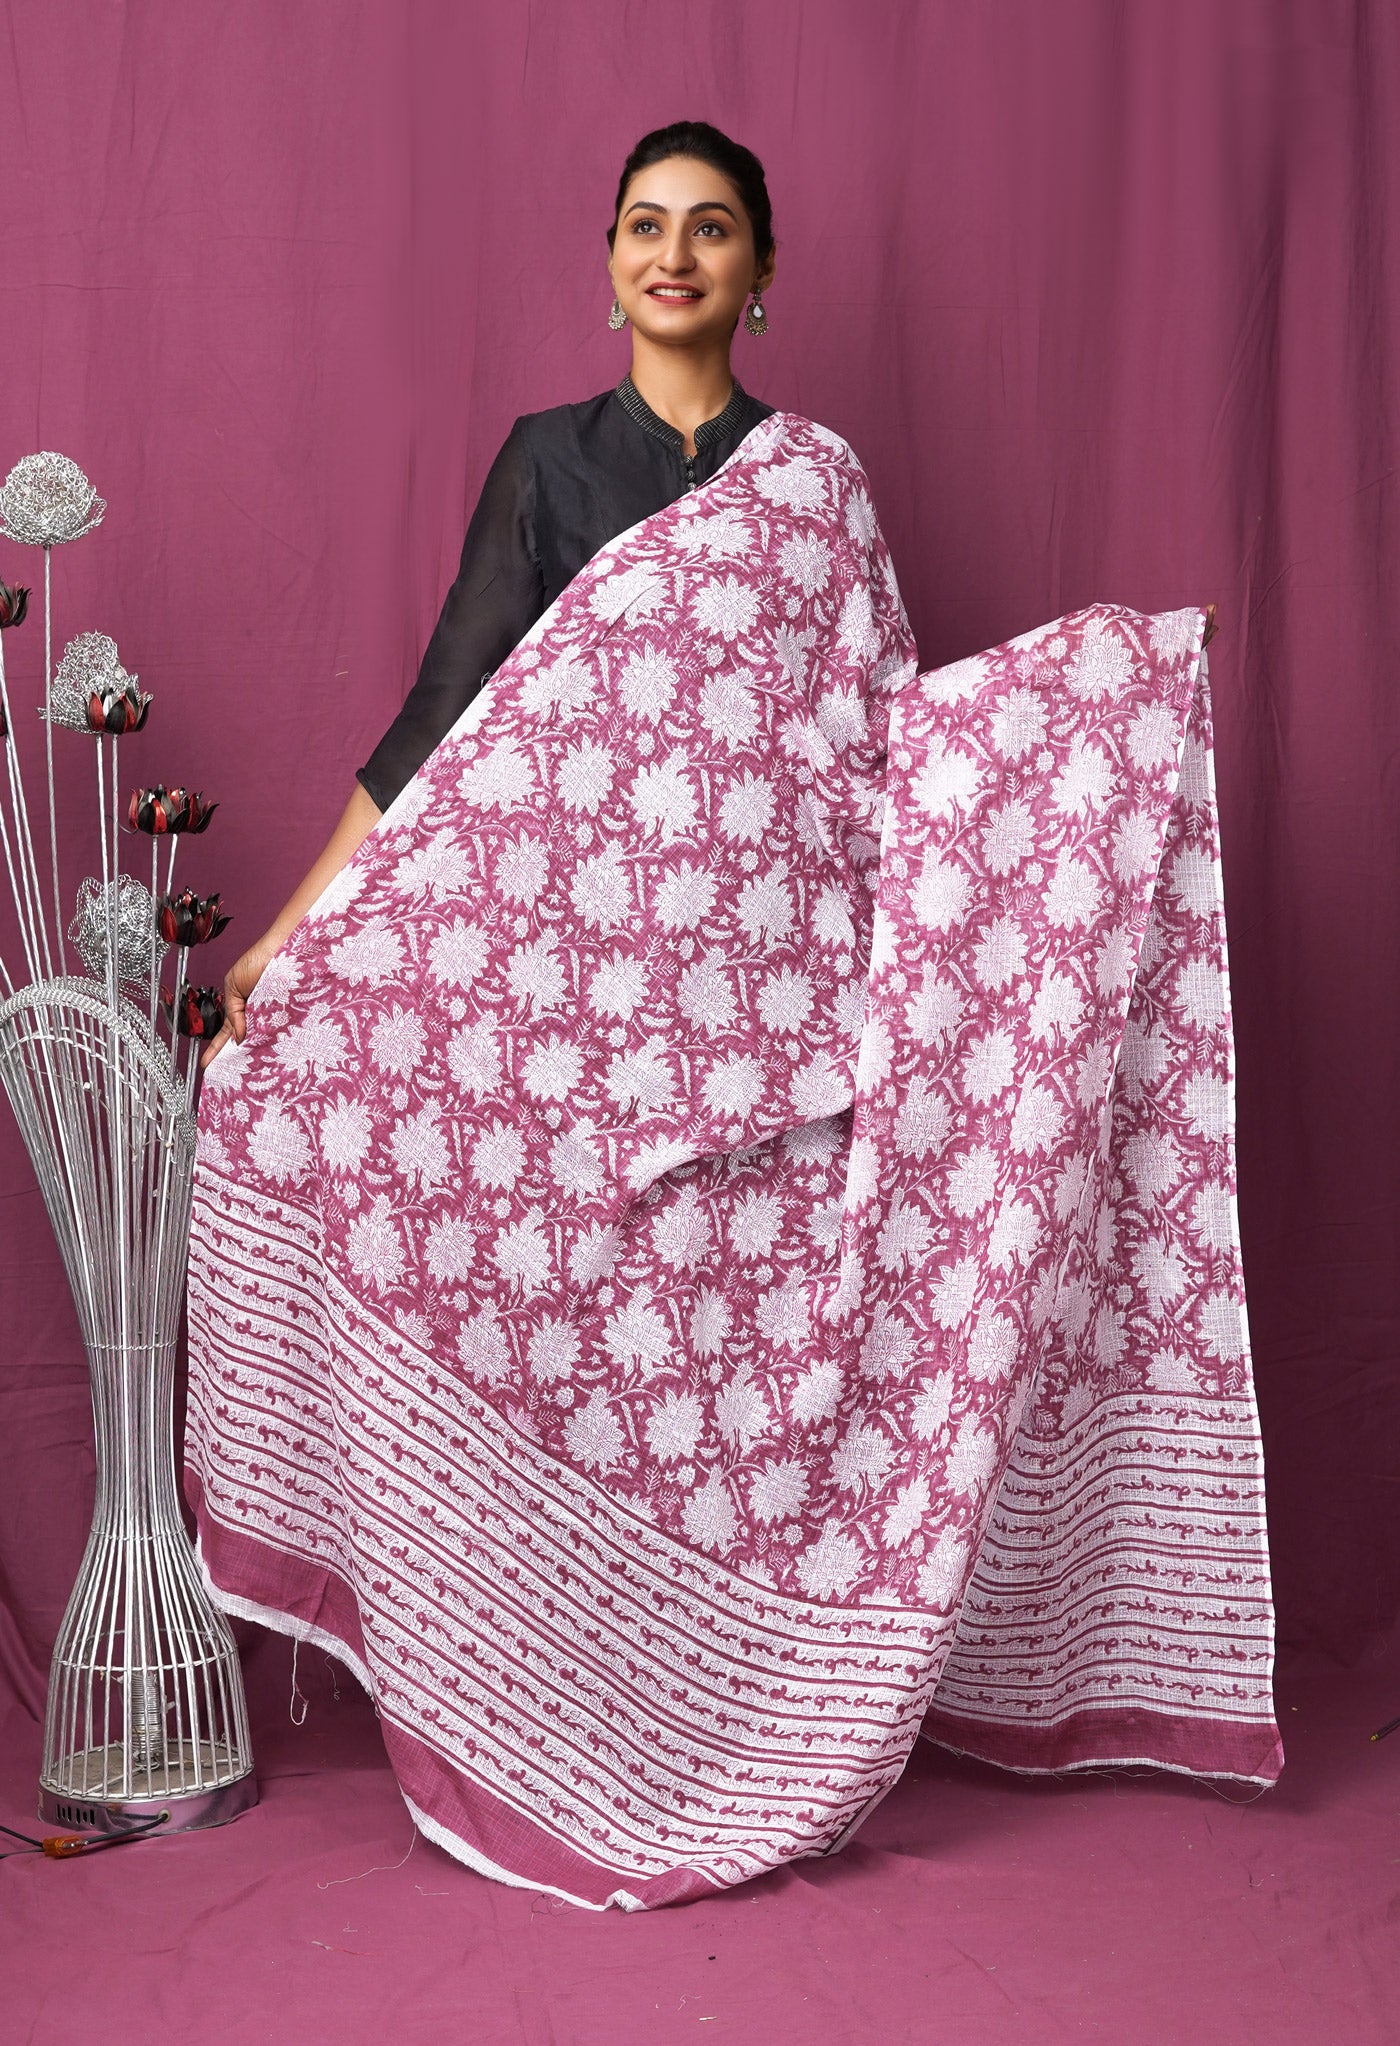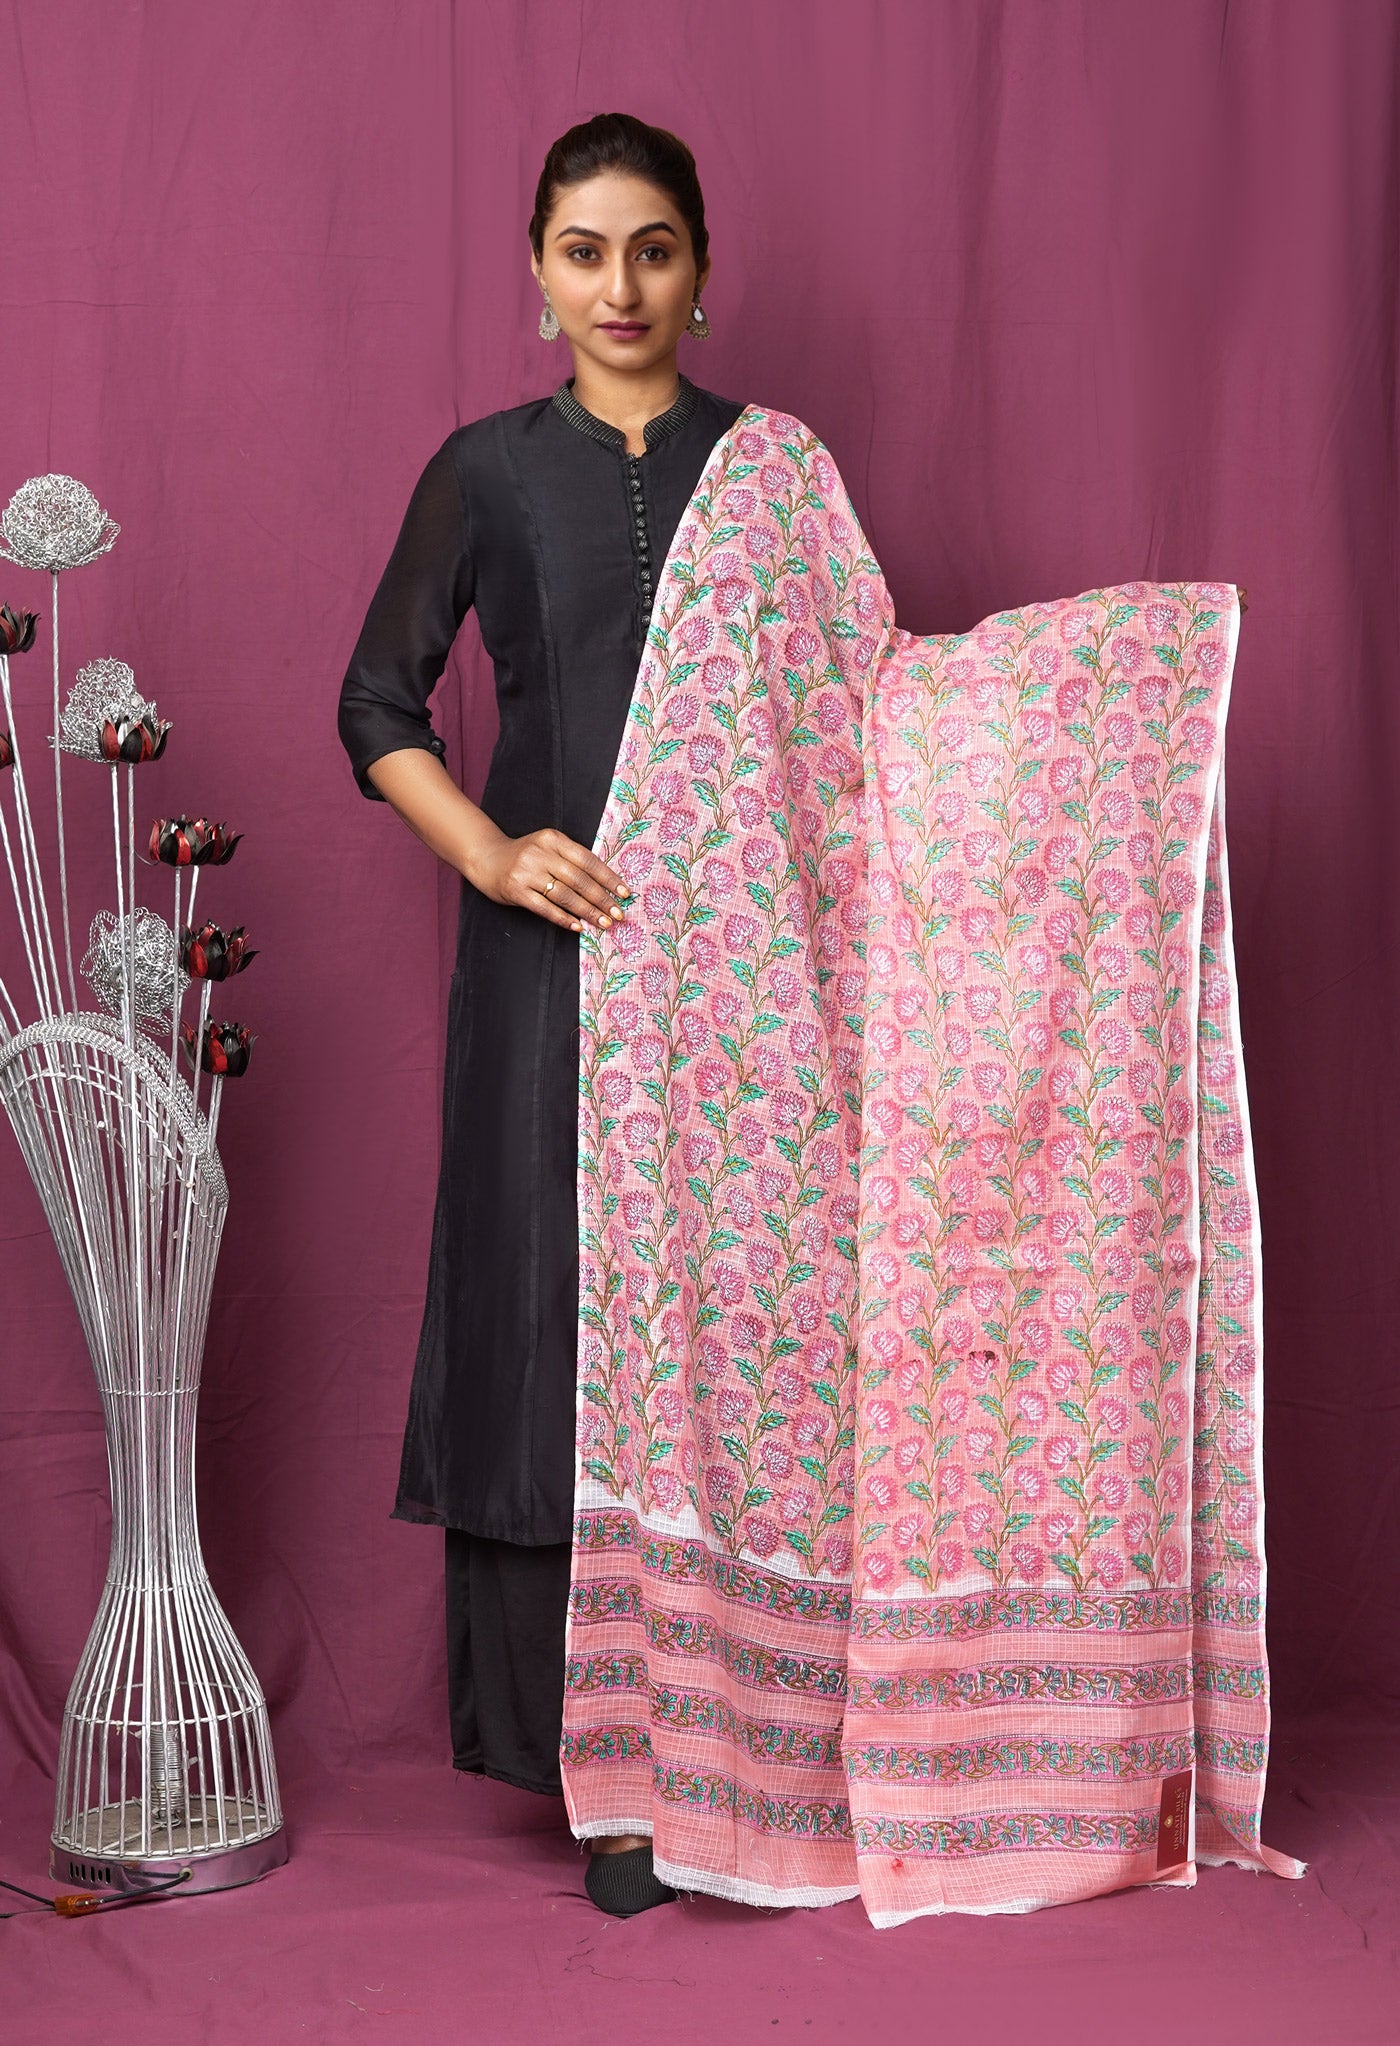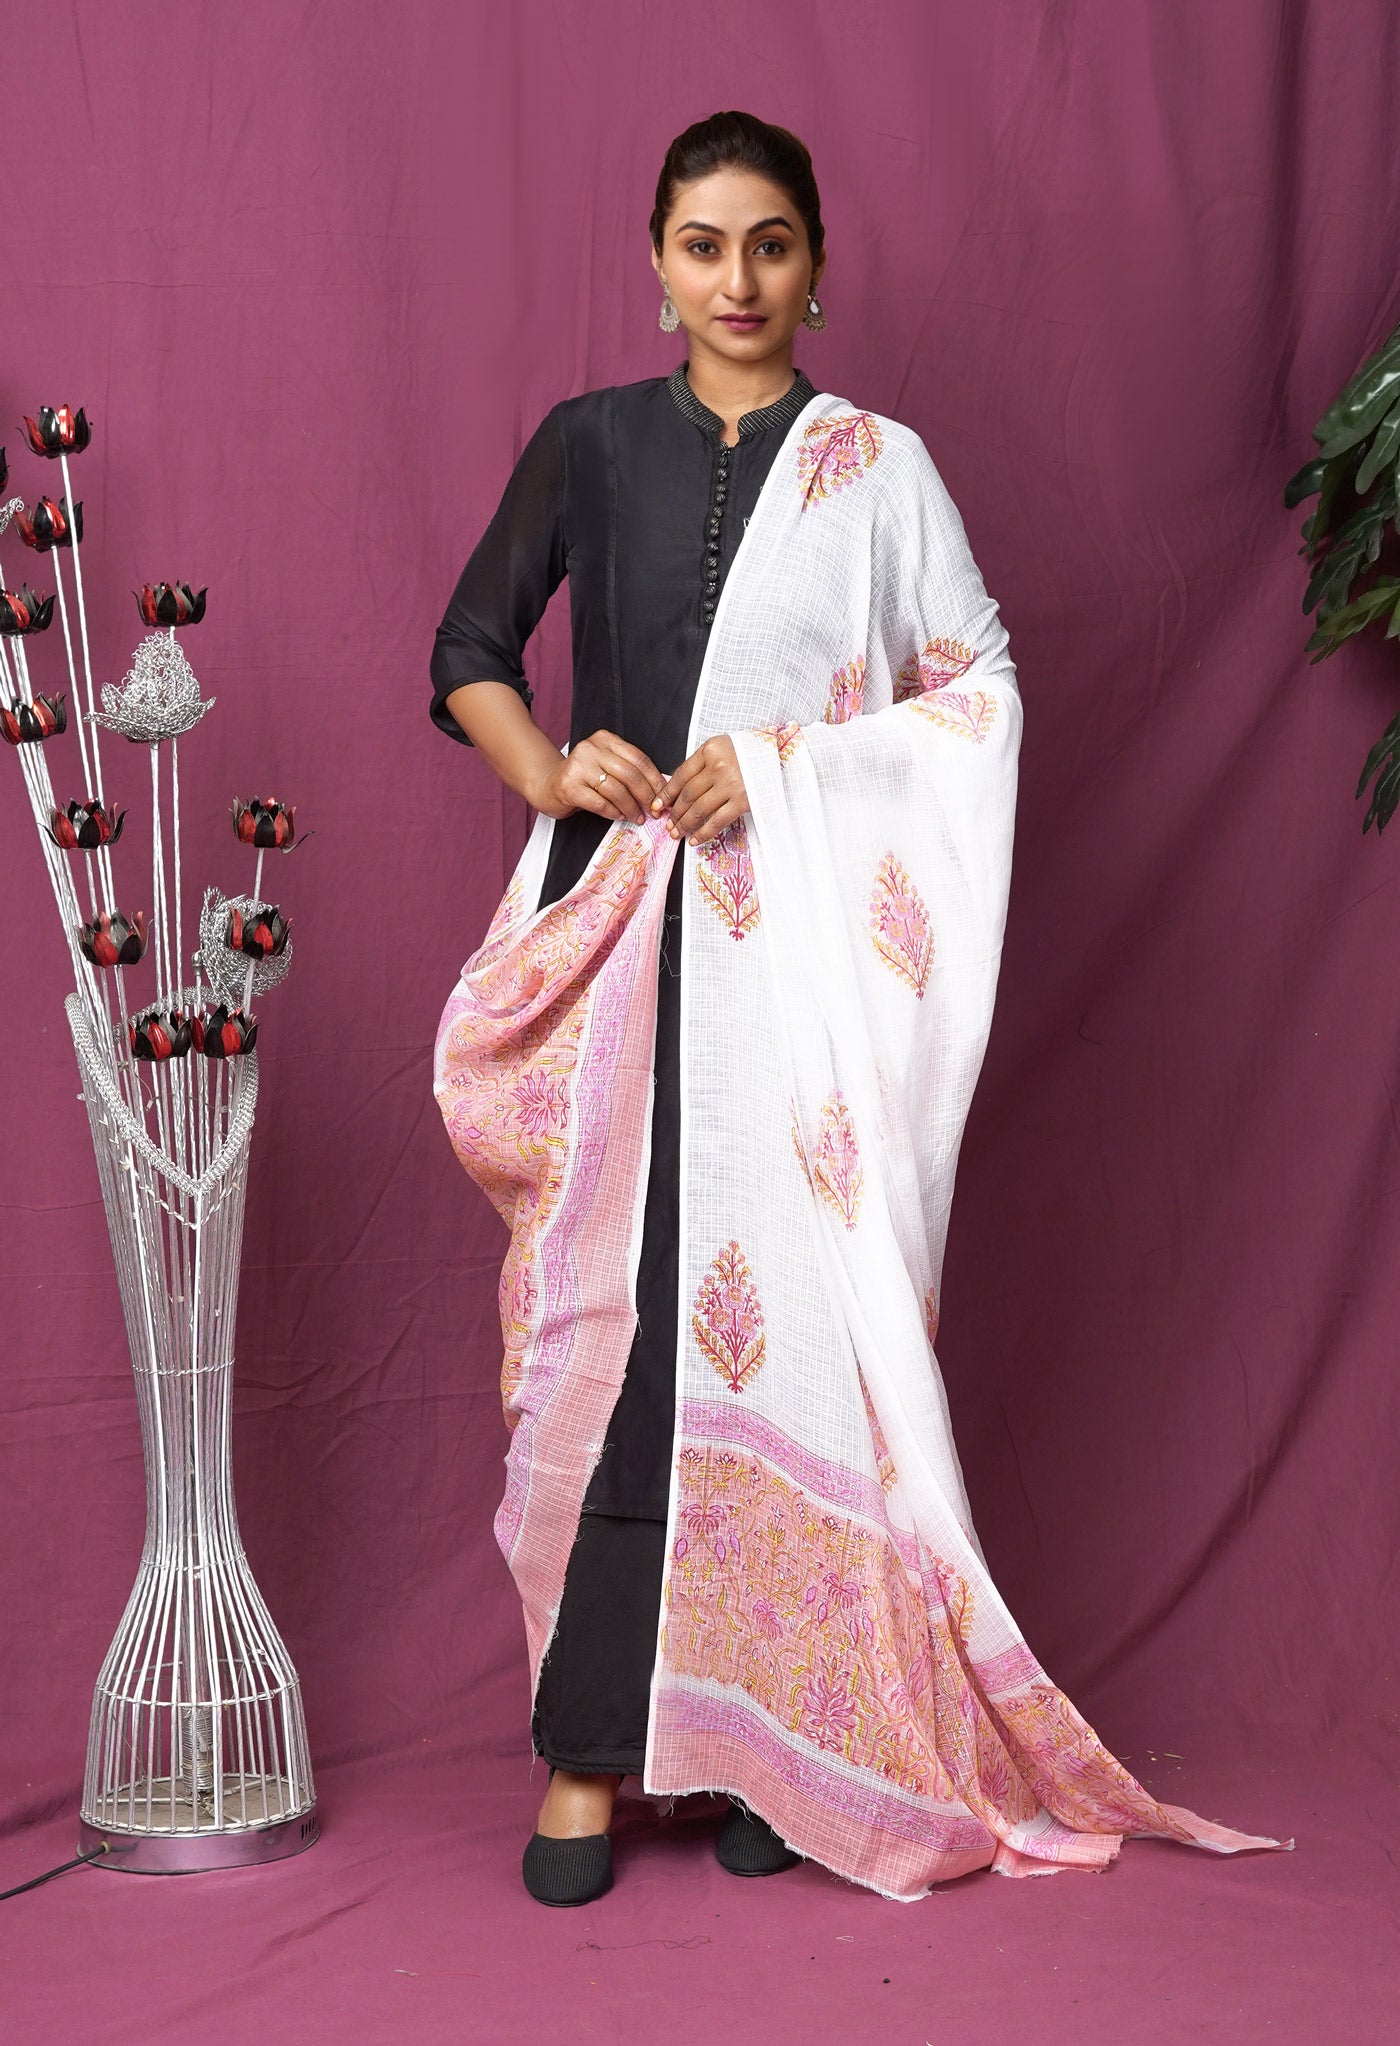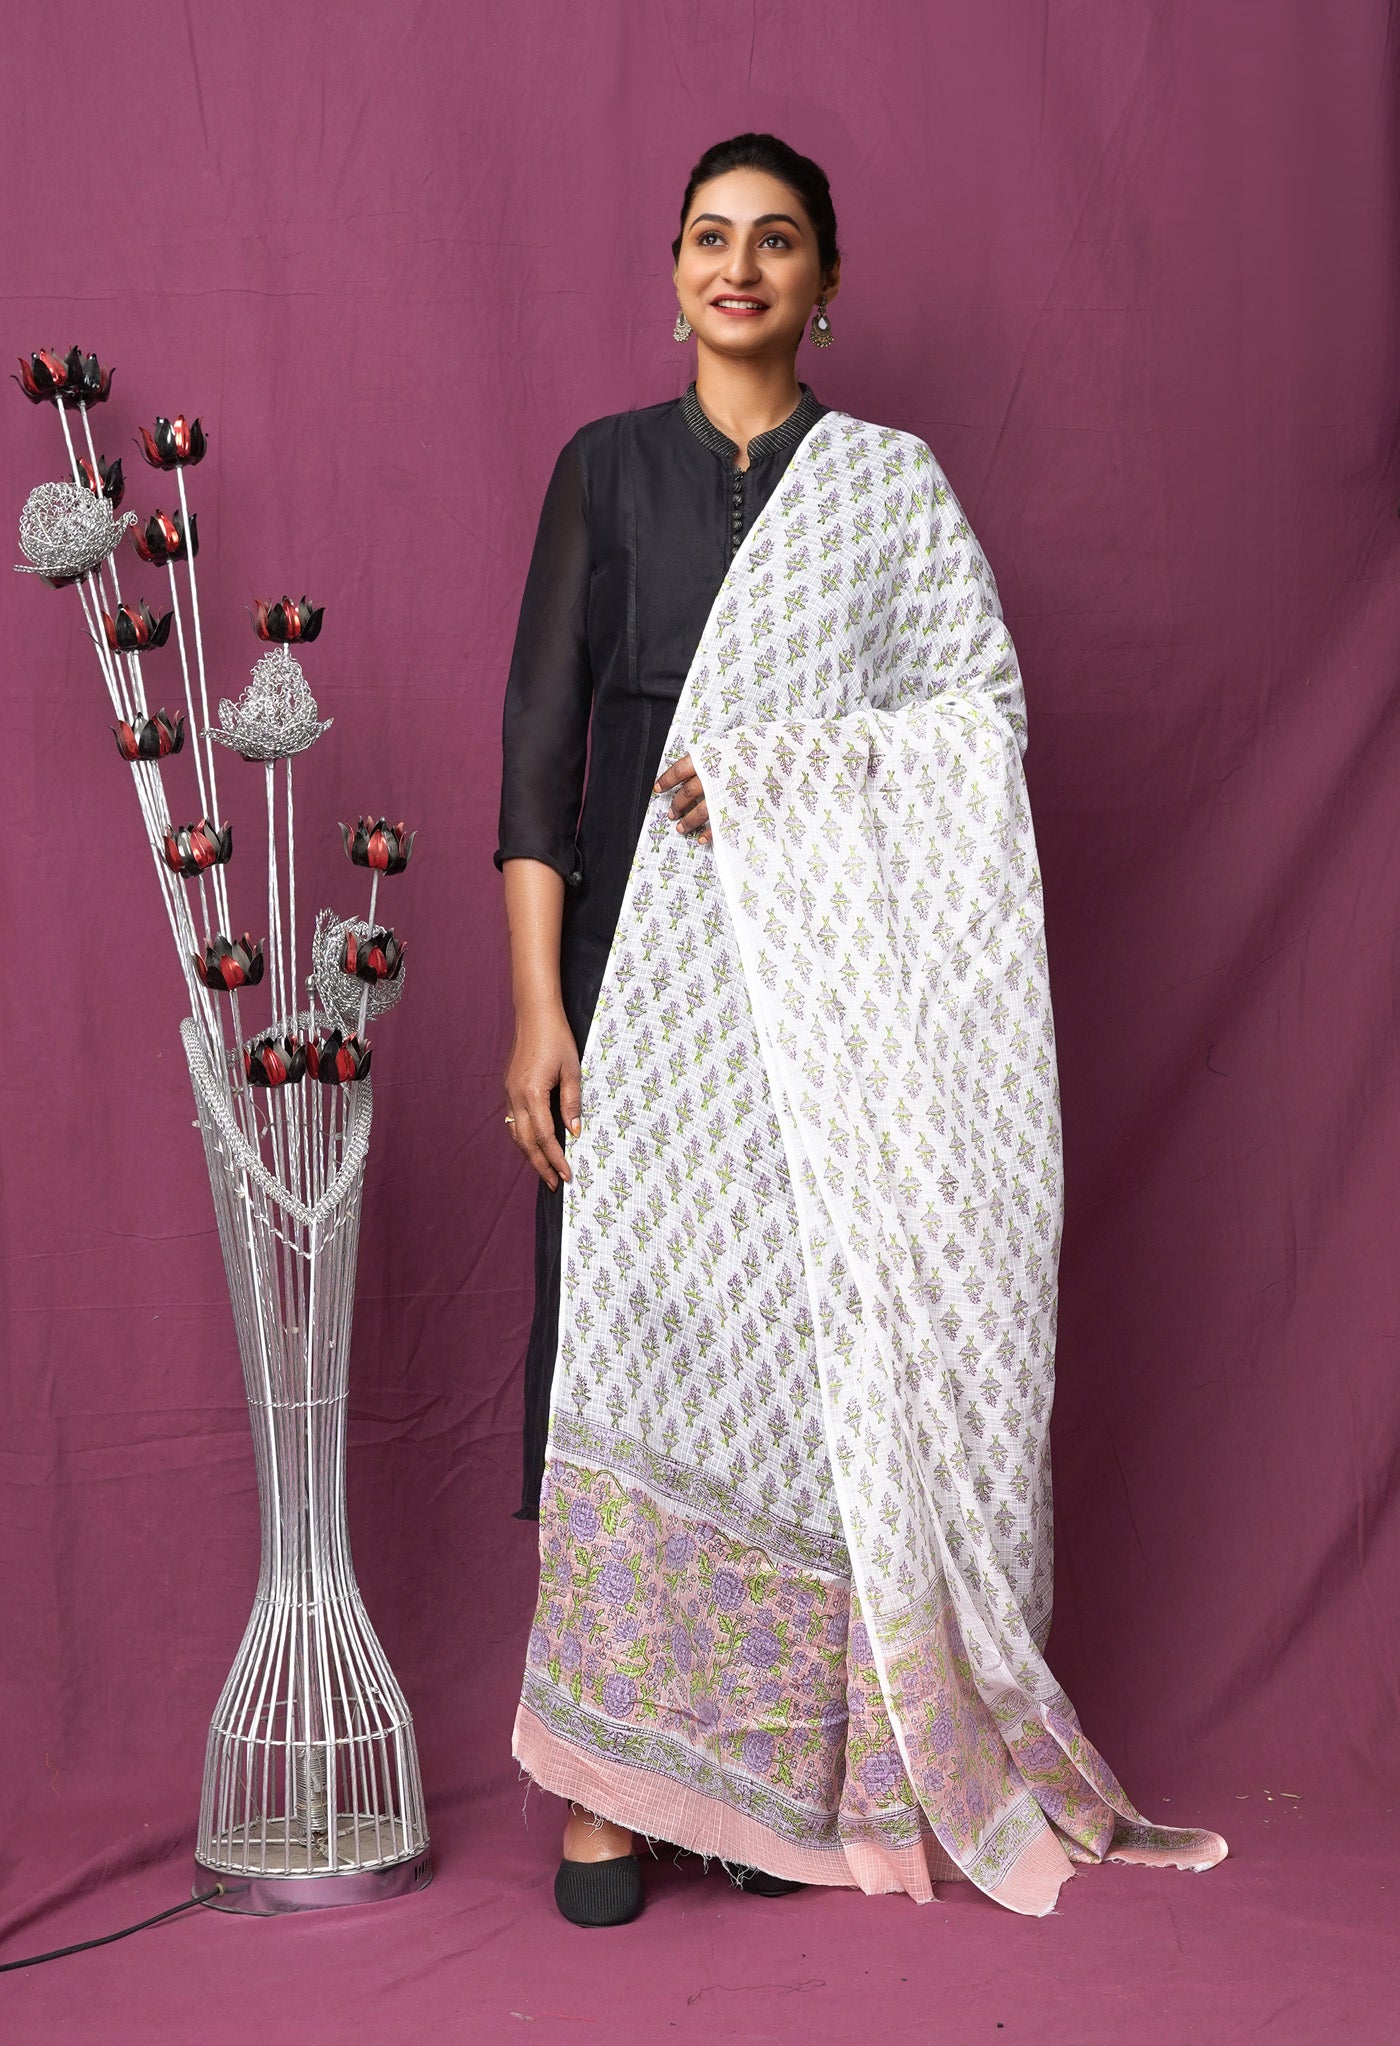
The basis of the lovely craft called embroidery
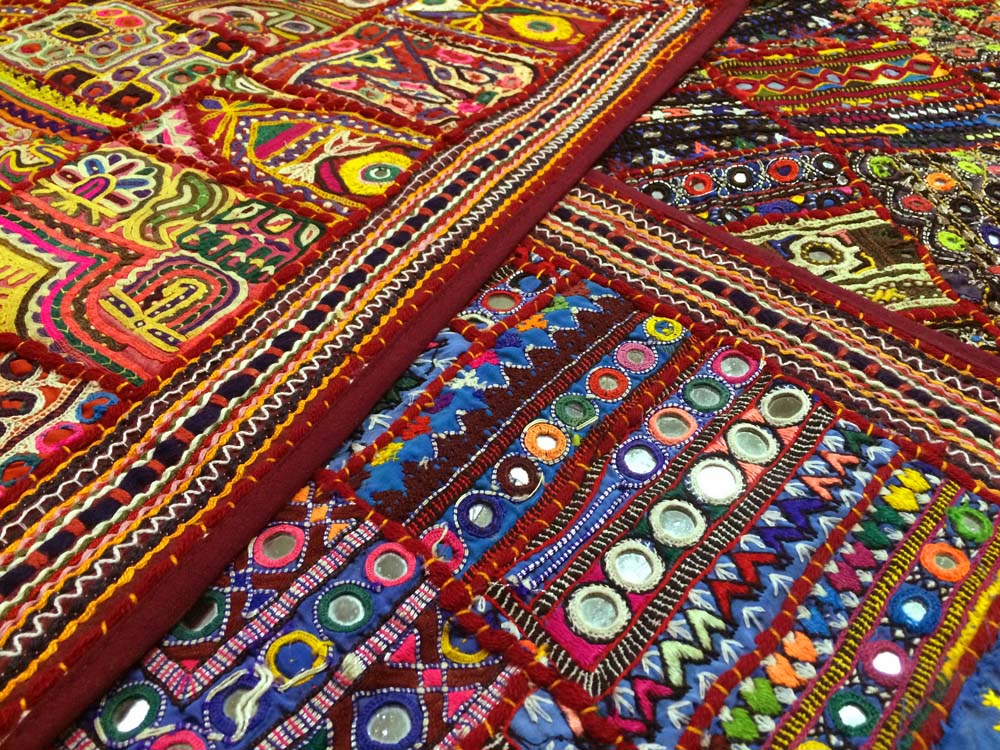
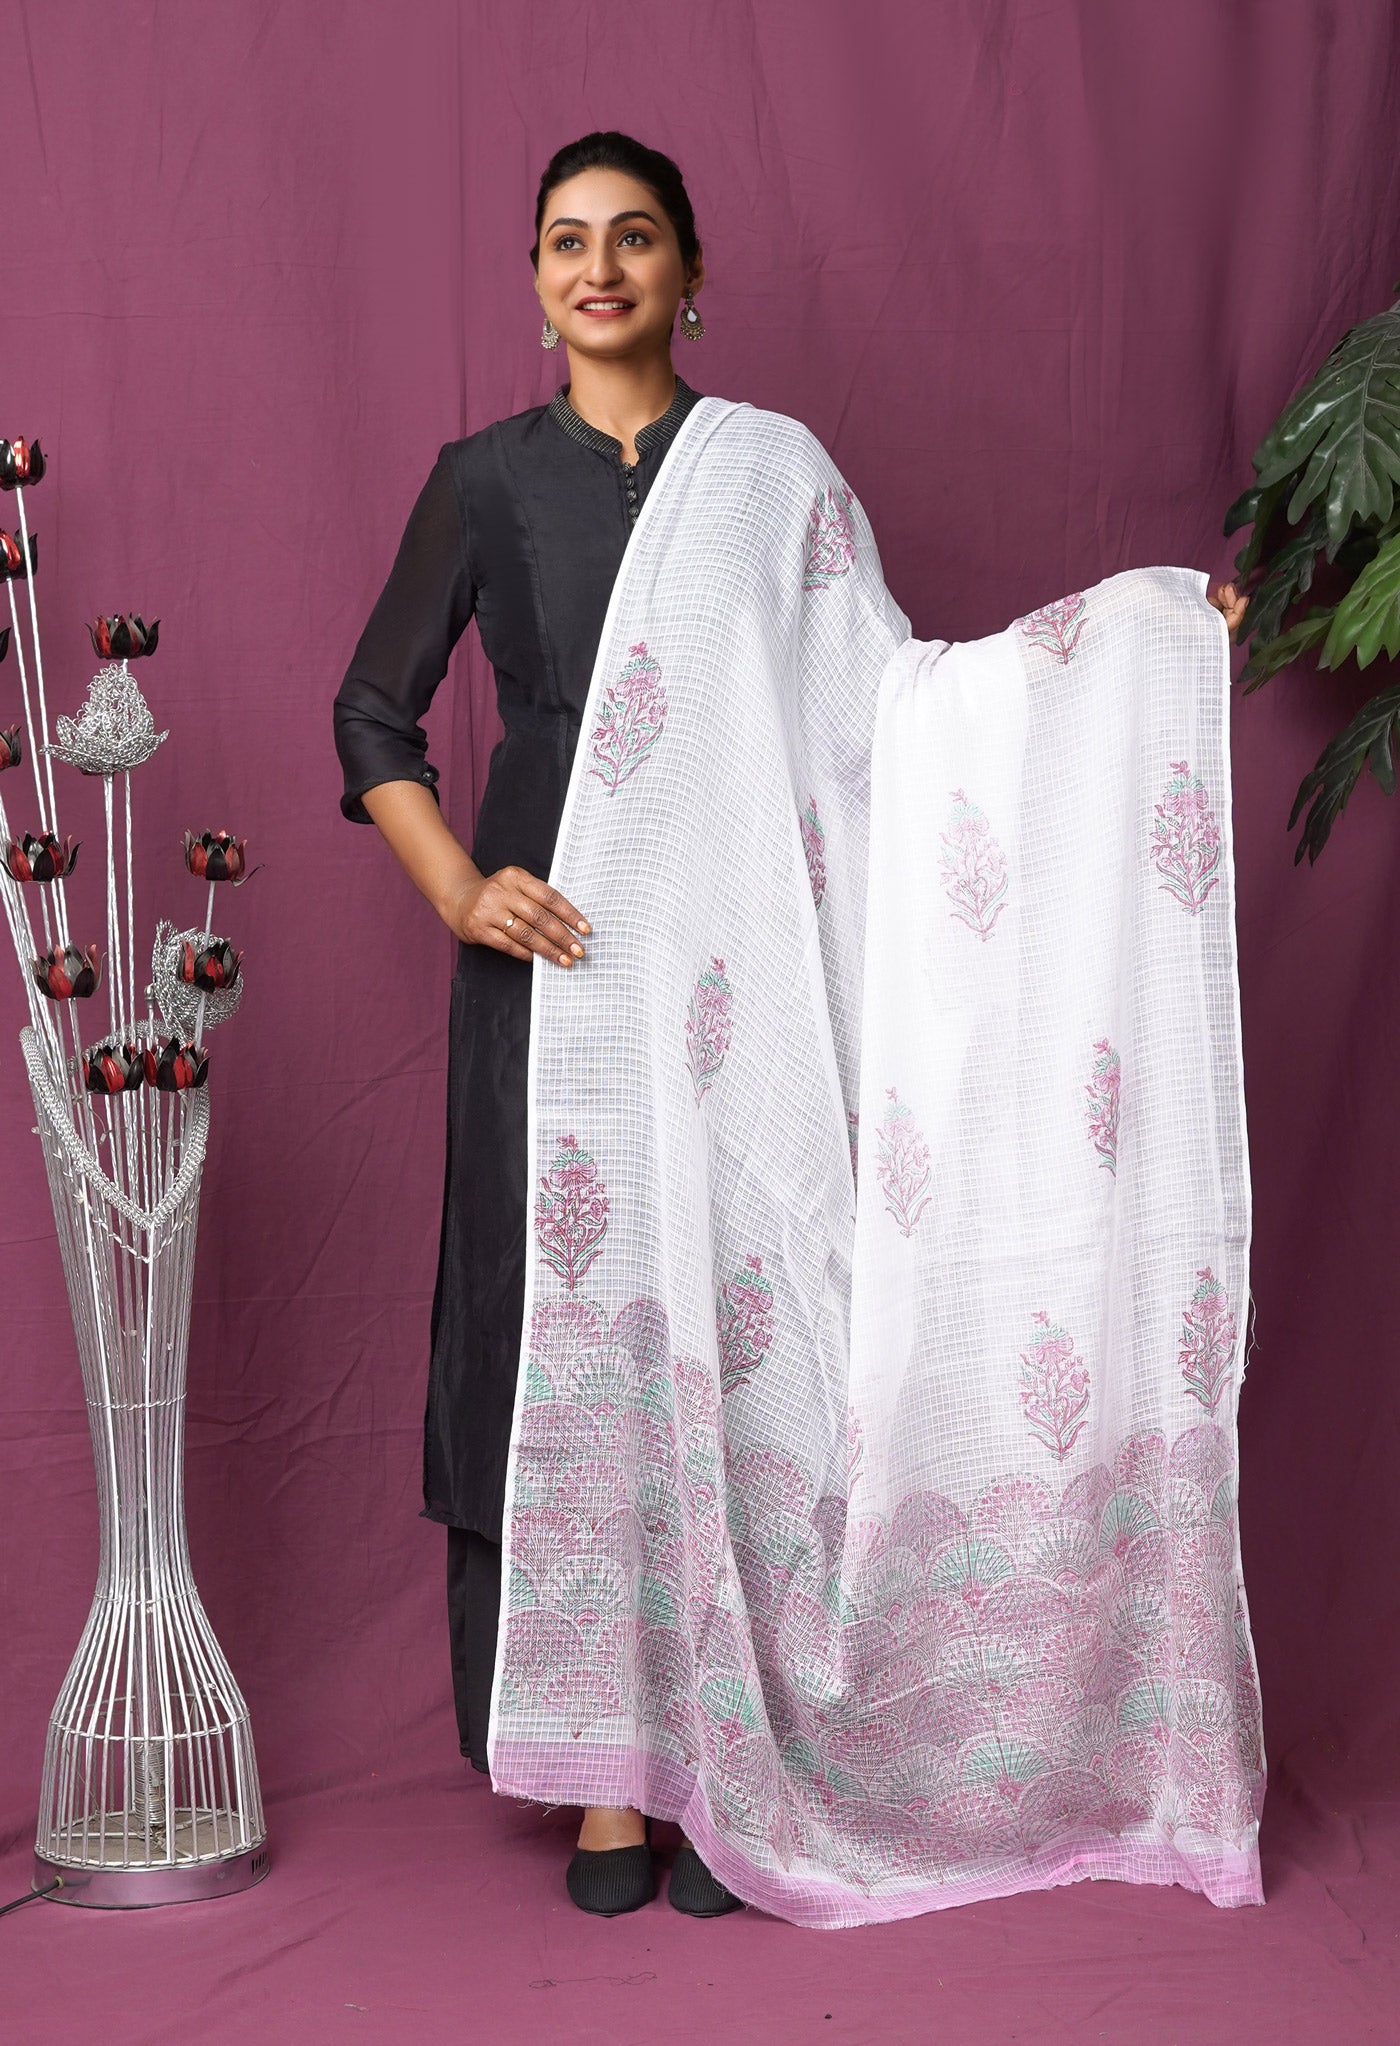
Who does not know what embroidery is? Lovely thread work, that enhances the look of the saree and the wearer as well. It has many forms from the ordinary to the miniature to the very exquisite.
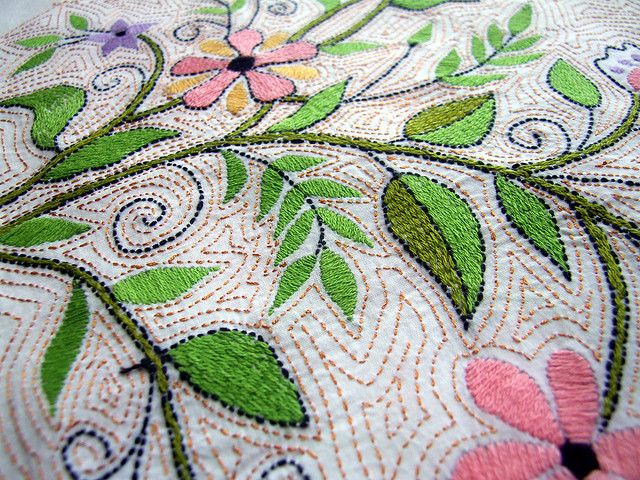
Embroidery or decorative needlework is usually done on fabrics like the salwar kameez and the saree, often of a picture or pattern, to heighten the appeal and has been ardently practised since traditional times in various forms in different parts of India.

Handcrafted embroidery is exclusive and a treasured art since it is painstaking, time consuming, and a lot of care and dedication is put in by ethnic practitioners into the work, resulting in flawless creations of exquisite beauty. Machine worked embroidery does take care of immediate need and reduces effort, but the hand-executed craft has no parallel as an art that requires skill, concentration and imagination to bring out the best in an offering.

So what exactly forms the basis on which this art has been structured so that it gives visual delight as well as provides opportunity to excel in creativity?
The 5 main factors that influence embroidery work
1 Design of the embroidery
2 Materials and equipment used for embroidery OR tracing method
4 Colour scheme
5 Placement and purpose of the embroidered project
- Design of the embroidery
What does one do at the start of the embroidering exercise? Have a design to follow. So one could either do a design as a freehand drawing on the fabric or one could transfer the design on to a sheet of paper and then transfer to fabric by one of three popular methods.
The design that you choose could be from a work of art, a pictorial book, or if you envisage something of your own, all the better. There is always something about the novel or something that others would not have seen that makes it catch the eye.

And what about the subjects you wish to choose?
The quite popular and chosen are from nature – flowers, fruits, vegetables and even scenes from nature and everyday life. Then you have the geometrical shapes, easy-to-do designs and border designs that stand on their own or could be along with other motifs. There is no dearth of subjects as long as one is willing to be enterprising enough to strike out.
There are some who start with traditional designs then branch out on their own so that it gives something afresh. The original stays alive, something new takes birth.
Now how do we put the design on the fabric?
Like mentioned above, one is drawing directly on the fabric and then putting the stitches over them. This requires a confident and steady hand for the purposes of symmetry. The easier way would be to transfer the design onto the fabric and then put the embroidery stitches on them.

Transferring embroidery patterns to fabric doesn’t have to be difficult at all, but there are a variety of methods to choose from. The texture and thickness (and colour) of your fabric will often dictate which transfer method you use, as well as the materials you may have on hand.
The three main methods of transferring your embroidery pattern to your fabric are tracing, transfer, and using a stabilizer.
2. Tracing method
The tracing method is easiest to do especially on smooth and light colored fabric. The first step is to trace it onto paper or tracing paper. If the fabric is fine enough, you might be able to place your fabric directly over your paper pattern and start tracing.
A light source behind the embroidery pattern makes it easier to see through your fabric. You could tape your pattern to a bright window, then tape your fabric over top.

For the tracing method, there are a variety of tools. Water soluble pens, pencils all work well. Do check your transfer method before marking up your entire fabric though, as there is the possibility of marks not erasing fully or coming back. With pencil, it’s recommended to draw lightly, just hard enough to be able to see your lines.
Transfer method
An alternative to tracing your pattern directly onto your fabric is to transfer your design. You can use tracing paper to first trace your embroidery pattern then re-draw the lines with the pen/pencil on the back.

Stabilizer method
If you’re using a fabric that is a bit textured, or you’re not wanting to trace your design, using a photocopier is a fantastic alternative. There are products that make transferring your design so easy. But in India the other two are preferred.
There are some useful tips for these methods.
- Be careful to not reverse your design when tracing or transferring (particularly for text)
- There is the possibility of marks not erasing fully or coming back, so do test your chosen method
- The texture and thickness (and colour) of fabric will dictate which transfer method you use

3. Fabric selection
The type of fabric on which the embroidery is to be done, has a very large bearing on the final look of the embroidery that takes place on it. Important aspects like surface texture, prints on the fabric etc. determine how the embroidery would appear.
e.g. a checkered fabric is used to do chicken scratch embroidery since it would not look good on any other type of print.. Cross stitch looks good on loosely woven fabric. For counted type stitches like the satin stitch, the even weave fabric suits best. The printed fabric, the striped fabrics etc. are all popularly used in embroidery for their wonderful designs or weaves.

Shadow work is best done on transparent sheer fabrics. For some embroidery where you need warp and weft fabric thread thickness to be the same, fabrics like polycot or satin would not yield good results in embroidery. Transparent fabrics or fabric with open weaves like net fabric call for a different treatment and embroidery technique than does fabric like linen.
4. Colour scheme
Colour coordination is more important in embroidery than anywhere else. Contrasting colours, monotones, shades of the same colour, an ombre effect – all are popular. But colors are mostly personal. What appeals to you may not appeal to me.
It is known that colour value of a colour changes when they are placed with other colours – so keep the fabric and the colours you are going to use with the embroidery together and decide on the colour scheme you are going to choose for the embroidery project.

From experience it is found that contrasting colours work best in embroidery – e.g. a bright red flower amidst green leaves on a light colourd fabric can look striking when compared to the same work done on a black fabric.
- The effect one intends to create, determines the choice of colors. E.g. for a muted look, tone on tone embroidery can look very elegant (this is the same colour thread as that of the fabric used for embroidery)
- Another idea is to use three tones of a single colour—light, medium and dark on fabric with one of the shades of the colour.
- The number of colours used can also be a personal choice but restricting the colours to three or four is more prudent for a unified look.
If one first embroiders on the fabric and then decides its use, it is wrong. The correct way is to decide on the purpose of the project and then decide where the embroidery shall be placed.

Certain things to bear in mind:
- The design should be appropriate for the scale of the project.
- Simple designs may work better in some projects than complicated intricate designs.
- The proportion of the design is very important and so would be the placement of design units, in relation to the other like the distance between units.
- For an upholstery fabric, you may want an elaborate intricate design but that may not look good on a garment. So this should be taken care of at the design stage.
- For sleeves you need 2 mirror image designs in exactly the same positions – this has to be planned after the pattern of the sleeve is marked but before the fabric is cut.
- Appropriate placement and distribution of the design is paramount in embroidery – imagine the embroidery in your tunic placed just over your bust level on both sides – I would not want that exactly placed there, however beautiful the design is. But I have seen it done and it can look really awkward.

Now that the embroidery is to be done bearing these important aspects in mind, what remains is the stitch to be used. Most embroidery is based on basic hand embroidery stitches. Important among them are :
1.Running stitch
2 Stem stitch
3 Chain stitch
4 French Knots
5 Back stitchchao
6 Fly stitch
8 Satin stitch
9 Feather Stitch
10.Blanket stitch

