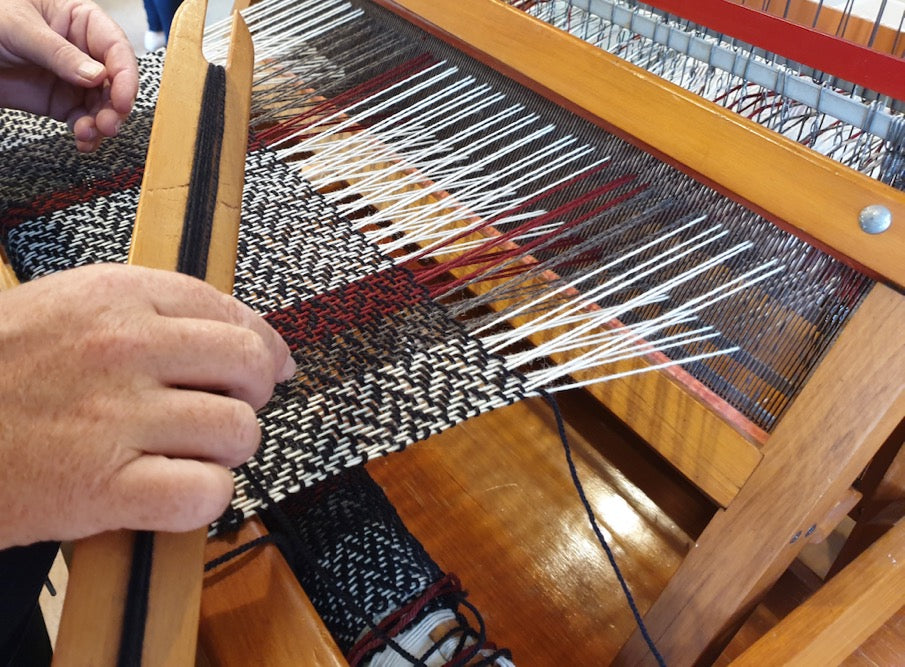
Make a Do-it-yourself (DIY) hand weaving loom in cardboard and weave your own fabric on it
"Do it yourself" ("DIY") is the method of building, modifying, or repairing things without the direct aid of experts or professionals. Academic research has described DIY as behaviors where "individuals engage raw and semi-raw materials and parts to produce, transform, or reconstruct material possessions, including those drawn from the natural environment (e.g., landscaping)". Sounds hi-fi?
In very simple terms one can say it is the spirit of wanting to experiment whether one is, within the limitations, capable of doing something that is generally done in the realm of the professionals. It could simply be getting something that has been idle for years, working again, correcting a defect within a used object or doing something at home like dyeing or stitching clothes oneself, almost as, if not equal to, what the professionals would do.


So when I say you can make a simple handmade hand weaving loom with cardboard & make your own fabric, would it appeal to you as possible?
Let us see How!
There are two ways one can DIY a hand weaving loom at home.
- Getting a weaving kit that is already fabricated and one has just to assemble the parts or small wooden blocks provided in the kit and weave the fabric. From that making your own small towels, mug rugs, table mats etc. is but a step forward. Good definitely, but may not jell with those having adventurist tendencies. They would like to make the loom also on their own from scratch.
- Making your own cardboard weaving loom is as easy as assembling this kit.
How to make a simple weaving loom at home
What would you need to make the cardboard loom?
- You need a cardboard hard enough not to crack or split easily.
Lay spread out several items of clothing that you would like to weave on the cardboard loom. Measure the outside dimensions of the largest piece of clothing that you wish to weave. The cardboard dimensions shall be a rectangular or square piece slightly bigger than this.
- You need thread to weave.
For the warp thread (the initial binding thread you use vertically) you can choose a thinner thread than the one used horizontally (weft thread).
You can use mercerized cotton thread or thin packaging string or knitting yarn for this.
For weaving of weft thread you can use knitting yarn, yarn made from old t shirts, thin cords you have.
- You will need to use chopsticks, scale or ice cream sticks or a pencil to hold up the thread when weaving.
- You also need a thick needle or bodkin to weave.
How does one make the loom?
 Mark the top and bottom edge of the cardboard 1/4 inch apart.
 Cut grooves along these marks – they need not be deeper than 1/2 inch.
 Pass the base thread (warp thread) through these grooves as in the picture below.
Turn the thread to the second cut through the next groove in the manner shown in the picture below.
 Continue in this manner; it will look like this, when you have finished the work.
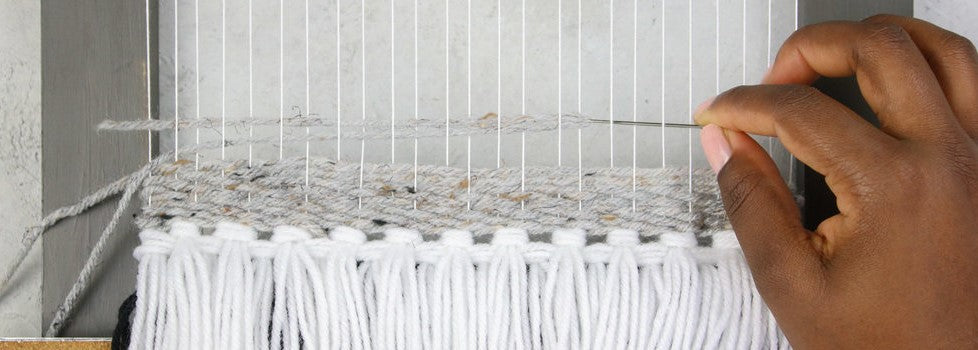
- Cut out some 40 inches or longer piece of your weft thread and pass it through a needle or bodkin. Tie a knot or two at the eye of the needle. This is your weaving tool.
- Use a scale or dowel or stick to separate odd warp threads from even warp threads – this will prepare an opening through which you can pass your weft thread. This is optional. You can simply go through the threads counting as you go.
- Thread your weft thread through this opening, till you reach the other end.
-
 Then turn to the other end. Now you may want to again separate the opposite set of threads in the warp (now, get the even thread up) to create a second opening for your needle and weft thread.
 - Bring the weft thread neatly and tightly up against the first row of weft thread.
- Continue in this manner repeating the step one and then step two, till you have completed the thread in your needle.
- When you have finished the first thread you need to start a new thread on your needle –
- You can choose to end the thread either at the middle or the sides – make a small knot with the new thread, use it on the needle and start weaving again.
- You can cut out the tails and the knot will not be so visible.
 Other weaving methods: Variations you would love to try.
- You can choose to make different patterns by following different ways of weaving. Instead of one thread do the over 2, under 2 weaving.
- When you have finished the weaving you can cut off the base thread along the top edge and bottom edge and then tie the tails with a separate yarn or to each other. Cut off or leave the fringes as they are.

- When you have had some practice you can even design with your own patterns and your own motifs

- To make a place mat you can make a frame of about 10-14 inches wide and 18 to 20 inches length.
- For a table runner you will need to make the frame about 12 to 15 inches in width and 38 to 40 inches in length.


If you have done this, your heart will swell with pride, your confidence already being several notches high, your next DIY I am sure shall be as interesting and challenging if not more.


